
Microsoft has a habit of hiding certain System Files and even File Extensions. Good or bad, it’s always debatable. I don’t like it. Here’s how to un-hide hidden files. This applies to all versions of Windows – *Folder Options was changed to File Explorer Options in Windows 10.
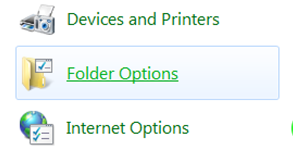
- Windows 7: Go to Start > Control Panel > Folder Options, then click on the View tab.
- Windows 8.1: Right click Start > select Control Panel > Folder Options > View tab
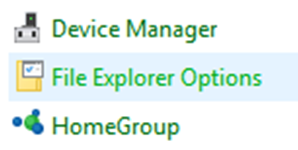
- Windows 10: Right click Start > select Control Panel > File Explorer Options > View tab
- Find the Hidden files and folders section and click on the dot by Show hidden files, folders, and drives.
- Uncheck the box Hide extensions for known file types.
- Uncheck Hide protected operating system files (Recommended).
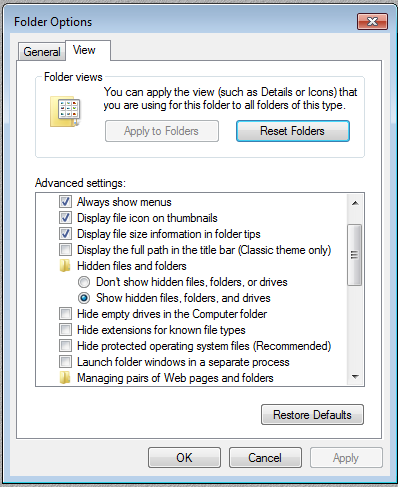
You’ll get a warning; just click Yes.

Now you’ll see all the hidden files on your system. A noticeable one is going to be a desktop.ini file (or two) on your desktop.
Reverse the process to bring back the Default Settings.
—
After one sets the “show hidden files and folders” one can right click on the folder and open properties and remove the check mark on hidden and change the folder attributes and the subfolders. One folder I have in mind is the ProgramData that I monitor very closely.