
You are most likely familiar with the term “Navigation Pane” because it has been around since the 2007 version of Word. Then, it was called Document Map. The name may have changed a bit and been updated from time to time, but the fundamental reason for it has not, which is to help us locate items more quickly in our Word documents.
Your Navigation Pane will be hidden by default, so in order to follow along, you will need to turn it on.
Follow the steps below to learn how:
- For old and newer versions of Word that are still supported by Microsoft, open the document you would like to review, edit or continue adding text to.
- On your Ribbon, click on the View tab.
- In the Show group, click on Navigation Page and it will open. It should open on the left-hand side of your screen.
If, for some reason, it does not appear there, hover your mouse over the top area of that pane until your cursor changes into a cross with four arrows. Now simply drag it to the left-hand upper side of your frame.
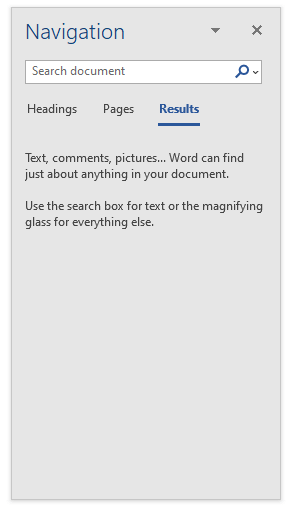
If you are starting from a blank document, your Navigation pane will contain simple explanatory text along with Quick Start instructions regarding its use.
Now, if you would like to get the most value out of your Navigation pane, your document will need to be formatted with heading styles. When styles are applied to your document, you can use those headings to navigate or jump to that particular section of your document more quickly.
—