Apple released the latest version of their Mac operating system on October 22nd, OS X Mavericks, available for free.
System requirements for the upgrade include:
- OS X version 10.6.8 (Snow Leopard) or later
- 2GB of memory
- 8GB of available space
As always, updating your Mac operating system is simple and straightforward.
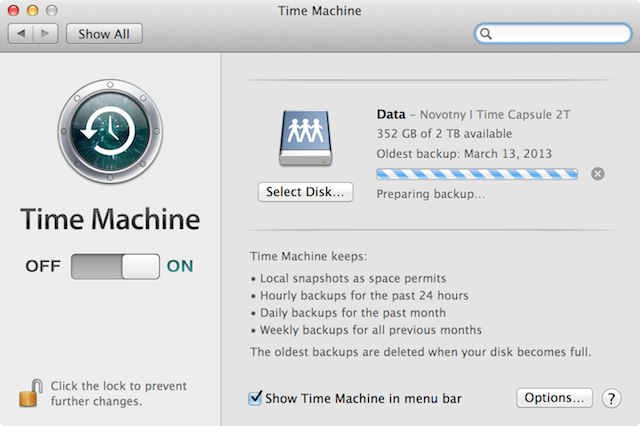
STEP 1: As with any major upgrade, you should first backup your Mac. While I don’t expect anything to go awry, I always back up my Mac before upgrading the operating system.
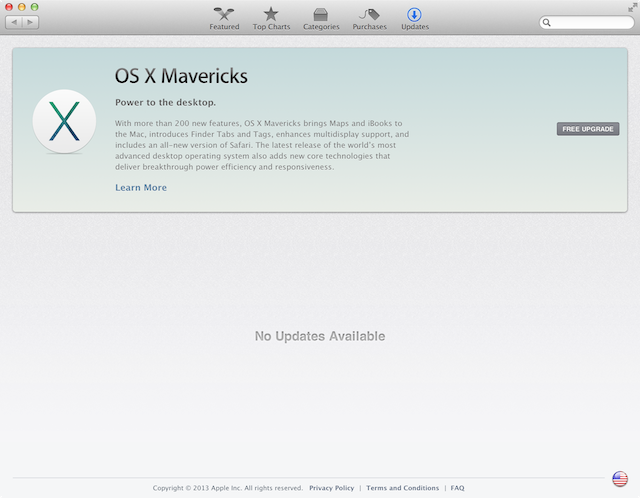
STEP 2: You can either upgrade to OS X Mavericks through the Mac App Store or through the ‘Apple > Software Update…’ menu item, which will also take you to the Mac App Store. I went the ‘Apple > Software Update…’ route. If any other updates are listed other than OS X Mavericks, you should do them first before updating the operating system. Click on ‘Free Upgrade’ to proceed. You will be asked to logon with your Apple ID. The update will then download. For me, it took about twenty minutes.
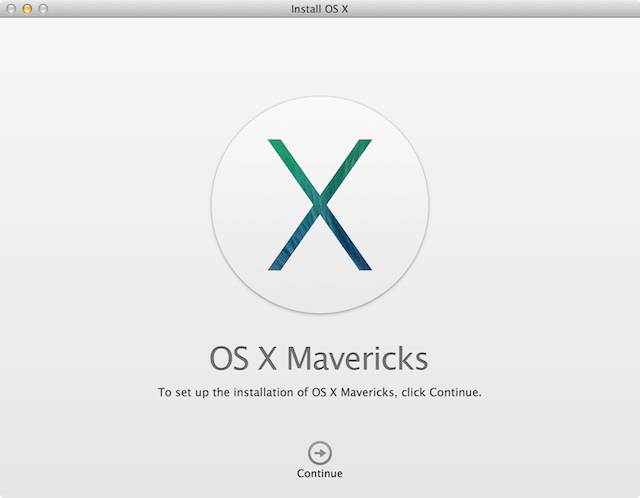
STEP 3: Next, the first installation screen will appear. Click on ‘Continue.’

STEP 4: Agree to the terms of the the software license agreement. Click on ‘Agree’ at the bottom of the screen and again on the smaller confirmation screen.

STEP 5: Once you have agreed to the term of the agreement, the second installation screen will occur. Click ‘Install.’
You will then be asked for your administrator password.

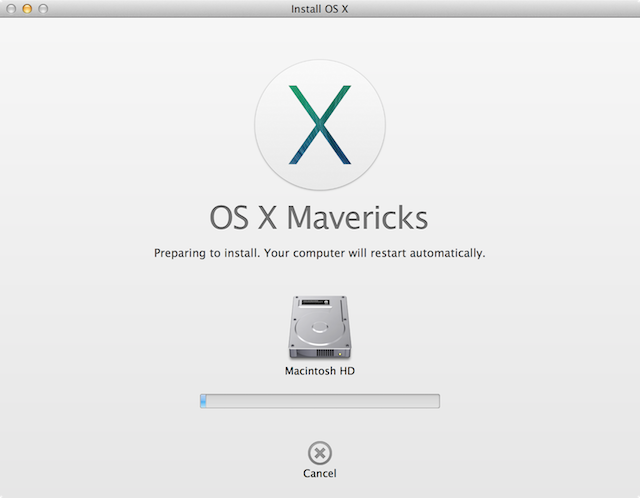
STEP 6: OS X Mavericks will be installed and your Mac will reboot. For me, the installation took about forty minutes. An ‘Install Successful’ screen will appear and your Mac will reboot one final time. After the reboot, you will be running Mavericks.