No Clean Install
A Solid State Drive (SSD) is still the single-most, best, bang for the buck upgrade you can make for your desktop PC or laptop. Migrating Windows (or any operating system) from a mechanical hard drive (“spinner”) to an SSD is a pretty straightforward affair, and the rewards can be palpable. When you consider how relatively inexpensive SSDs are these days, migrating your Operating System (OS) to a state of the art electronic drive is a no-brainer.
If you decide to go this route, you have some choices to make:
- Clean Installation – Plug in your new drive where your old spinner was, and run a clean installation of Windows. Of course, you will have to get all the Windows updates and reinstall all your software and restore your data files. This can be a tedious and lengthy process
- Restore from a backup – I preach about backups all the time and since I know how you dwell on my every word, you are sure to have a recent backup laying around. Right? You can unplug your old Hard Disk Drive (HDD), plug in your new SSD, and use your backup to restore the system to the new device. If you want to keep everything just the way you left it, then this is one way of doing that
- Cloning – Cloning can be used to make an exact duplicate of one drive to another. This also works with partitions. One advantage of using a clone is that the new drive can be used immediately without having to make a backup first. A clone also makes an exact copy of the current drive in its current state, including all its partitions and their layouts
In this article, we’ll be showing you the restoring method.
First Things First – Disk Sizes
My system drive (where Windows lives) is a 500 GB SSD. However, Windows and all the programs and data only add up to around 45 GB. Technically, I would only need a 100 GB drive to restore to. I would be very nervous doing that, though. That small size would not leave any room for growth — no wiggle-room at all. These days, I would recommend a minimum of 500 GB. Programs, data, pictures, movies, and games can chew through a drive in no time. Plus, Windows needs a boot partition and a recovery partition to function properly.
So the bottom line here is to make sure you have enough room for all your stuff and then some.
Backup Software
You have many choices here. Several backup programs such as Aomei Backupper, Acronis, and Macrium Reflect all offer great options. I will be using Aomei Backupper for the following examples. You can use any dedicated backup software of your choosing.
Links:
Getting Things Ready
Desktop PC
Setting things up on a desktop PC is easy. Turn the computer off, make sure you are grounded (so you don’t zap something inside the case) and plug in your new SSD to any available SATA connection on your motherboard and also to a power connection from you Power Supply Unit (PSU).
Fire the machine back up, and we’re ready to begin.
Laptop
Laptop users might have a trickier time of it. This depends on whether you have a second drive slot. If not, you will have to do one of two things: pull the drive and hook your old and new one to a PC, or get yourself as USB adapter (or dock) and hook up the new drive that way.
Note: It is beyond the scope of this article to delve into the hardware aspect of this exercise, but there are many resources on the internet that will show you how.
The Restoration
Using Aomei Backupper to restore a previously created system backup is a breeze. Fire up Backupper and click on the Restore option in the left panel

Choosing Select Task will bring you here:
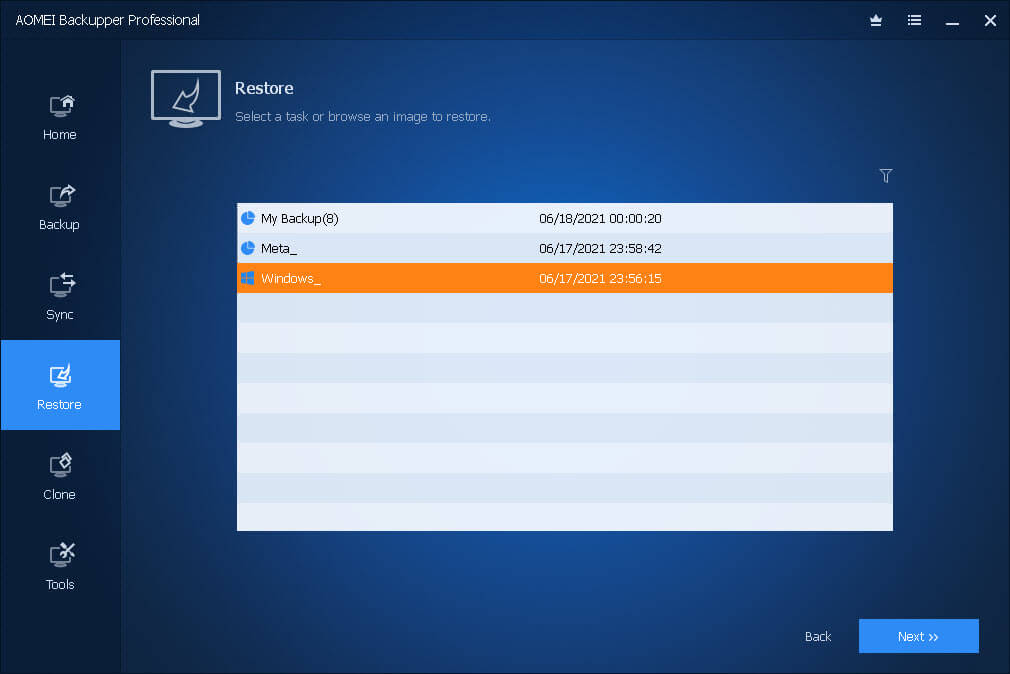
I have three tasks scheduled to run daily. The Windows backup is the one you want.
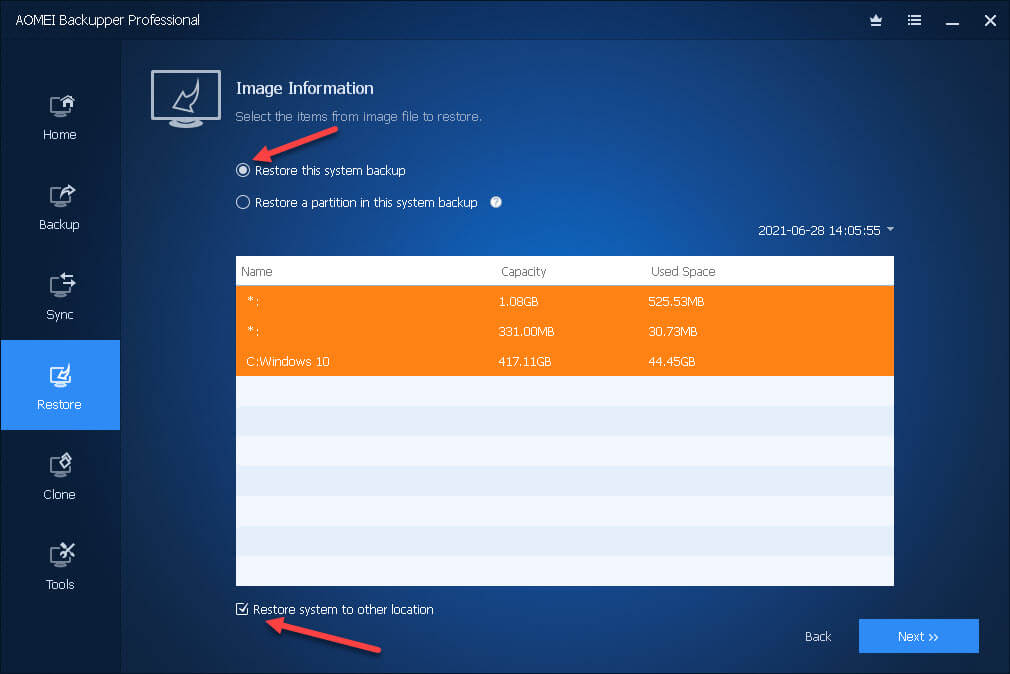
You will want to tick the Radio button labeled Restore this system backup, and down below, tick the box labeled Restore system to other location. Clicking the Next button will bring you here:
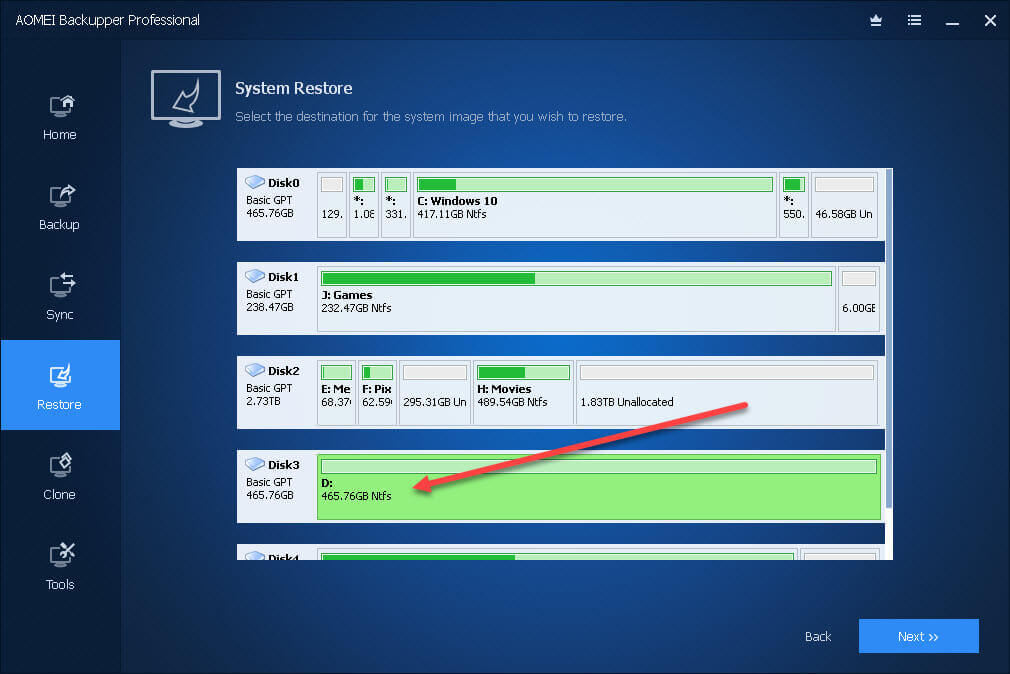
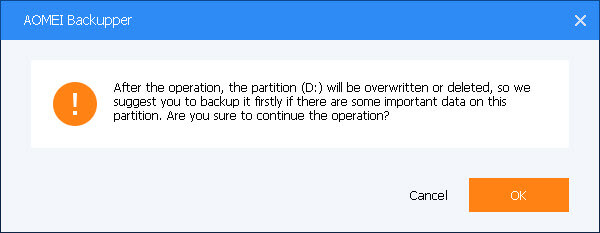
Your window may differ. Your drive letter might be different. You might not even have a drive letter. What is extremely import here is that you choose the correct drive. Everything on the drive you choose will be deleted! Be very careful about this one. When you are sure of your choice, click the Next button.
Aomei agrees and pops up a warning message at some point:
Summary:
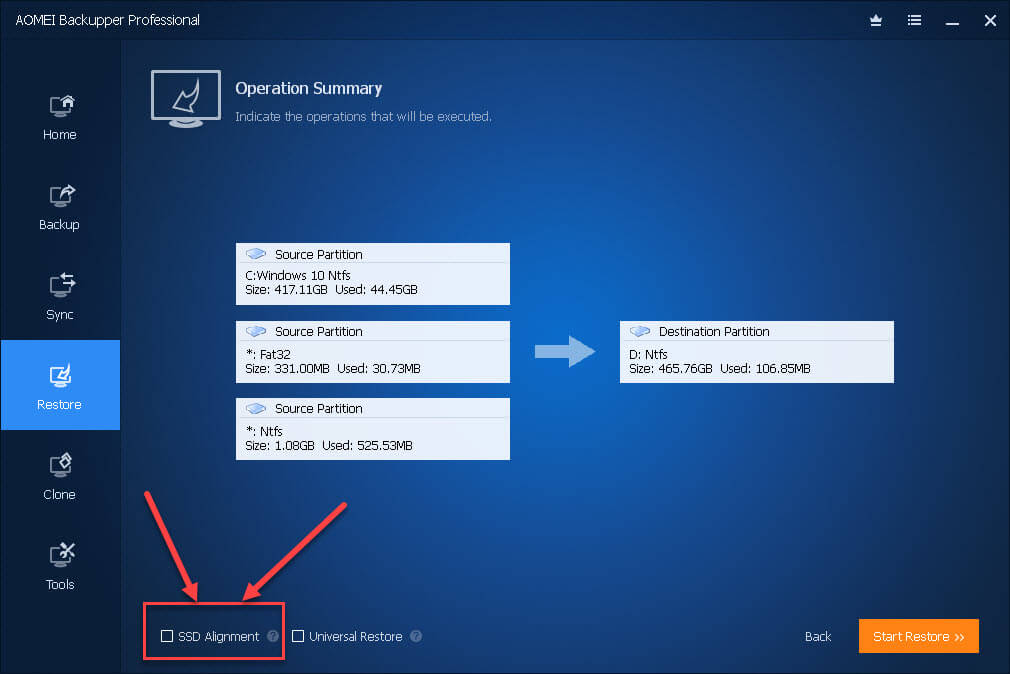
This is an overview of what Aomei Backupper intends to do. Make note of the SSD Alignment checkbox in the lower left corner. If you are restoring to an SSD, and I presume you are, then it is important that you have this box checked. The Universal Restore checkbox is used if you want to put your new SSD in another computer with different hardware.
Finishing Up
Once Backupper has finished, you can shut down your computer as you normally would. Now disconnect your old drive and connect that shiny new SSD using the same SATA connection.
Fire up your computer and delight in the new-found speed.
SSD Maintenance
SSDs are nothing like HDDs. They don’t have any moving parts, they run a lot cooler, and there is zero noise (no more head chatter). They are different and have to be treated so.
TRIM
Windows will recognize an SSD when it sees one. I’m sure whole books have been written about TRIM and I won’t get into the technical details here. All you need to know is that running regular TRIM operations on your SSD will go a long way toward keeping it healthy.
You can check to see that Windows does, in fact, see your SSD for what it is.
- Tap the Windows key and type defragment and choose Defragment and Optimize Drives at the top of the list
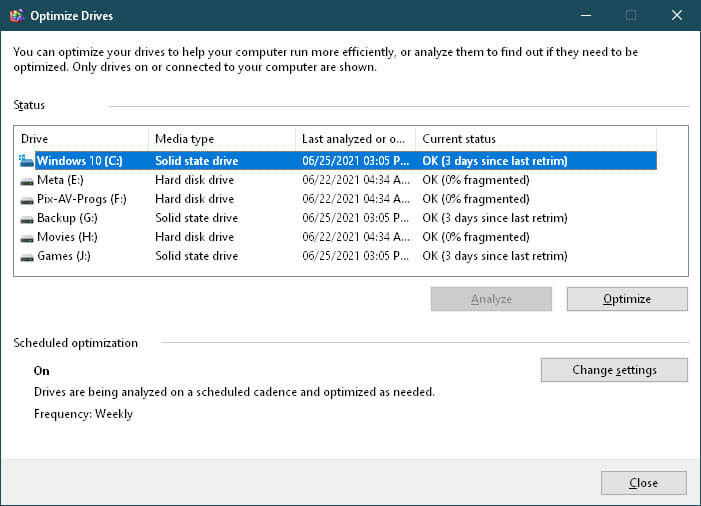
It should show up as a Solid State Drive in the Media type column. If not, you can force Windows to enable TRIM in an Administrative DOS Box with the following command:
fsutil behavior set DisableDeleteNotify 0
SSD Utilities
Many SSD manufacturers develop their own utilities to help you manage your SSD. They will, in many cases, let you update the firmware. And they also make sure that Windows and your motherboard treat your new SSD properly.
One such example would be Samsung Magician. Intel also provides such a utility. A simple search using your favorite search engine will help you find it.
As always, if you have any helpful suggestions, comments or questions, please share them with us,
Richard
—
Can you suggest a good cloning software:
A)link or name of one (or more) preferred.
B) did you do a post on doing this?
Thank ya!
Hi GordN,
Jim Hillier wrote a great article on this subject: How To Clone To New SSD
Hope this helps,
Richard