
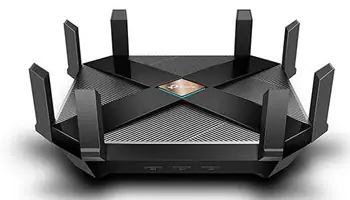
In this three-part series, I will explain how I set up my new router to strike a balance between security and performance in my particular circumstances. While individual circumstances and settings may differ depending on the manufacturer and router, the basic principles should remain the same.
Networks
Main
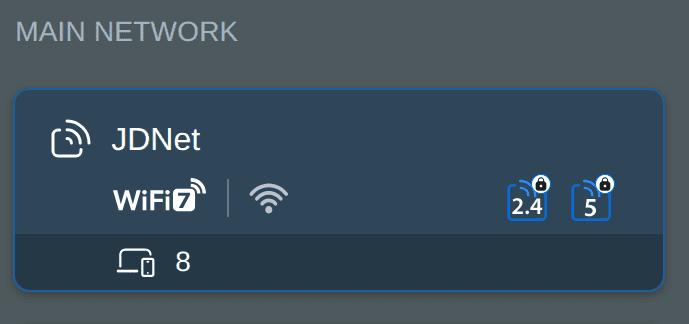
All my important devices, such as computers, laptops, phones, tablets, gaming devices, and printers, are connected to my main network. My network-attached storage is also on this network.
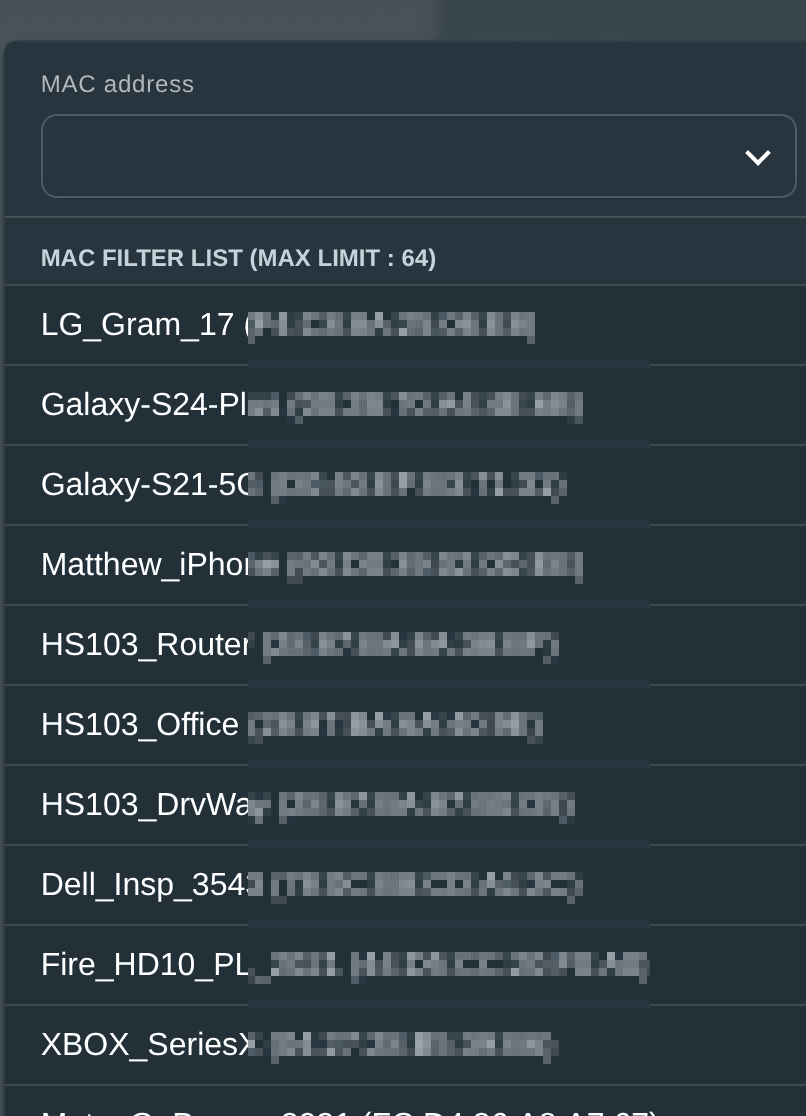
To restrict network access to pre-approved devices only, I enable Media Access Control (MAC) address filtering. This provides an additional layer of security by using a whitelist (allow list). MAC filtering can help prevent unauthorized users from connecting to the network.
Guest Networks
A guest network is a separate wireless access point that enables devices to connect to the internet while keeping them isolated from the main network. This prevents guest devices from accessing personal devices, shared files, printers, and sensitive data stored on the main network.
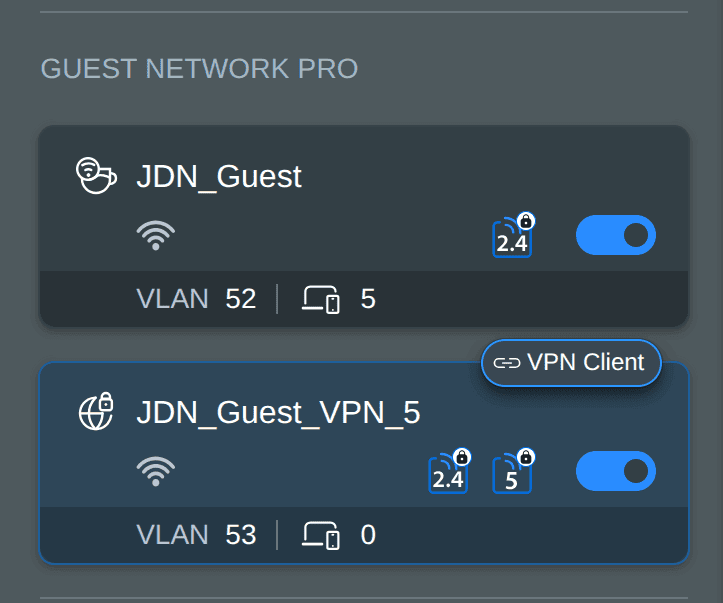
I created two guest networks:
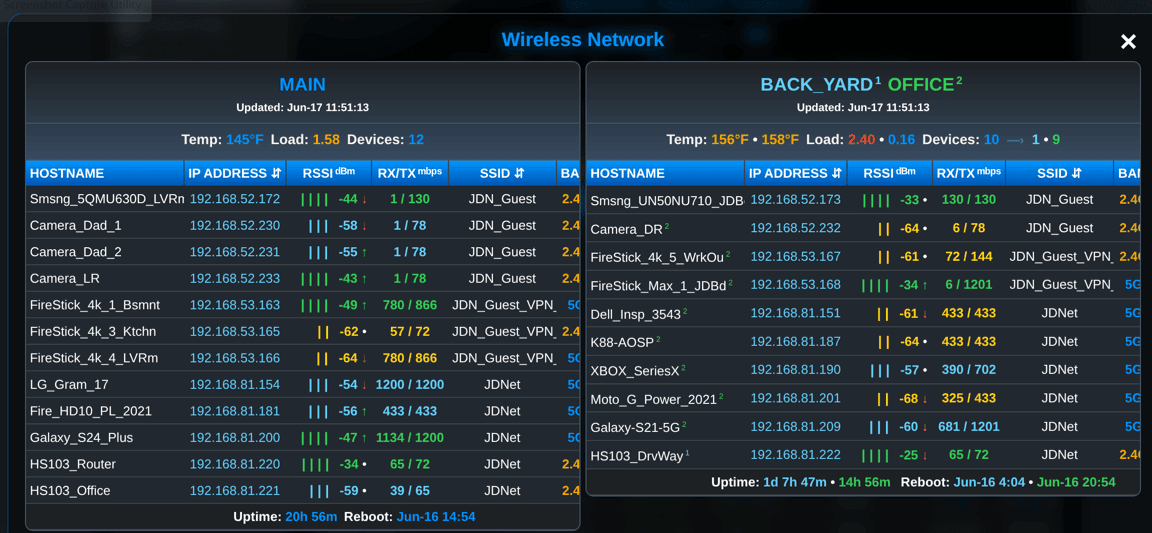
The first is for house guests to connect to. I also connect Internet of Things (IoT) devices (security cameras, appliances, etc.) and Samsung TVs to it, since they will not operate in a Virtual Local Area Network (VLAN).
The second guest network is a VLAN that I set up to go through my VPN. I have set up my streaming devices on this network to prevent ACR (Automatic Content Recognition) devices from spying.
DNS
The Domain Name System (DNS) acts as the internet’s phone book by translating human-readable domain names (e.g., www.example.com) into machine-readable IP addresses (e.g., 192.0.2.1). Switching from your ISP’s default DNS to a third-party provider can improve speed, privacy, security, and/or reliability. Changing the DNS is easy and can be done on individual devices, on the operating system (Windows, macOS, iOS, Android), or on the router, which will then protect all devices on that network.
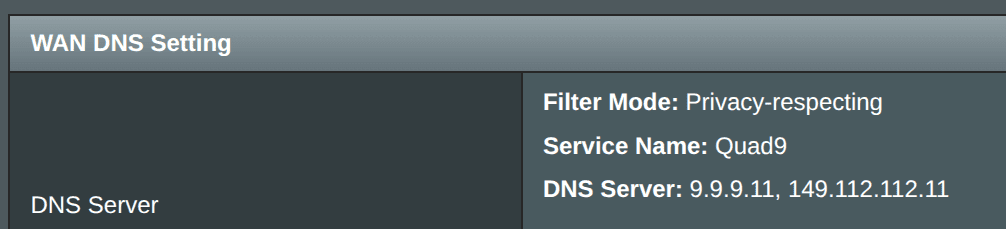
On my main network, most devices will go through my VPN and, therefore, the VPN’s DNS. For devices not using the VPN, I have assigned a privacy-respecting third-party DNS offered by Quad9.
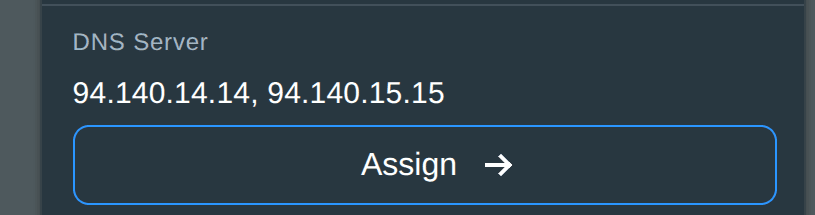
On my first guest network, I have assigned an ad-blocking third-party DNS service offered by AdGuard. All devices on the second guest network (the VLAN) will use the VPN’s DNS.
Mesh Topology
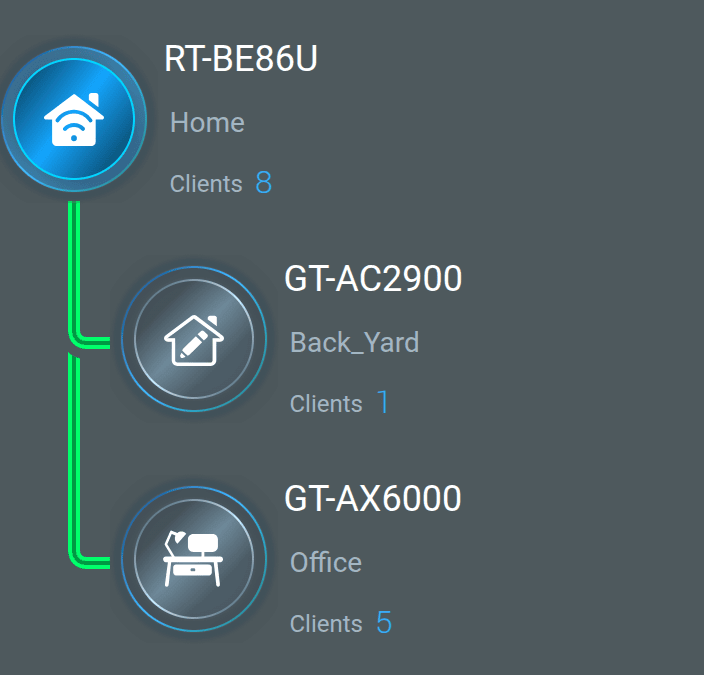
My old Victorian-style house was built long before houses were pre-wired with Ethernet. One wireless router would not provide adequate coverage for my house. Therefore, I have opted for a mesh topology.
Mesh topology is a system in which multiple interconnected devices, called nodes, form a single, unified network. Unlike traditional WiFi, which relies on a single router, a Mesh WiFi system uses these nodes to relay data to one another, creating a “web” or mesh that provides coverage throughout the home and helps eliminate dead zones.
Backhaul
A mesh topology can use wireless or wired backhaul links. Wireless backhaul relies on WiFi bands to connect nodes, which splits available bandwidth and introduces latency. Wired backhaul (using Ethernet cables) is the superior option for throughput, latency, and stability, offering consistent speeds and zero signal loss.
However, without major house renovations, I am limited in terms of where I can place Ethernet wires. Therefore, my node placement is not optimized. I have two nodes on the ground floor: one at the front of the house, where the ISP’s connection enters, and one at the back of the house. These two nodes provide coverage for the first two floors and the backyard (which is important to me). One node on my third floor provides coverage for the top two floors.
Coverage
This network provides me with coverage for the entire house and backyard.
Bottom Line
This is the third part of a three-part series that discusses the decisions I made when setting up my new home network router. Be sure to view parts One and Two.
Please feel free to ask in the comments why I did something a certain way. Alternatively, let me know how I could improve the setup.
- How To Set Up Router – The Right Way – Part 1
- How To Set Up Router – The Right Way – Part 2
- How To Set Up Router – The Right Way – Part 3 ⬅ You are here
—
