I Was Scammed!
Back in September, I detailed the new PC Cooler RGB fans I’d fitted to my system in How Many Fans Do You Need In Your PC?, but on closer inspection, I discovered that they were used. This was easy to spot since there were tell-tale signs of dust on the fan blades. Other than that, they were in perfect working condition. So I contacted the young lad who’d sold them to me, who of course denied any knowledge of them being used, blah, blah, blah. I then made arrangements to have them exchanged for brand new fans, which would mean another long ride of about 100 miles. But when it came to the crunch, he’d disappeared into the sunset as most cowboys are prone to do and since we’d made the exchange in a public place, tracking him down would have been tricky, to say the least. In the end, I put it down to my foolishness at not having inspected the goods more carefully when I met him in that petrol station cafeteria over an hour’s ride away. I still think he had no idea frankly, as he didn’t know the first thing about PC components and was simply being an opportunist. Lesson learned the hard way.
A Laptop Too Filthy To Even Touch

There are times when you need to bite your lip where customers are concerned and the old adage “The customer is always right” should be taken with a pinch of salt because they are not always right. Although I’ve seen worse, this laptop turned up for a corrupt Windows 10 install, with the lady saying that she was sorry it was “a bit dusty”.
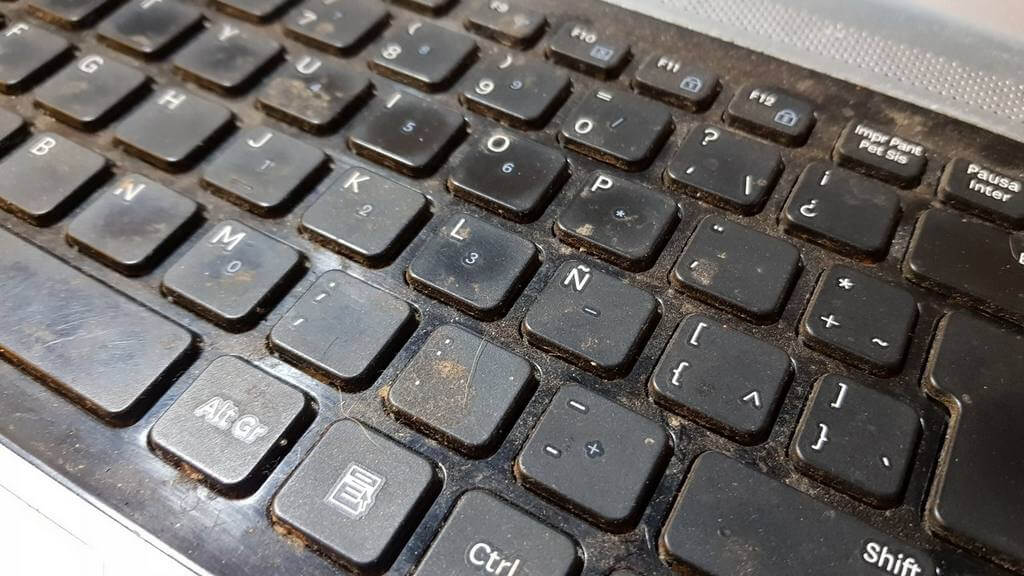
Fortunately, I have some rubber gloves available and managed to finish the job without my fingers picking up any of the filth on the machine. On this occasion, however, I didn’t bother to clean the screen, which I would normally have done as a favour.
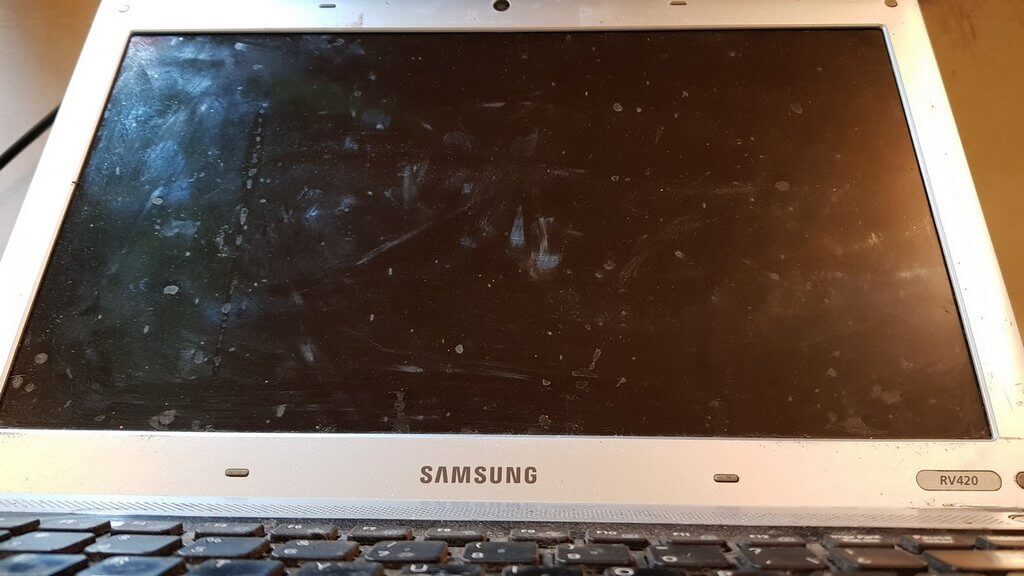
I did, however, tell the customer that it was a good quality laptop that deserved to be looked after, since replacing it would be a costly exercise, particularly in this country. It’s not really my job to tell people how to look after their kit, but frankly, when they treat sensitive machines like garbage, they’ve only got themselves to blame when something goes wrong and I’ll charge them accordingly.
Two New Gaming Machine Builds In One Month – And A Mishap
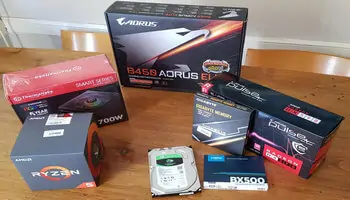
Last month I was very lucky to receive the go-ahead to build a couple of gaming PCs for two friends of my wife’s son, which involved huge wads of cash and a near financial disaster. Just to put the “huge wads of cash” into perspective, it’s worth pointing out that the Argentine peso is worth about as little as the toilet paper in your bathroom and with inflation at over 55%, you need loads of notes to pay for things– feel free to yawn if you’ve read my numerous rants about this already. By the way, multiply the wad of cash below by six and you’ll get an idea of how much cash I had to lug around with me.

This means that most people save in US dollars, but with a general election happening and the markets in turmoil, the black market is the only sensible place to sell those dollars in order to buy stuff– no one pays with USD, but instead sells them at the best possible rate. Anyway, I decided to go with Ryzen 2600 on both machines and managed to acquire most of the components for the first PC through a contact up the road and fit everything into an NZXT full tower case that I had been selling for a friend.
I used the following specifications on this build:
- CPU AMD Ryzen 2600
- Motherboard MSI B450M Pro
- Memory 16GB (OLOy) DDR4 2400Mhz (2 x 8GB)
- GPU MSI Armor RX570 8GB
- PSU Thermaltake 700W
- Case NZXT Phantom
- SSD 250 GB and HDD 1TB
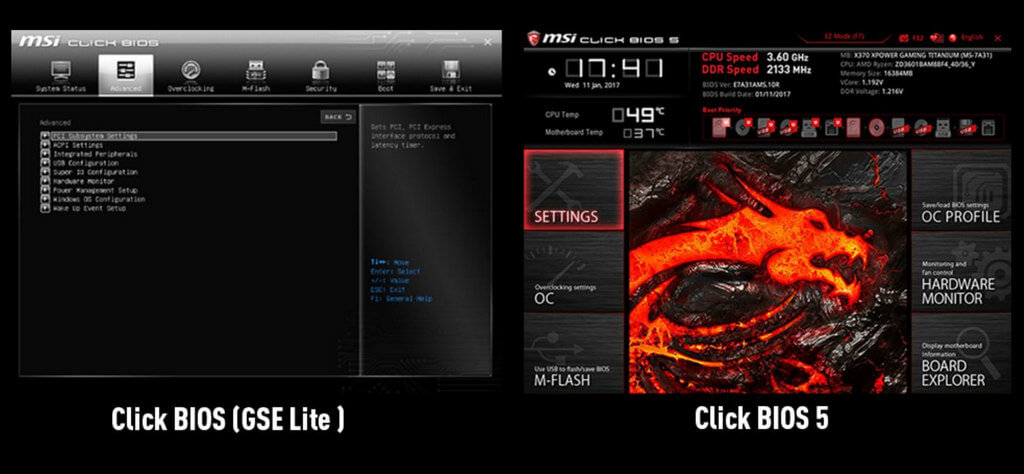
The build went smoothly but I ran into compatibility problems with the OLOy memory which I then changed for a Ballistix memory kit running at 2666Mhz. In the meantime, I had flashed the BIOS due to the memory issue only to discover that MSI had introduced GSE UEFI Lite, a ghastly interface with no redeeming features, such as at-a-glance system monitoring.
Ryzen 2600 Is The Perfect Choice For Gamers
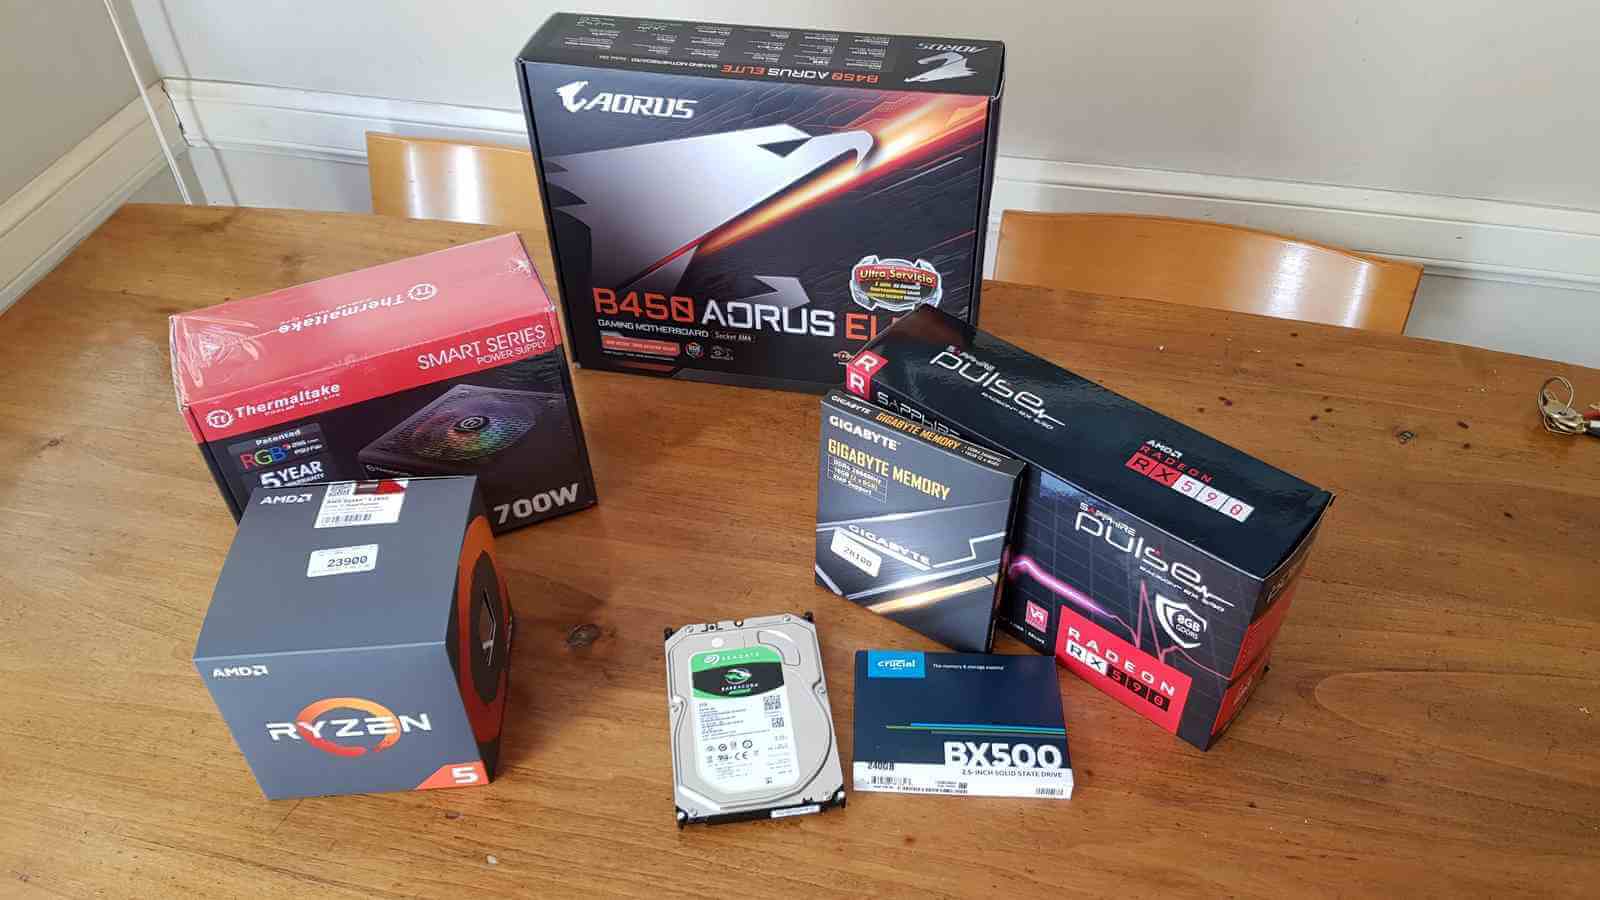
The second gaming machine build a couple of weeks later was also based on a Ryzen 2600 CPU, but with a higher quality motherboard. here are the specs:
- CPU AMD Ryzen 2600
- Motherboard Gigabyte GA-B450 Aorus Elite
- GPU Sapphire Pulse RX590 8GB
- Memory DDR4 16GB (2 x 8GB) Hyper X Fury 2400Mhz
- PSU Thermaltake 700W
- Case Thermaltake V200 with tempered glass side panel
- 250GB SSD and 2TB HDD
I acquired all these components at a computer shop on the other side of Buenos Aires (about 20 miles away), got caught in a mammoth thunderstorm and returned home without the CPU, which was missing from my backpack when I unpacked. A few hours later I returned to the shop, stood in a queue for an hour and then waited a further hour whilst the staff pored over a security video to make sure I wasn’t telling porky pies (lies). In my defence, I explained that the bloke who served me was also attending to three other customers simultaneously and in the confusion, the CPU had never appeared. That was clearly my own fault for not checking and fortunately, the matter was resolved, with me zooming home to start on the build. It could, however, have been a very costly mistake, which I have now marked for future reference.
This build was entirely problem-free, but I did notice that the clearance between the AM4 heatsink and the motherboard capacitors was literally a couple of millimetres, as you can see below.

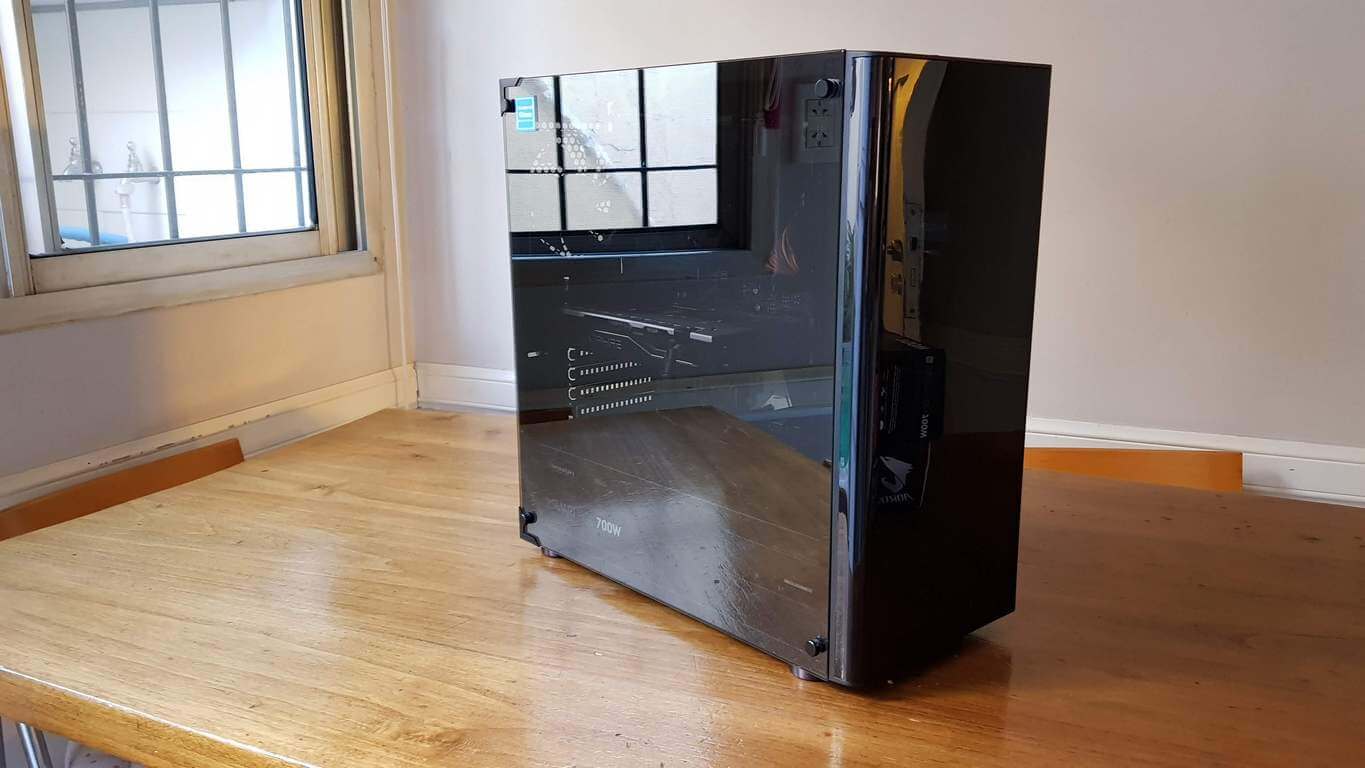
This was nothing to be alarmed about because clearly these clearance parameters will have been taken into account at the design stage. But I was extra careful when tightening the four thumb-screws into the motherboard. Also, it’s worth pointing out here that the two plastic heatsink retainers that ship with the motherboard need to be removed, thus exposing the four screw holes of the motherboard heatsink backplate. I imagine that the default plastic lugs are used for water cooling, as I have done on my PC. Oh, and one more thing– the Thermaltake V200 case, although sexy looking in the promo photos, isn’t anywhere near the kind of quality one might expect for a mid-range PC case. Too many sharp edges and generally a cheapo finish, with room for only two 3.5″ hard drives.
All in all, these were very satisfying builds and well worth any aggravation, mainly because, out of all the technical jobs that I’m asked to carry out, building PCs is what I could do all day if I had the chance. Furthermore, I chose AMD Ryzen over any Intel CPUs, both on performance and price– an area in which AMD is now taking the lead over Intel. For example, the Intel equivalent of a Ryzen 2600 is the 6 core Intel Core i5 8600k, which in this country is at least double the price of the AMD Ryzen 2600 CPU.
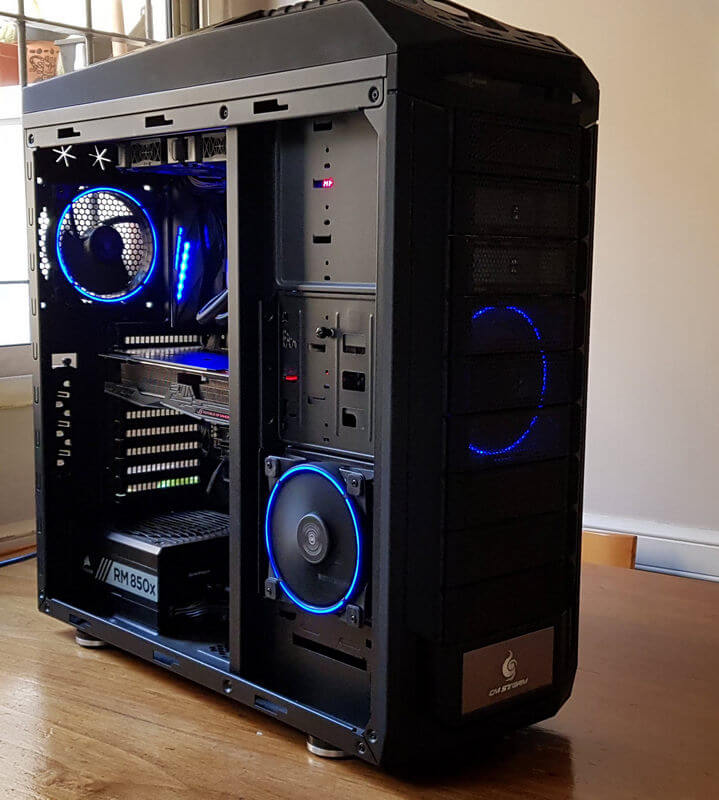
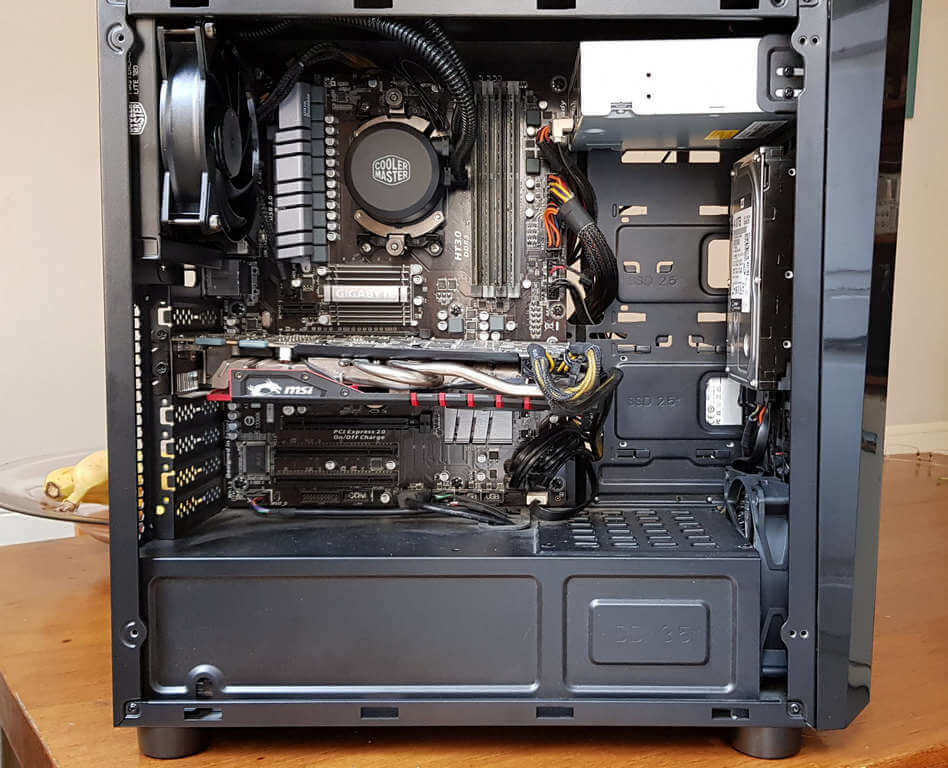
Fitting A 120mm Water Cooler

I’ve fitted numerous 240mm all-in-one (AIO) water coolers over the years and their placement has always been at the top of the case, provided that there’s a ventilation grill. The method used has always been by pulling air in from the top, which is then exhausted with a 120mm fan at the rear. On this occasion, I was asked to fit water cooling into a case without a grill at the top of the case, so the only option was a 120mm water cooler for fitment at the rear. I was a little concerned that there wouldn’t be enough room, but after double-checking the dimensions, I opted for a Cooler Master Lite 120mm AIO, which was simplicity itself to fit, as it uses the existing plastic lugs of the AM3+ motherboard. Clearance at the rear of the case was perfect and with plenty of room to spare.
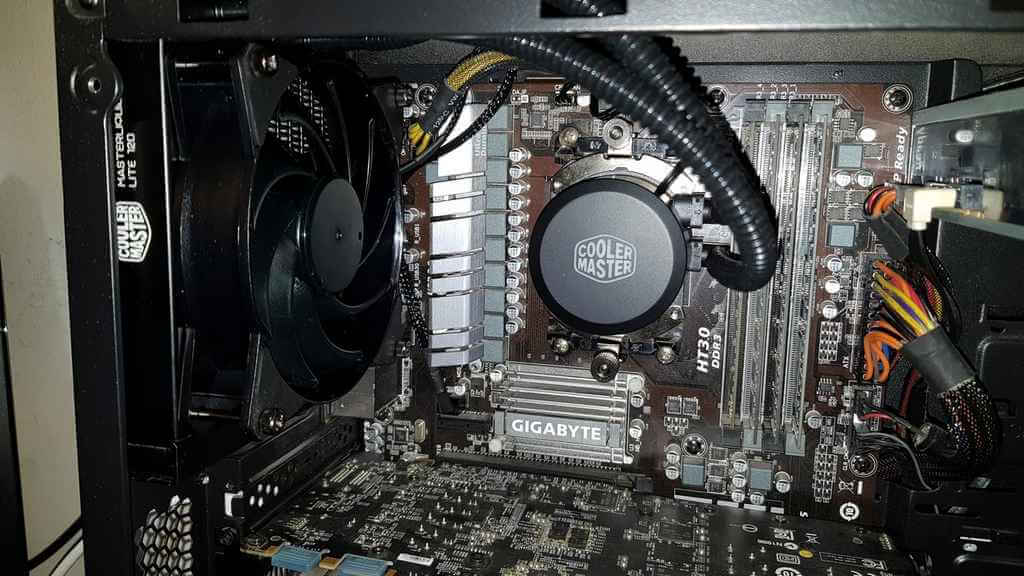
This particular gaming PC is running an AMD FX-8320 with a TDP of 125W and although the stock cooler with two copper pipes and a copper base is up to the job when running at full load in the heat of the summer, the fan would be going off the scale at around 4000RPM, which is very noisy indeed. It was also struggling to keep the temperature below 50C (122F) and higher at full load and sometimes at idle. The new water cooler now keeps the CPU at ambient temperature, is almost silent, with the PC now equipped to deal with the extreme heat of both an Argentine summer and gaming at full tilt.
All in all, a constructive, eventful and educational time for a PC technician, which has reminded me that there is always something to learn along the way.
—
The laptop was a bit gritty!!! Enjoyed the article.
Wow that clearance is minimal on those capacitors if that’s the reference design. The photo makes it look like the heatsink is just about resting on them. Most components including capacitors don’t like excess heat and can promote early failures and it looks like that would be a very hot little spot with extra radiated heat from the underside of the cooler once the PC was cranked up whilst gaming. I think I might have tried to get another heatsink design that wasn’t quite so close but maybe the bee’s appendage gap will be ok.
And if that’s what that woman’s laptop looks like I’d hate to see the rest of her house !
Computers are interesting but Argentinian politics (and inflation) are miles beyond interesting.
Thanks for the too-brief note on local problems. More in the future, please.
I could probably fill several volumes with tales of Argentine craziness, Steve. But I fear that I’d be taking ‘off-topic’ into new territory.