Following up on earlier posts in this regard, I will teach you about working with Anchors with your Word illustrations.
You use anchors to lock your illustrations to a specific paragraph or page in your document.
Follow the steps below to learn how:
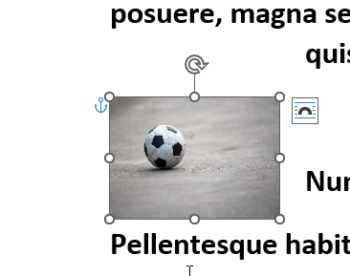
When you apply any wrap text style to your illustration, other than inline, Microsoft Word applies the Move with Text attribute to your illustration, as I have shown you previously. This applies to Object Anchor as well. To view Object Anchor, you must select your illustration. Once your image has been selected, you will see a small blue anchor in your left margin.
This is an indication that your object is anchored to that paragraph, even if you add more text. If you add enough extra text, your illustration will move to another page, but it will still stay with that specific paragraph itself.
Should you change to the Fix position on page option, the object will stay in place, as we have covered previously, but it will still be anchored to the very same paragraph.
You can use the Lock anchor option to keep an object anchored to the same page as the paragraph it is anchored to.
Follow the steps below to learn how:
- Select your illustration.
- Right-click the image and select Size and Position.
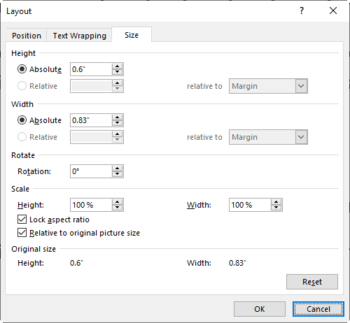
- This will open the Layout window. There, go to the Size tab.
- In the Size tab, you will see three tabs at the top of the window: Position, Text Wrapping, and Size. Click on the Position tab.
- At the bottom left-hand side, you will see Lock anchor – select it.
- Now, if you select your image again, you will see that the anchor icon now has a small symbol on it.
Your image is now anchored to your paragraph and locked to the same page as that paragraph.
—


