
It’s now easier than ever to record your gameplay and as I mentioned in Part One of this series, it’s no longer a question of churning out massive AVI files and rendering them through a codec to achieve a manageable size for uploading. We know that Fraps generates a raw AVI file and those can be around 1Gb a minute of recorded gameplay, with the main disadvantage of only being able to use Fraps’ own built in codec, FPL1. Fraps is excellent at what it does; you simply press the hotkey in-game and it records, giving you a raw AVI which you can then convert to another format to achieve a more manageable upload size. But times have changed and digital recording technology has improved dramatically.

There are of course numerous other game recording programs and I’ve recently being playing with Bandicam, Dxtory, Action!, MSI Afterburner and Raptr GVR with some mixed results. The main plus with the first three programs is that you get to choose your decoder and different containers/formats.

Probably the single most important factor though, is that the load isn’t on the CPU as much as used to be the case if you choose a decoder that feeds directly off the GPU, resulting in negligible amounts of lag and dropped framerates. You can always tell if your CPU is struggling, when the game begins to stutter (lag) and it can become unplayable.There are still arguments as to whether the CPU is more capable of producing the lag free quality required and in the end, the current evidence should speak for itself. The image above, published by Bandicam, illustrates the latest hardware acceleration codecs from the major players and the specific requirements.
![]()
Handy tip: make sure you only have one capture or record program open at one time, particularly if you always use the same hotkeys across the board.
Bandicam

As far as I’m concerned, any program that is presented in a logical, easy to use format that isn’t scary for beginners, has to be a winner. In that respect, Bandicam clearly achieves that goal and is a pleasure to use. As I mentioned earlier, I’m not an expert in codecs, containers, video formats and the like, but am eager to learn and experiment with a helping hand and in that journey, Bandicam is more than friendly.
The first areas you need to check are the hotkeys to record, the output folder and the video settings.The hotkey F8 for example, will start and stop the recording and choosing your output folder keeps your projects nice and tidy, not to mention being able to utilise a faster hard drive location, if you have one available.
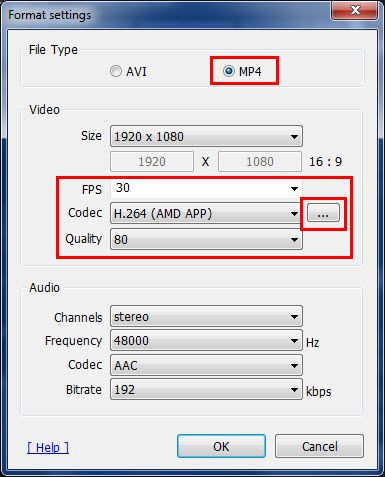
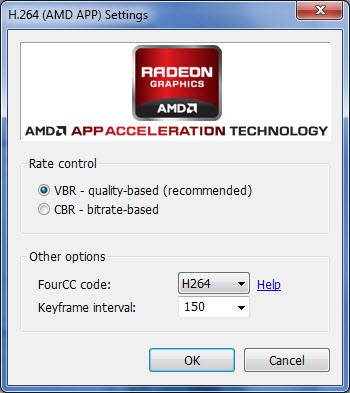
By clicking on video settings you can choose the codec, recording resolution, FPS (frames per second) and output format amongst other settings. For my purposes I used the H.264 AMD APP codec which feeds directly off the GPU as I mentioned before, a 30 FPS setting, full resolution and an output container of MP4.Choosing an AVI output type usually results in a larger file size, at least in my experience. The FPS setting of 30 can of course be increased, but generally speaking most of the TV, films and video we watch is shown at 24 FPS, unless you’re directing The Hobbit of course.

As of October 2014, Youtube supports 60 FPS! This means that if you recorded your gameplay at 60 FPS, Youtube will no longer cap it at 30 FPS, which used to be the case. The difference is incredible as this clip of Tomb Raider shows when played in 720p or 1080p.
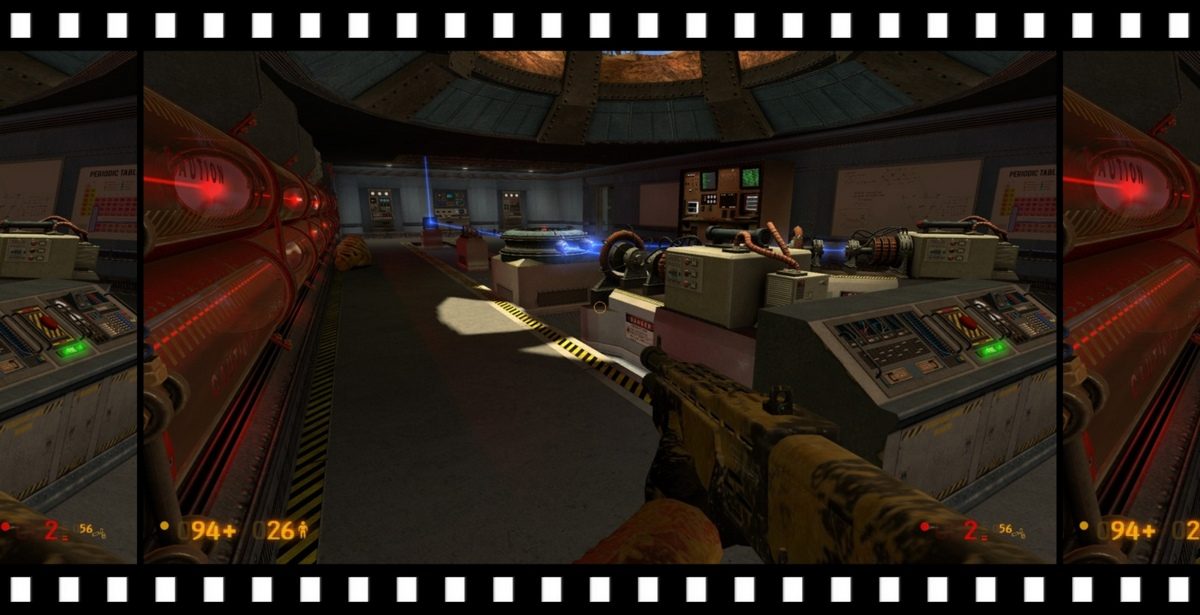
In this case a one minute chunk of Mirror’s Edge gameplay which, whilst not a graphically demanding game, illustrates the finished result quite nicely; the file size is 206Mb and there is no noticeable lag in the replay whatsoever.
Take a peek and adjust the Youtube cog up to 720p for a better picture.
[youtube]http://youtu.be/7w-Xmxjbf_M[/youtube]
Far Cry 3 is a much more demanding and luscious game graphically and it needs a well specced PC to do it justice, however a one minute clip, using the same codec and video settings resulted in a file size of 400Mb, which is still acceptable.
Take a peek at this clip in 720p:
Dxtory
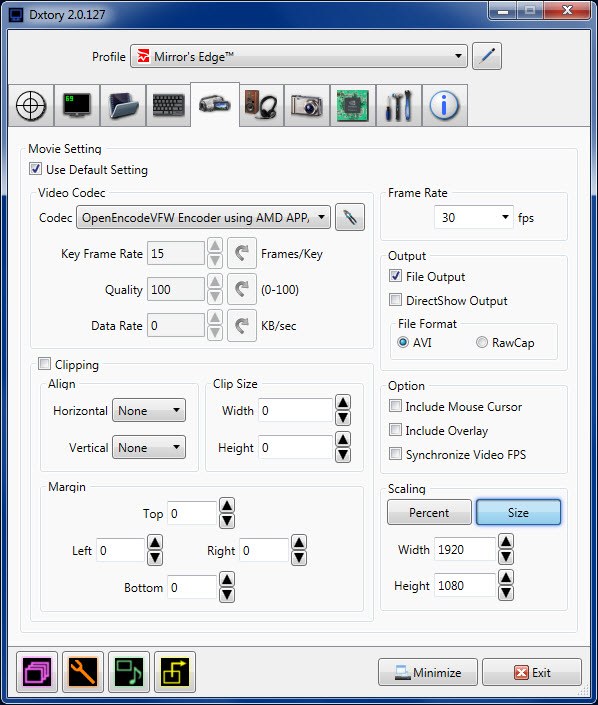
Dxtory is another excellent game recording program and is probably more suited to advanced users for the simple reason that the codec configuration options are extensive and require at least an advanced knowledge of the many and varied terms used.

To use Dxtory with the AMD APP GPU hardware encoder, you’ll need to download it from here, install the codec and restart the program. It sounds like a hassle, but it really isn’t.

Dxtory gives you the choice of either AVI or RawCap (with a .rawcap file extension), where RawCap records much like a striped array adding every other frame to two separate drives, giving you the ability to rebuild the file into an AVI later. Frankly, I’d stick to AVI, it’s a lot simpler.
![]()
Handy tip: When selecting the output folder, select a different physical hard drive if available.
Encoding choices are numerous, but since the output is always going to be AVI and Lagarith Lossless will produce a beautiful 2Gb 1.5 minute video, you’re better off using the VFW AMD APP which will turn out 2.5 minutes at 150Mb. The quality is almost the same, with a considerable logistical difference, IE, upload time and storage.
[youtube]http://youtu.be/VFvA7lBANco[/youtube]
Dxtory does what it says on the box and very well indeed, which is why more experienced game buffs and walkthrough compilers love to use it.
Mirillis Action!
Action! is quite simply a superb piece of software. As soon as it launches, you know you’re using a quality product which has been designed by someone who understands that simplicity is the key when you want to get a job done quickly and easily.

The first things that struck me were the video thumbnails on the left and the big red record button which is impossible to miss, much like we have all seen in Snagit. The thumbnails are a great addition as it’s so easy to lose track of all the videos you’ve taken, many of which are simply taking up valuable space if no longer required. The tabs across the top give you access to all the necessary configuration settings, which thankfully are as many (or few) as needed for video, sound and screenshots. In fact the outputs are simply AVI, MP4 or AMD APP MP4 and that’s it, as opposed to Bandicam’s choice of around six codecs and many more for Dxtory. That’s not a criticism of either of those excellent programs at all, but if you’re looking for a recorder which has the most popular game recording protocols already built in and ready to run, it doesn’t get much better than this incredible piece of work.

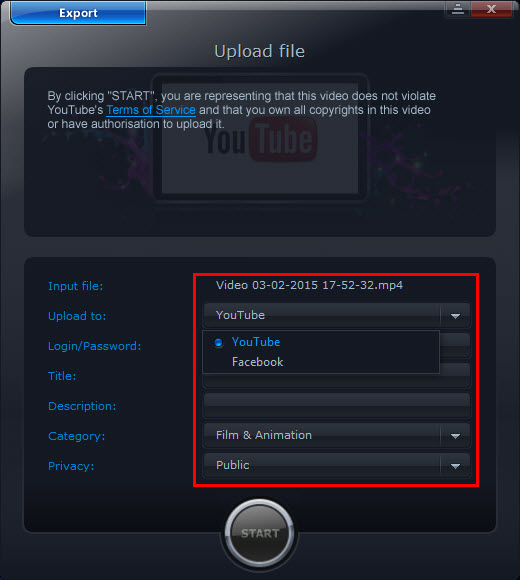
One of the most important aspects of screen recording, whether it be a game or simply the active screen, is knowing that you’re actually recording. That may sound a little dumb on first reading, but it is easy to get distracted. Action! allows you to show a small hud (head up display) anywhere on the screen and also in-game, which shows the recording FPS, the game’s DX FPS, elapsed recording time and perhaps more importantly, the numbers change from blue to red when actually recording.Of course, you can opt to hide the hud from the recording and also to re-position it around the screen. I particularly like the elapsed recording time indicator, which is very handy for specific projects such as speed-runs and walkthroughs. The recording options are varied allowing you to record from the mic as you play, stream the game live and also to upload to Facebook and Youtube with a few simple clicks.
Here’s a clip of Far Cry 4 recorded in 1080p using the AMD APP codec and output as a 300Mb MP4, which looks as it should when played in 720p or higher.
Another nice touch with Action! is the simple choice of Perfect Video Match mode, which appears to render the recorded video specifically for the web and results in a smoother video.
Since most of us are not hardened video editors or directors it’s easy to see why Action! is claiming the crown of most popular game recording software and World’s No. 1. It’s simple to use, leaves out all the complicated jargon and let’s you get on with the job in a pleasurable manner.
MSI Afterburner
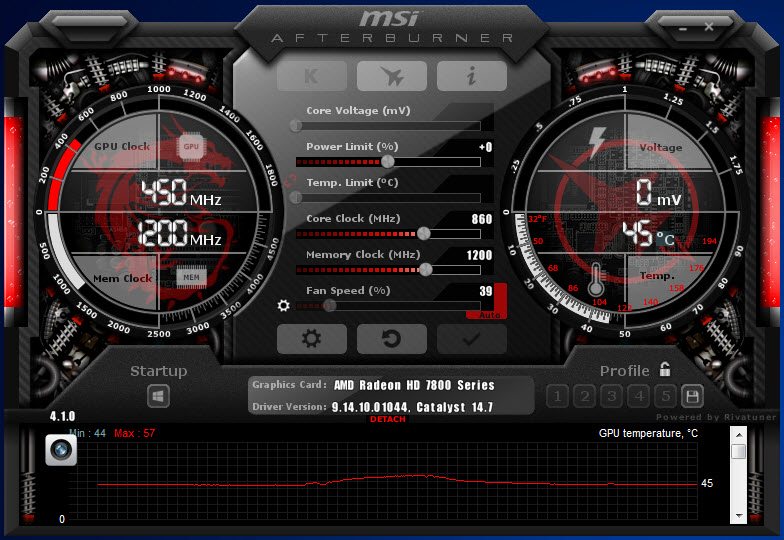
Afterburner is primarily a monitoring and overclocking program for GPU’s and whilst it achieves the goal of recording your games in either MKV or AVI in excellent quality, I wouldn’t use it by choice as my primary recording program. The codec choices are limited and despite choosing the AMD VCE, I couldn’t select MP4 as the output format at all.

The interface on the other hand, is very sexy and looks great on your desktop when monitoring your GPU.
Raptr GVR
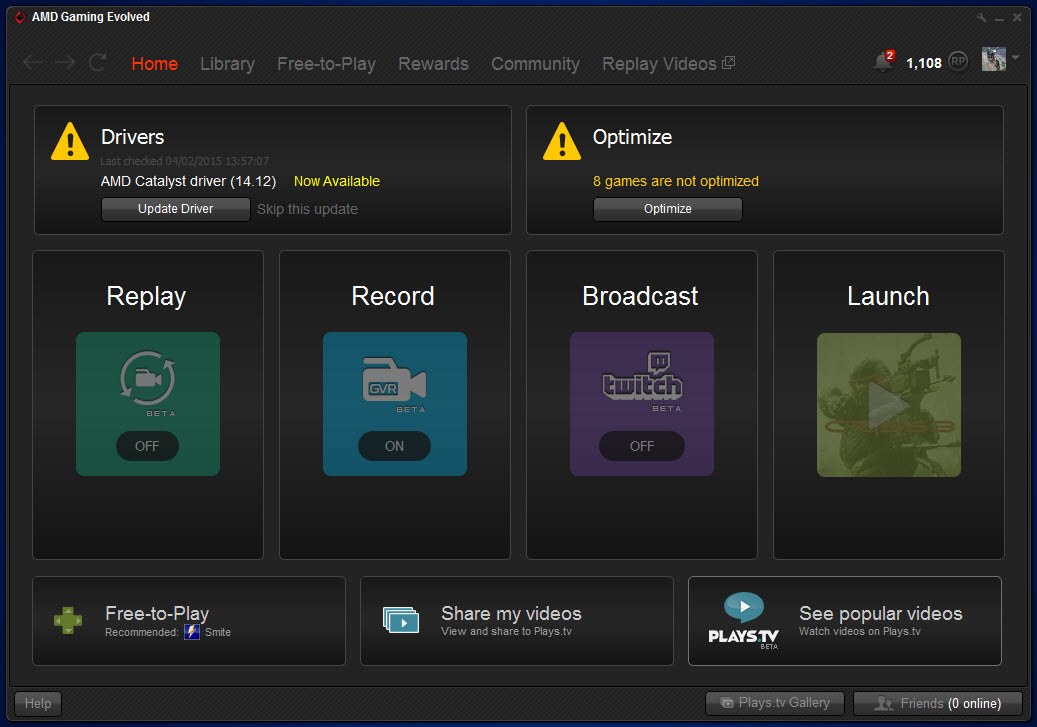
Otherwise known as AMD Gaming Evolved, this is where it all goes pear shaped. When you download a new AMD Catalyst driver for your GPU, AMD almost obliges you to install Gaming Evolved which is a game management, social networking and optimisation suite. I have fond memories of when I bought a used Radeon 7950 a few months back and the seller handed me a voucher for three free games offered by Gaming Evolved which included Crysis 3, the most stunning looking game ever to have existed and I almost bowed down in homage to Gaming Evolved, but that’s where our love affair ended, quite abruptly actually.
In a few words, this app is nothing more than an information harvesting device which claims to optimise your games based on other gamers’ experiences. Further and more precisely, the GVR recording app cannot be used offline, which is utterly pointless unless you wish to stream to Twitch and I’ve now removed the suite from my PC.
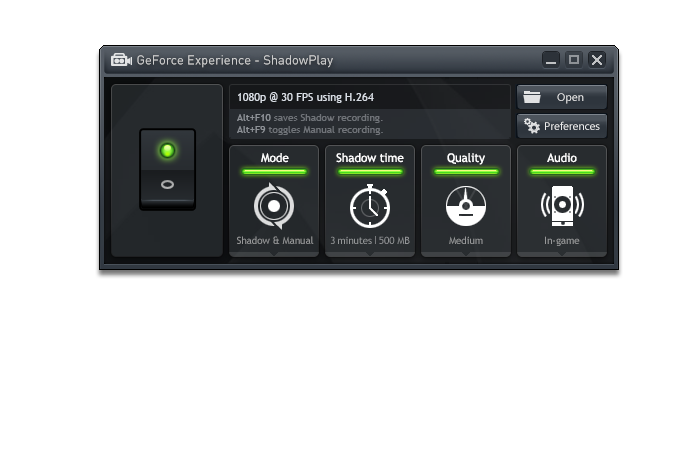 Geforce Experience is a similar program, but since I don’t have an Nvidia GPU, I couldn’t test it. It is however, similar to the AMD suite and as far as I can gather, cannot be used offline for recording gameplay.
Conclusion
I’ve only touched on a handful of programs capable of recording gameplay and in the end the simplest, but far from being basic, seem to give both the most enjoyment and the best results.It does mean that they come with a price and I’ve seen Mirillis Action! going for between $29 and $50. If I were an avid walkthrough specialist I’d go for either Bandicam or Action! and for more serious digital video buffs, perhaps Dxtory.
Finally, here’s me showing off my serene driving skills in Detroit, recorded before I discovered the joys of Action! and hardware accelerated GPU recording.
Enjoy!
—
Thanks for that info.
Interesting how “recording” software has become so much less obtrusive than it was.
I guess the new cp and gp u’s are also much better at multi tasking as well.
A good and informative read.
CB