![]()
Play the game!
I recently installed Windows 10 on a new 250Gb SSD and naturally enough was keen to start gaming right away, but with Steam installed on another hard drive, what’s the best route to take? In the past with new installs I’ve simply navigated to the old location, the usual default being C:\Program Files (x86)\Steam (substitute C:\ for whatever drive letter the new install has assigned the old drive) and simply ran Steam from there. However, this causes problems for many games as the Steam manifest will logically point to the default location resulting in a game not found error. There is a way round this by editing each game’s manifest in notepad by simply changing the path but it’s time consuming especially when there’s a better way.
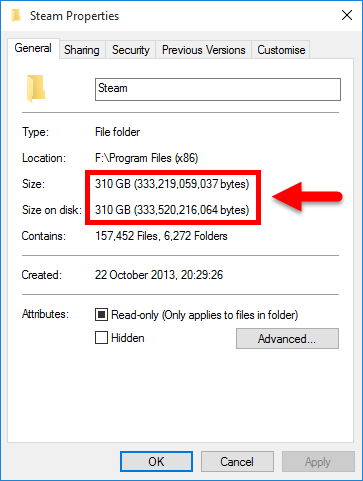
Of course, being an SSD of only 250Gb the size of my Steam library was the dominant factor in deciding whether to move it or have Steam find it and reconfigure it. This can be ascertained by finding the original Steam folder, right click, then click properties to reveal the size thus:
Plan one
Clearly too large to move the entire library over to the SSD and if I simply want to leave all the games in their original location and run them from there, the solution is quite simple. Download and install Steam to the new Windows installation and then run Steam.
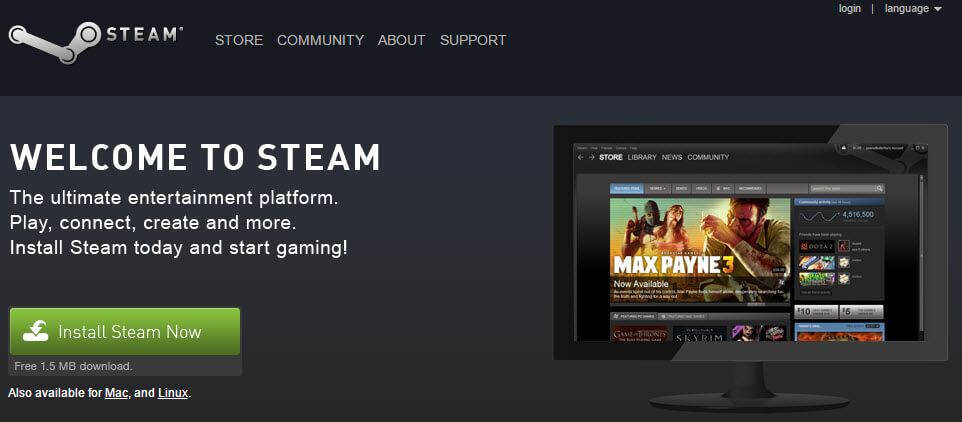
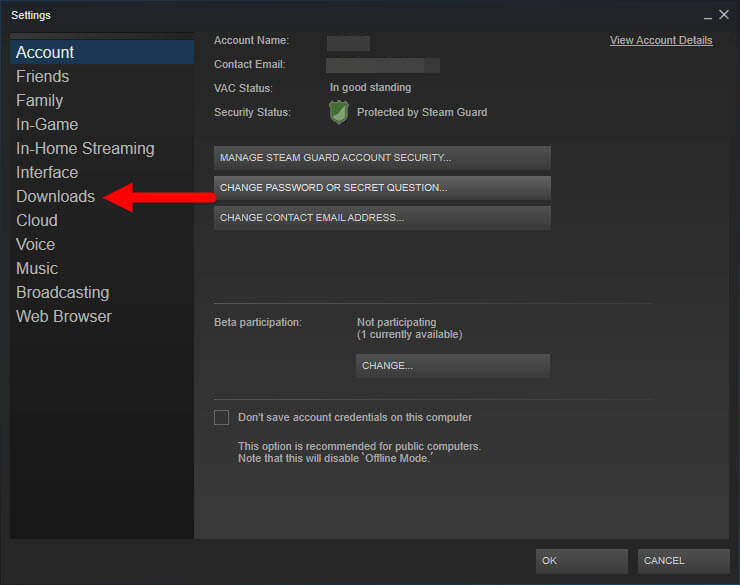
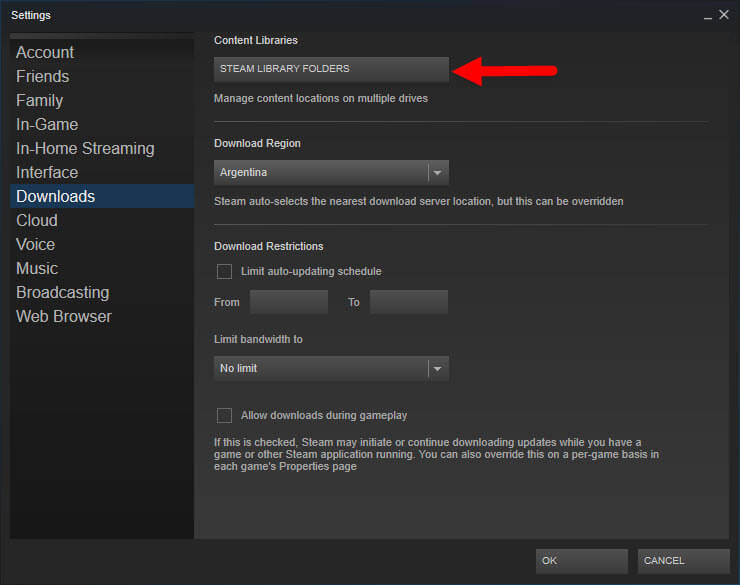
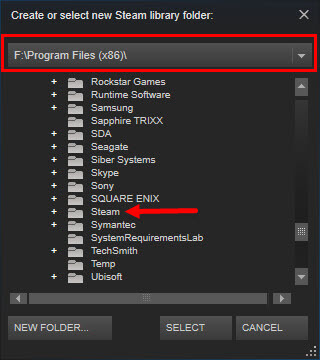
Click on Steam in the top left of the main program Window, scroll down to settings, which will bring up a new window and then click on downloads, Steam library folders, then add library folder. Here you will need to navigate to your old Steam install and simply select the main Steam folder and click OK. Steam will do the rest and within seconds all your games will be available in the library just like before. Follow these pictorial steps to help you.


Plan two
It’s true that some games will benefit from running on an SSD, in particular game load times, which should be greatly reduced. In the case of Black Mesa, the game uses the Source engine whose load times are legendary. If you want to move all your games or just one or two to a new hard drive, it’s best to confirm first that you have enough room on the new drive, particularly if it’s an SSD. I wanted to move Black Mesa (Steam Version) over to the new SSD without having to download the game again, yet the actual game is only around 11 Gb, so not as big as to eat up that valuable SSD space. In my case, I did this with a new Steam install and prior to completing the steps in Plan One mentioned above.
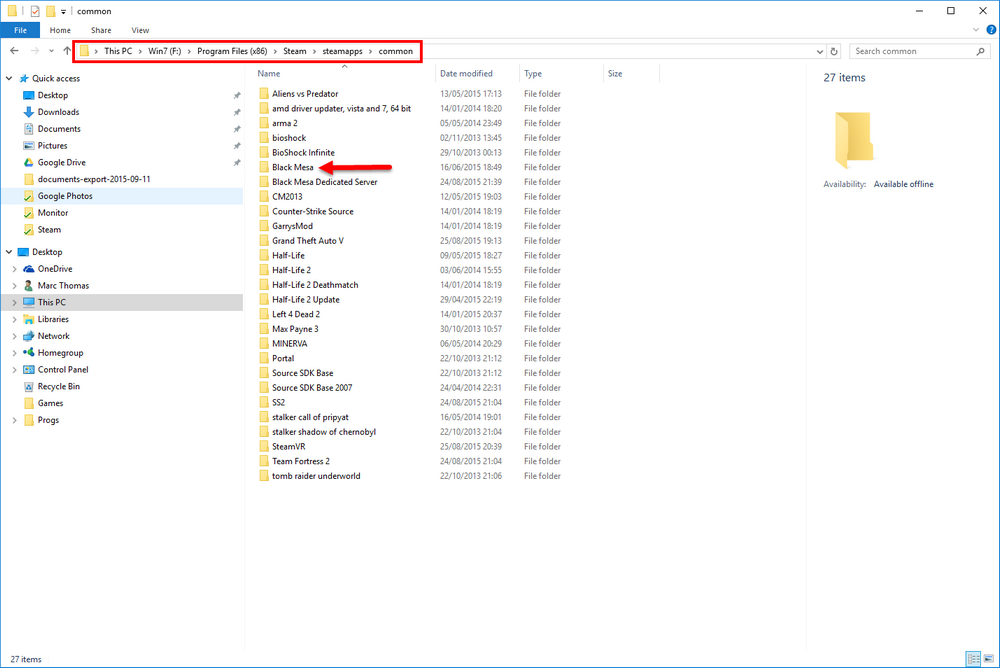
If Steam is running close it down and navigate to your new Steam install which should be C:\Program Files (x86)\Steam, create a new folder called steamapps and a sub-folder called common. Then navigate to your old Steam installation and to the corresponding file structure and copy the game folder into your newly created folders in Steam at C:\Program Files\Steam\steamapps\common. Restart Steam, click play on the game title and the program will busy itself with some configurations and then launch the game. Alternatively, if you want to move your entire Steam library from one hard drive to another, copy the steamapps folder and paste it into the new location and remember to COPY and not to CUT; it’s just safer that way. The picture above should help with the path and structure you need to follow.
Third party programs for managing Steam libraries
Before Steam made it possible to create and amend different Steam libraries, some clever people came up with handy little programs that created symbolic links. One of these is Steam Mover, which I’ve never tried myself but appears to do exactly what it’s supposed to do by moving your games from one location to another.

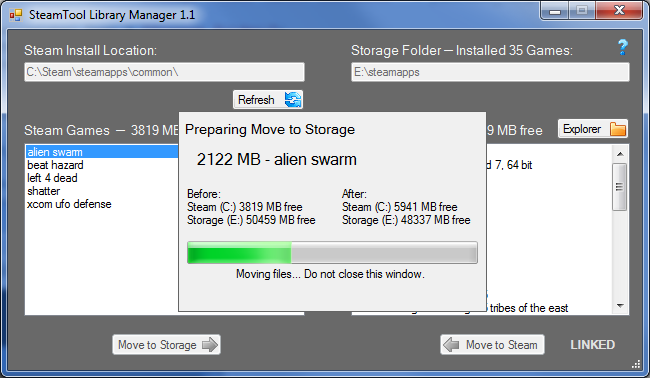
Alternatively, Steam Tool Library Manager will accomplish the same end, and both programs have had excellent reports from users.
Game won’t run?
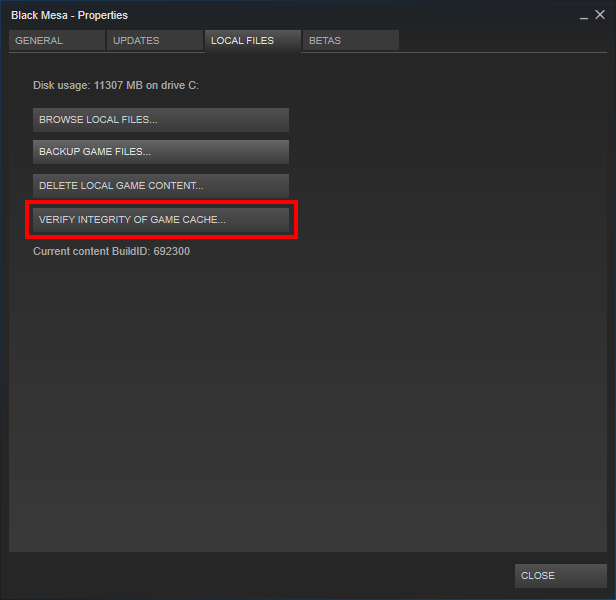
If you come across problems moving games around you may need to have Steam check the files using its built-in game cache integrity verification tool which you can find by right clicking on the game’s title on the left hand side of the Steam window, clicking Properties and selecting local files, then verify integrity of game cache. This particular method of problem solving has helped me on numerous occasions.
Enjoy your gaming!
You can also use SLM 🙂
https://github.com/RevoLand/Steam-Library-Manager