There are many instances when one would wish to add a caption to a document in Microsoft Word. I specifically like to add captions when I am creating a manual or when I am doing a tutorial. I feel that we all learn in different ways and that includes reading and seeing, so I like to include screenshots.
Word makes it very easy for us to add captions to our documents. Once you learn how to utilize this option, I am certain that you will think of many reasons why you should use them, such as figures, equations, etc. Captions are numbered labels (i.e., Figure 1) that you add to tables, equations, or other objects of your choosing. It is made up of customizable text (i.e., figure, table, or something else of your choosing), followed typically by a number or letter, which you can also follow with some adjective, etc.
Follow the steps below to learn how:
- Select the object (i.e., table, equation, etc.) to which you would like to add a caption.
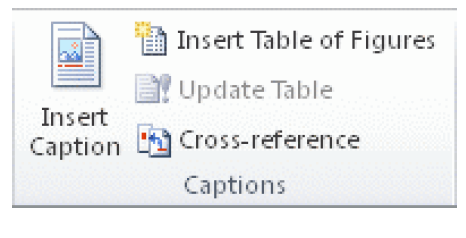
- On the References tab, in the Captions group, click Insert Caption.

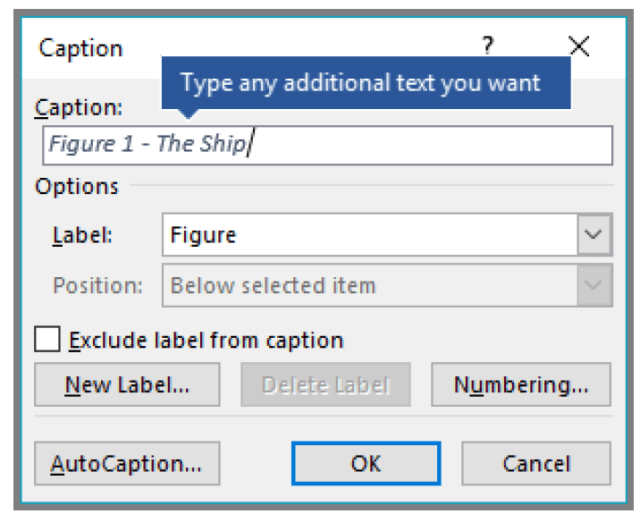
- In the Label list, select the label that you think best describes what you need.
- Click OK.
- Should you not find exactly what you are looking for, click New Label and key in the name for your label. Key in any text and/or punctuation that you would like to appear after your label.
Word will insert the sequential caption number as a field. So, if your field looks something like this: Figure{SEQ Table \*Roman, that means that Word is displaying field codes in your document rather than the field results. If you would rather see the caption normally, simply press ALT + F9. If you are not sure which you would like to see in your document, go ahead and experiment and select the one you like best.
That is pretty much it. I told you it was easy. So now go forth and be creative!
—


