Originally written May 24 2015
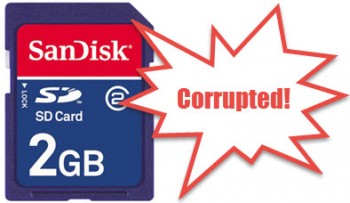
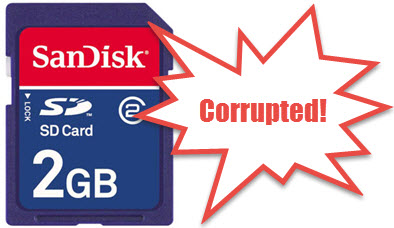
 My nephew recently graduated from High School which meant a lot of pictures taken. Unfortunately the camera malfunctioned during the graduation ceremony and it seemed to have deleted all of the photos on the camera. His mother was devastated. She brought me the memory card from the camera to try to recover the photos. When I first got the card and inserted it into my computer a message popped up about the card being damaged and recommended a scan to repair damages.
I accepted without giving it a second thought, I had fixed one before using this particular method. I had always considered the chkdsk command one of the more useful utilities built into Windows, but this time I was not so fortunate. The scan found and repaired the damage but left a bunch of .chk files that where totally unusable.
The last time I used this successfully all I had to do was rename salvaged files, usually named File001.CHK, File002.CHK and so on. I just changed the extension from .chk to .jpg and the pictures where once again viewable and intact. This time it didn’t work. So I went online to see if these files could be salvaged any other way. I came across a web page with some utilities that claimed to be able to recover these files, but so such luck –
www.raymond.cc/blog/how-to-recover-chk-files-created-by-chkdsk-and-scandisk/
I believe older versions of Windows had an undo command. I was wondering if such an option still existed, if the scan changes could be undone. Nope.
Recover with Recuva
So anyway I decided to try some different recovery programs to see if I could salvage the files. Nothing worked. The only good news was that the next day it was discovered they gave me the wrong memory card. So I put the second card in only to discover it was blank. The usual folder setup was there but no pictures. Unlike the previous card, the scan disk option did not pop up. It didn’t matter because I had no intention of using it this time anyway, except perhaps as a last desperate resort. I decided instead to try the free version of Piriform’s data recovery software Recuva – www.piriform.com/recuva.
By walking through the wizard after install your first option is to choose which files you want to recover. Since I was only looking for pictures I checked pictures.

Then I had to chose where I wanted to recover the files from.

Then I checked the option for the deep Scan.

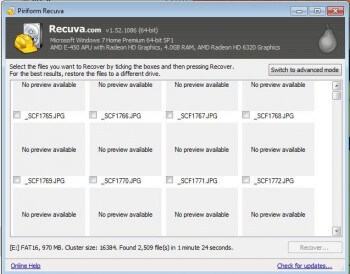
This is what showed up next (actual screenshot from recovery operation). Just go through and check the files that you want to try to undelete.

I switched to the advanced mode (sorry no screen shot available). It will prompt you for a location to save the recovered files after you click on the Recover button… down in the right hand corner. If the files haven’t been overwritten yet there is a high chance of recovery.
It’s recommended that if you delete something accidentally and you plan to try to recover it, don’t do anything else on your computer, or in this case take any more pictures, otherwise you risk those files being overwritten. When you delete a file it isn’t deleted completely, it’s simply marked for deletion by the operating system. The system treats the file as empty hard drive space that can be reused. That is why sometimes it’s possible to recover deleted files.
Eventually these files will be overwritten and impossible to recover. That’s why companies and individuals interested in security and privacy use special software called erasers or shredders to completely erase these files. For this same reason you have to act quickly to recover these files and it’s also recommended to copy the recovered files to a different drive or storage device. Using Recuva I was able to salvage the graduation pictures.
Crisis solved, +1 for Recuva.

I have used Recuva for probably 4 or 5 years. Being a photographer, it has saved me untold times. Just remember – the computer over rides old files and in that case you are SOL.
Thank you for your comments. I’ve had Recuva on my system for years but I believe it’s the first time I had any use for it.