
As an IT, I have many clients, friends and family calling me asking for help with computer issues. This can sometimes be hard to do if I’m not right next to them, or cannot remote connect to their computer if we are separated by distance. Not only is this frustrating for me, but the person I’m helping too. What do you do when this happens and both of you are unhappy with the situation? You find a tool that will help. I have found that tool and it is something that Microsoft created when they came out with Windows 7. Windows 7 and up have this great feature called “Problem Recorder,” which captures an image of your desktop automatically every time you click the mouse. Now you can show the exact steps you took when the problem occurred. No more trying to explain what is going on, just click and record. This is something even as a tech I did not realize was there.
Now, don’t think of this as a screenshot tool. It does more than simply take a picture of your screen; it will take a snapshot of your screen every time you click on something. Then it automatically lays out all those snapshots in order with captions explaining the steps shown so it can walk the tech through the problem you are having. Once you are done recording your problem, just save it as a zip file which is the only option available, then attach the ZIP file to an email and send it right to your friendly tech.
Let me show you how this works on Windows 7. Remember this can also be done on Windows 8 and 8.1.
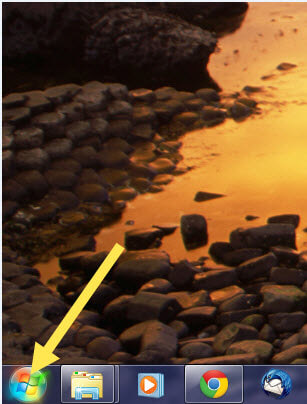
Steps: From your desktop go down to the left bottom corner and click the Windows Start icon.
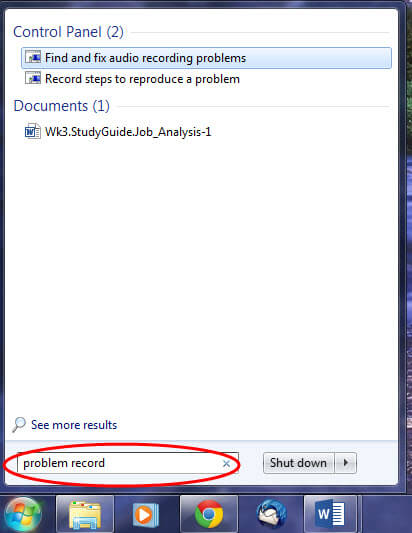
Next, in the search box type “Problem Record”

After typing “Problem Record,” the option will appear that says “Record steps to reproduce a problem”
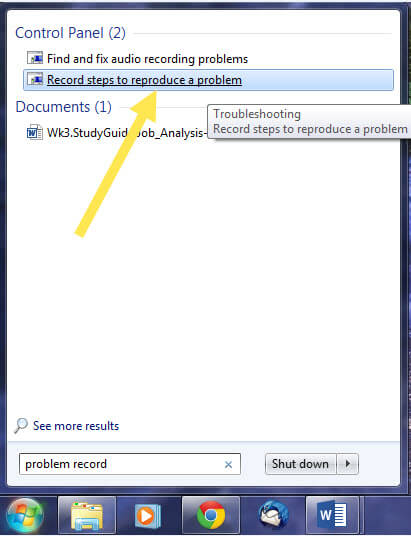
Now go up to the link ‘Record steps to reproduce a problem” and click it.
Once you have done that you will see the Record Bar appear. All you have to do now is click on the “Start Record,” to get the program running. Now just click through the exact same steps that led to your your issue and once you are done click “Stop Record.”

Hitting “Stop Record” will automatically bring up the Save options window. Which as I said at the beginning, will save as a ZIP file. Now just name your file and save it to a location where it can easily be found.
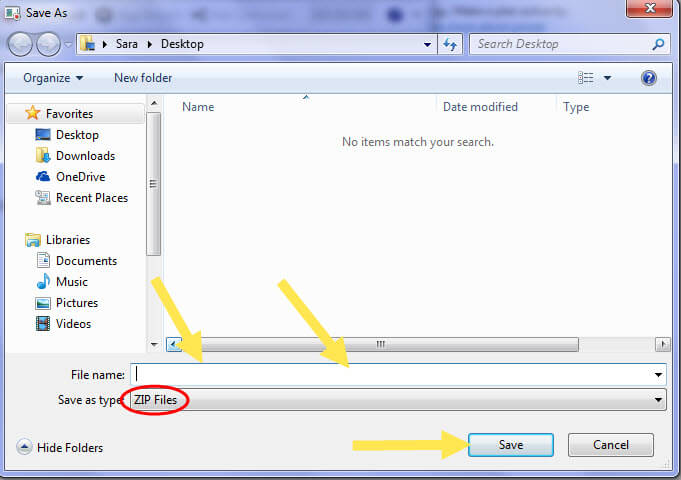
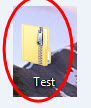
I have saved my ZIP file on my Desktop and named it “Test.” Now you just have to attach this to the email and send it on its way.
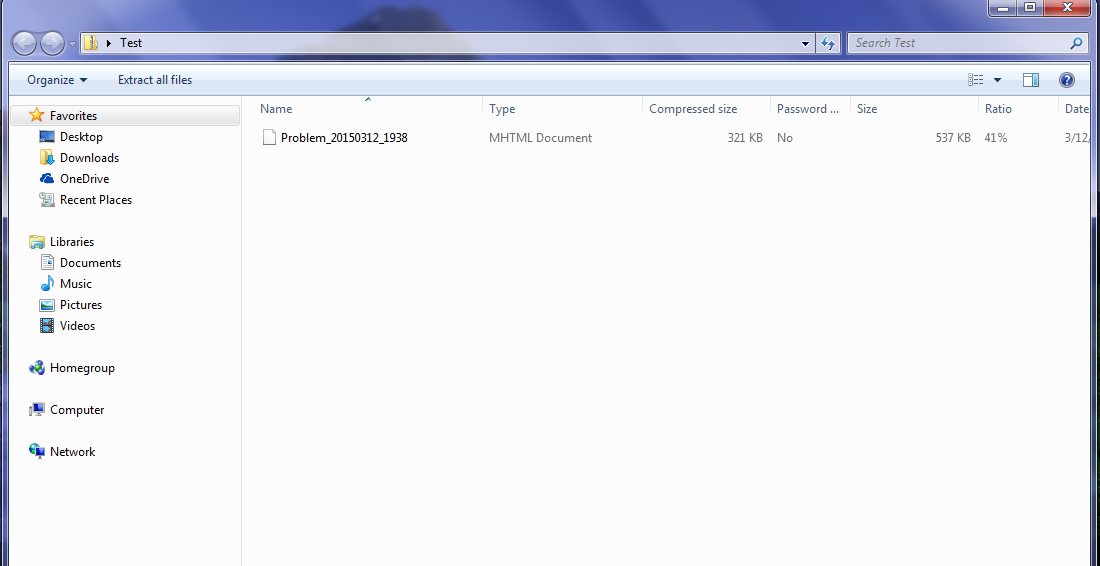
To open this Zip file all you need to do is click on the Zip file. Once you do that it will show the Problem MHTML Document. Double click to open.
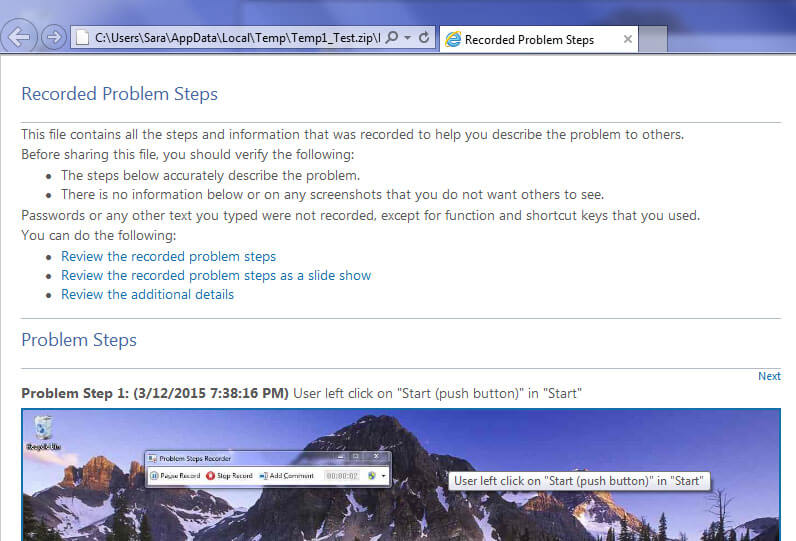
This file will display in your IE browser by default or whichever browser you use. As you can see this will layout the steps you took with pictures and captions. Very helpful when trying to help figure out what could have gone wrong.

Now you have a tool that will help your tech/family friend fix those computer issues. Plus it will help keep both yourself and your client sane.
Jason,
Amazing. A tool that has been around since WIN 7 (or before). What a bonus. I know this will be so helpful as I support people many miles away.
Thanks,
Tom
Another reason for Microsoft to have an “owner’s Manual” with every version of Windows. Windows has lots and lots of features that they don’t tell us they have.
As with this article, we wouldn’t know if someone else hadn’t told us. Thanks for the tip.