 In this, the third part of my self-publishing series, I’ll be covering the final steps in publishing the book and, as a reminder, here are the main bullet points:
- Finalise the back cover blurb (synopsis)
- Upload the final book cover
- Devise a marketing strategy prior to publication
- Use the new book cover as a marketing tool on the new website and social media well in advance of publishing date
- Final read-through for errors and layout
- Link both eBook and paperback
- Publish the book!
I Am Now A Graphic Designer
The best-laid plans of mice and men and all that…
You may recall in How To Self-Publish Your Book – Part Two, that I had decided to use the services of a professional book cover designer and how excited I was at the prospect of seeing a stunning design winging its way to me a few weeks ago. Well, I did receive a sample book cover, but it didn’t come anywhere near my expectations and it soon became clear that the designer wasn’t in a position to fulfill my needs, so they refunded my deposit and we parted company. That left me in a quandary; do I hire someone else, try to design the cover myself or use KDP Book Cover Creator?
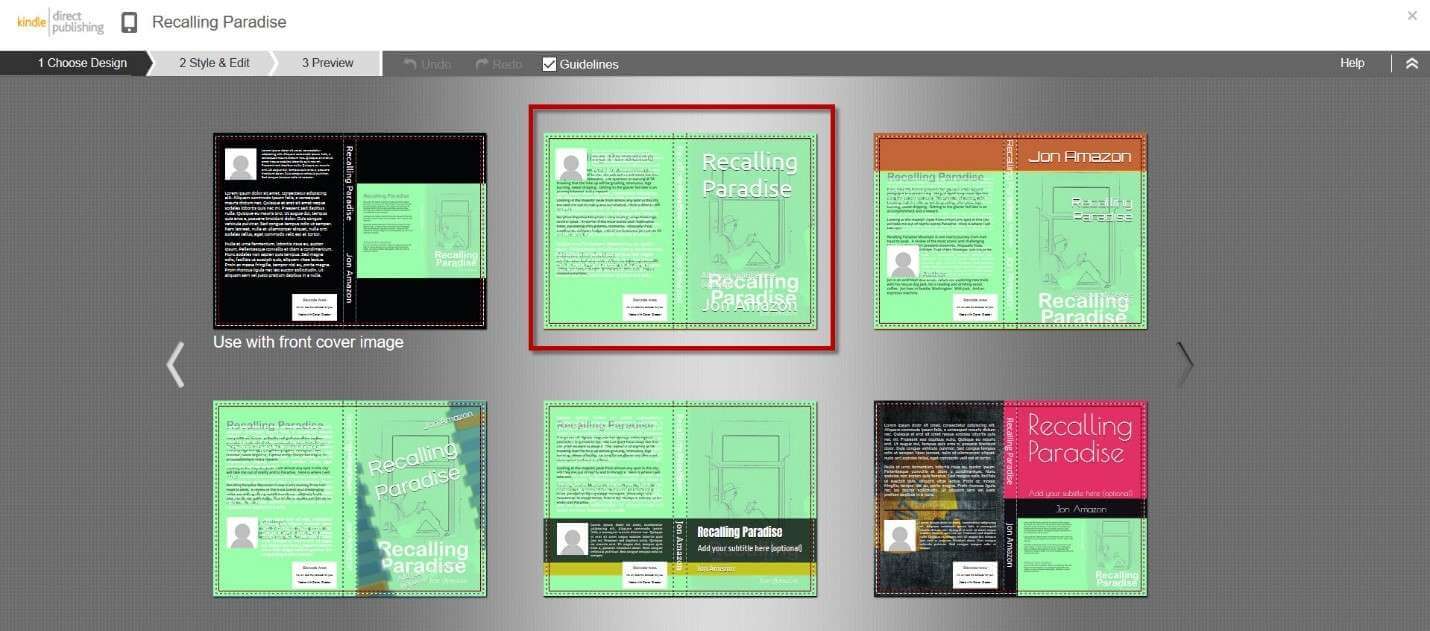
Up to this point, I hadn’t spent one single penny on publishing this book, apart from half of the $350 fee which had now been refunded to me, of course. Having a cover designed can cost anything from $300 to $3000 and I’d have to sell bucket loads of books to recoup that kind of money, so I decided to give KDP Book Cover Creator a go because, on the face of it, it looked pretty simple. I won’t go into a lengthy how-to here, because that would be very detailed. However, I began to use the tool and found it very intuitive, mainly because the templates available exactly matched the book size (trim size) and numerous options for the positioning of titles, author name, author Bio and other details, can be juggled about– up to a point. There are also sample images available, but I uploaded my own and in the end, found the tool a little too constraining and so I abandoned it and began to scratch my head.
Open Source Software To The Rescue!
Many designers use Adobe Photoshop for graphic design, but since their software costs an arm and a leg, I began by using what programs I already had, which isn’t very much– Snagit and Microsoft Office 2013 won’t get that kind of job done. In the end, I turned to what free software was available online and discovered Gimp and Inkscape, both of which are open source and completely free of charge— three of my favourite words, in fact.
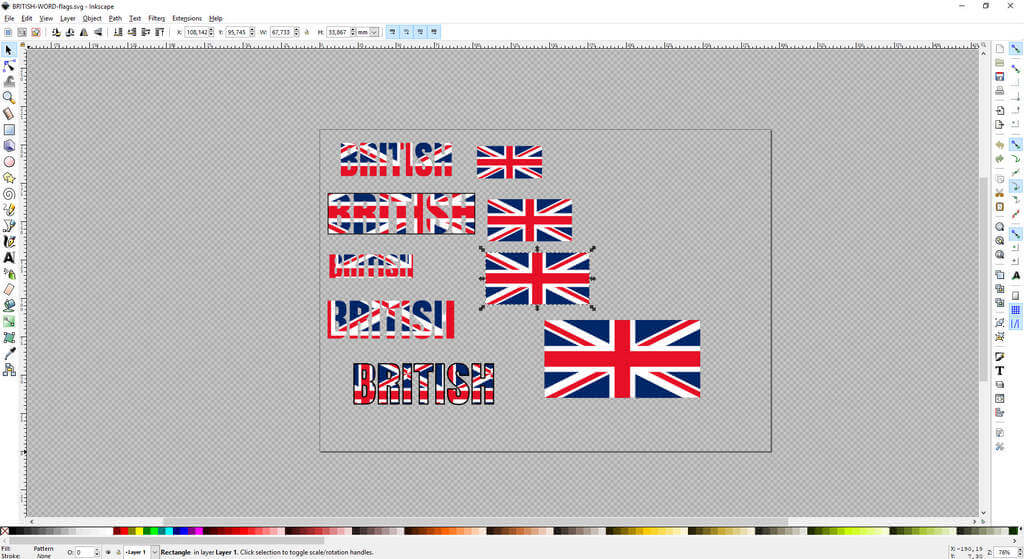
It’s important to note here that I was trying to achieve a very specific gradient effect in one particular word of the book title. I had tried numerous online and other programs with no success, but Gimp finally gave me the tools to achieve just that. I was determined to put the effect into the title, but Gimp, or at least my understanding of its tools, left me a tad frustrated. I then turned to Inkscape, everything snapped into place and within a couple of weeks (it’s a learning curve) I had my finished book cover.

Using a high resolution 4032 x 2268 photograph I had taken myself, thus negating any potential copyright issues, and I used this as the background, set the page to the exact dimensions of the book cover, remembering that the cover includes a front, a spine and a back. I then placed the artwork in the ‘safe’ area, i.e., within the edges that would eventually be cut by the printer and placed guidelines on the template for the spine, height, width, and other vital measurements. I then positioned the back cover synopsis, title, and author, leaving a space on the back for the bar code, which would be added automatically by KDP. Naturally, I was a little nervous as to whether my finished effort would line up perfectly for the given amount of pages, paperweight and spine width, but fortunately, the publishing portal has a review section which you can check prior to approving the work. I then uploaded the finished cover as a printable PDF at 300 dpi and was delighted to find that no errors were found and that the all-important spine lined up exactly with the artwork.

Final Manuscript Read Through
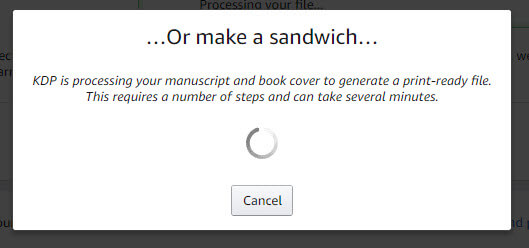
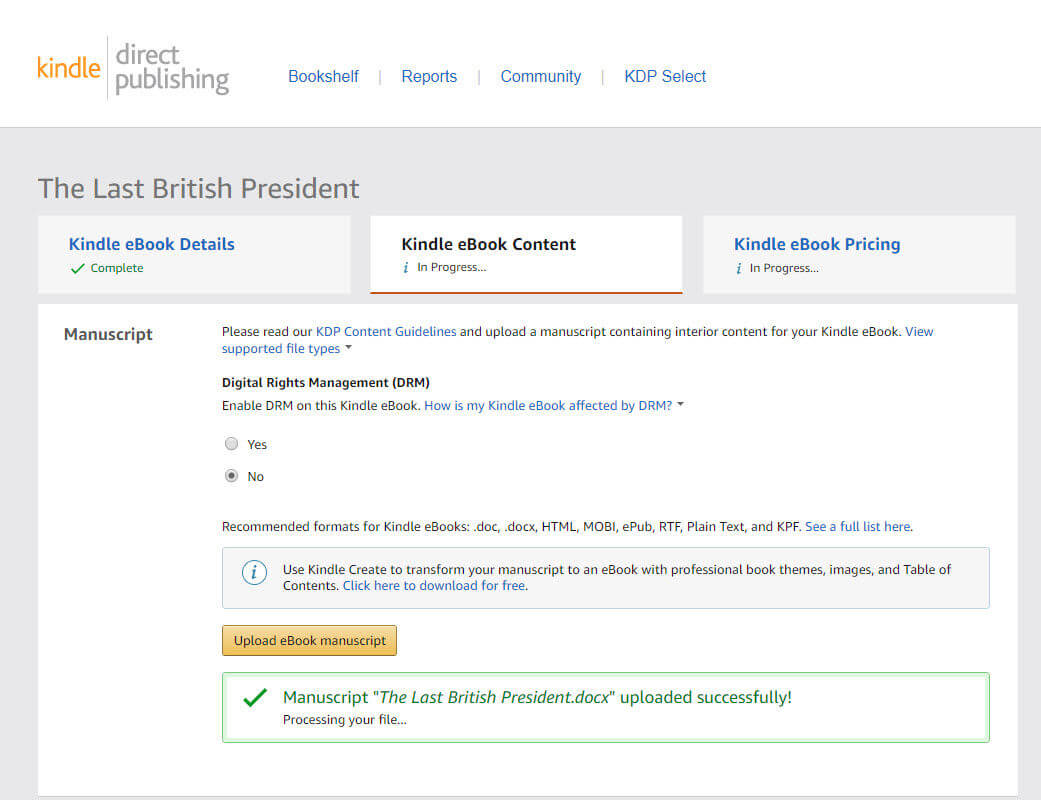
I had been planning this step for a while and decided to do it in one sitting, but this time through the eyes of a reader for a more objective approach. After nearly 14 hours, with breaks for sustenance, I finally reached the end of the book, having corrected a handful of errors, deleted some content and amended three or four paragraphs of the story, which left me ready to upload the manuscript so it could be married up with the book cover. I don’t know what sorcery goes on behind the scenes at Amazon, but it’s clever stuff. The entire process took less than five minutes and my book was now ready for review.
I will add here that this isn’t a process to be rushed, as mistakes can still be found in spite of dozens of readings and checks. In fact, I re-uploaded the manuscript and cover several times because I had spotted tiny details, such a missing full stop or an incorrect indentation.

eBook Or Paperback?
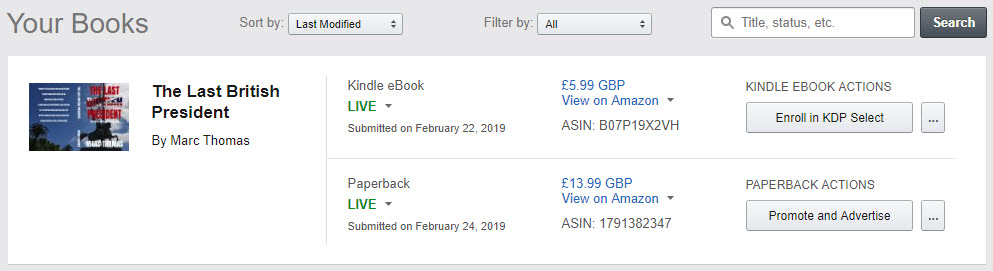
Both. For the very reason that there are now over 6 million eBooks on Kindle and adding another potential income stream to your published book makes a heck of a lot of sense. In fact, it was a no-brainer for me and the KDP portal offers you the chance to link both versions, giving readers the choice.

They are both different publications of course and need to be uploaded separately, but they will be linked. And don’t forget, not everyone can carry a paperback around with them and the convenience of being able to read a book on a cell phone, tablet or Kindle, is very tempting.
DRM (Digital Rights Management)?
Before we get to the final stages of pricing and publication, it’s worth pointing out that you can choose DRM for your eBook publication, or not. I decided not to include DRM after reading dozens of opinions in forums and other online media.
DRM makes ebooks more complex to use and to sell, making it unpopular with consumers and limiting publishers’ options to sell ebooks.
Getting The Word Out
A few weeks ago I put together a website, The Last British President, which will probably become a blog eventually and inviting comments from readers simply to increase awareness of the book and now that I have a working book cover, I’m able to use that as the primary marketing tool, along with the tagline.

We can’t ignore social media today and whilst I’m not hooked on Facebook, Twitter and such like, there’s no doubt that sharing a new book publication across social media simply has to be done. It doesn’t cost anything and it’s relatively effortless. I had originally set the website up purely for this book title, but that didn’t make much sense, since I published a book a decade ago which I’ll be releasing as a second edition, and I’ve already started writing another book. The site, therefore, has to reflect me as an author, rather than just one book.
Pricing And Territories
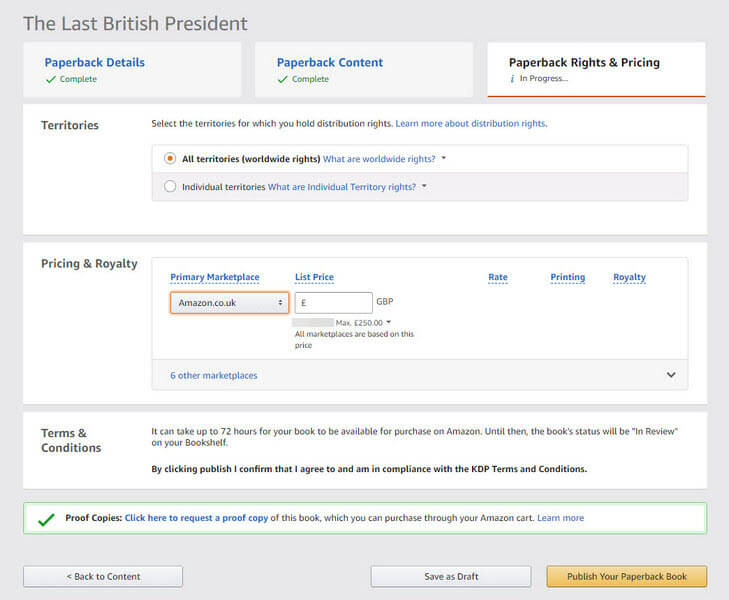
I chose all territories and priced the book in GB Pounds being careful to observe the minimum price, bearing in mind the printing cost for the paperback and the resulting royalty. Choosing a price for the Kindle version was a little simpler, since there are no printing costs and, generally speaking, Kindle eBooks are much cheaper than paperbacks and the royalty options are 35% to 70%, depending on which price point you choose. Paperbacks give a 60% royalty, so it’s worth pondering the various options before making a decision. The royalty is calculated thus: (60% Royalty Rate x List Price) – Printing Costs = Royalty. So, if you list your book at $15 and the printing cost is $5, your royalty will be $4. It’s easy to get sucked into the semantics of royalties. I mean, 60% sounds like quite a lot doesn’t it? On the other hand, you’ll need to sell quite a few copies at $4 to make that 60% feel attractive.
Publish The Book!

Eventually, the moment arrives when you just know that hitting that big red button has to be done. You’ve read the book hundreds of times, you’ve reviewed it on KDP until you’re eyes are bleeding and quite frankly, it’s time to let it fly off into the wild and let the readers be the judges. It’s out of your hands now, so just hit the button!

Conclusion
Writing the book was very enjoyable and probably the least challenging part of the entire process. Writing a synopsis, however, without giving too much of the plot away to readers, was very challenging. The publishing process, however, was much easier than I had expected, mainly due to the very simple layout and logical steps to be followed on KDP. It was neither daunting nor scary and I’m sure that my next book will be a little easier to complete, now that I know what to expect.
Contents
- How To Self-Publish Your Book – Part One
- How To Self-Publish Your Book – Part Two
- How To Self-Publish Your Book – Part Three <<- You are here
- How To Self-Publish Your Book – Part Four
- How To Self-Publish Your Book – Part Five
—