There are times when we’re clearing out the old junk lying about in the garage or stuffed away in dusty boxes in the attic, when we come across those treasured artifacts from the golden age of computing. If you’re a gamer, you’ll probably be remembering loading up disks, entering commands on a tiny monitor and relishing how you brought all that magic to life.
So dust off your floppy disks and dig out those jewel cases; it’s time to get some codes typed in.
Running a game or program designed to run on MS-DOS on a modern PC has never been easier and probably the most popular route is by using DOSBox; emulator software which simulates an IBM PC running on MS-DOS and is completely free of charge.
Let’s take the original Tomb Raider, launched in 1996 as an example.
Once you’ve downloaded DOSBox, install it to the root of one of your hard drives and create a directory on that drive called something like dosgames.
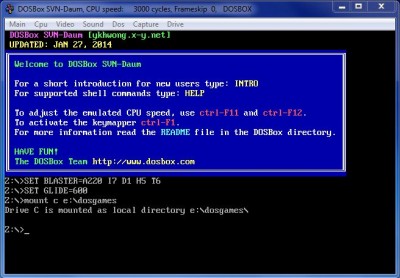
In this example, we’ve used E as the drive and we’re going to mount the directory e:\\dosgames in the DOSBox environment, but there’s no reason why you shouldn’t use c.
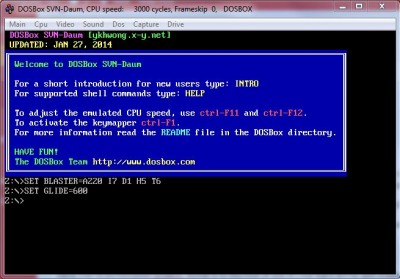
Once you fire up DOSBox, you’ll see this window:
Z:\ is a virtual internal drive created by DOSBox and can’t be changed.
Let’s mount our games directory:
If you’re not experienced in using DOS commands or are suffering from skill fade, please remember to use spaces and if you are having trouble entering certain characters, fellow author Richard’s excellent alt commands article is a very good reference.
Your DOS game very likely came on a CD, so to install the game you will need to mount your physical CD Rom drive as D, where your physical drive is G as follows:
Note: -t cdrom in the mount line defines how the mounted folder should behave to the emulated OS (-t=type of drive).
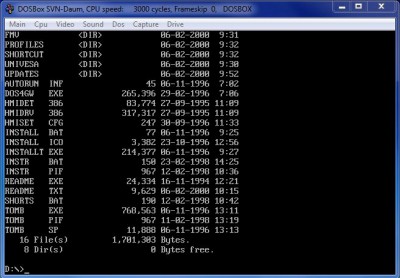
Now that you’ve mounted your CD Rom drive as virtual drive D you can access it with the command D: and explore it by using another command DIR, thus:
From there it will be an easy task to locate the INSTALL or SETUP file for your game and simply follow the instructions. In the Tomb Raider example, the game is installed to C:\\TOMBRAID and once installed, use the command CD tombraid at the C prompt to navigate to that directory, where CD means change directory.
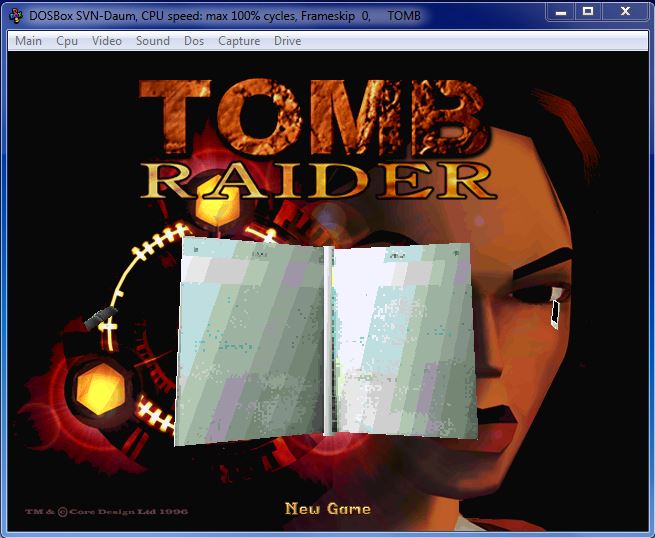
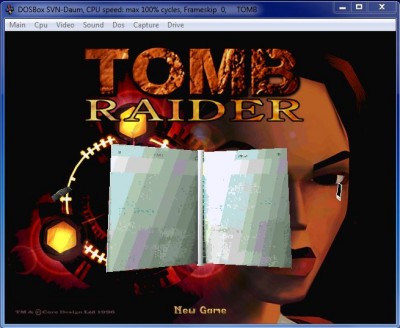
If all goes well you should see this very welcoming screen and the dulcet tones of Ms Lara Croft lauding it in her manor:
It’s important to remember that DOS itself isn’t case sensitive, but it’s good to try to keep the directory structure as simple as possible.
It’s also advisable NOT to mount your real C drive and not to use mission critical programs within DOSBox.
There really is no end to the magic that DOSBox can perform and if you’re enthusiastic, it can be tweaked to suit the host machine you’re using.
There are also a number of DOSBox front ends with easy to use GUI’s, which is particularly handy if you’re not inclined to learn about DOS commands and those are carried out in the background.
In the next part of running older games and programs on newer machines, we look at how to get the very best from your game with modifications, texture mods and front ends.



Nice article. I’ve been using DOSBox for a long time. I have a couple of old editors (ported from the mainframe environment) that todays editors can’t handle the same functions and they run well in DOSBox. I also have other programs that ran back in MS/DOS and PC/DOS days. Some still ran on Windows 95 and also XP, but don’t on Windows 7 and, very unlikely, won’t on Windows 8.
Do you plan on getting into the configuration file (in “C:\Users\user_X\AppData\Local\DOSBox)?
While this is a Windows article, I also use DOSBox on my Linux installs (a good compliment to WINE) plus the DOS Emulator (they finally fixed the one irritant starting it). Between the 3 there is very little I that I can run on Windows that I can’t run on Linux.
Bob
You mean the .conf file?
That’s handy for tweaking as you know and especially for getting a game to auto run by tweaking the shortcut with the amended .conf file, without having to enter all those commands again manually.
Tweaking is one of my favourite pastimes with games.
Cheers
Marc