
We recently had a storm here and lightning caused a power outage. A friend of mine had her computer burned out and her internet modem. I can’t fix the modem but the computer, I’m hoping, was just the motor gone. I did have an old power supply laying around. Just for the record, this was a desktop Dell Vostro 230 running Windows 7.
When replacing a power supply, make sure you use one that is equal to or greater in power than the one already installed. This one was rated 300W output.
Before taking the old one out, I decided to hook up the motor inside by just disconnecting the old one and plugging in this one to see if it would work. That’s when I discovered problem one– the pin connector on my motor had 20 pins but the slot inside the computer had 24. I was sure it would still work but I wanted some confirmation online first and found out it would. So I connected the 20-pin to the 24 without forcing it too hard (it will only go in one way).
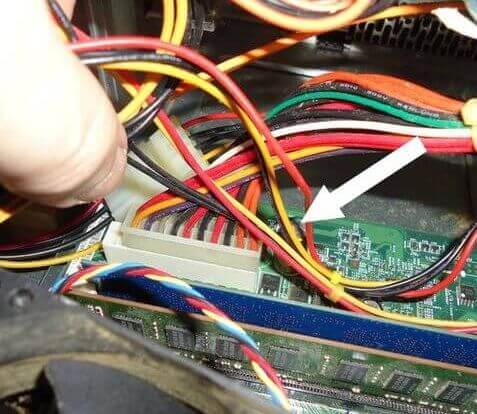
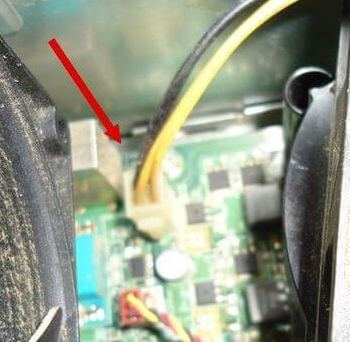
Then there was a second 4-pin cable that had to be connected.
When I plugged in the power, it started up and the computer started booting. So I unplugged everything again and removed the old power supply. This involved removing four screws from the back of the computer case that was holding the supply in.
Then I tried to put in the replacement but it wouldn’t fit. I realized it was the black plugin part where the power cord goes in. In the older motor, it was on the opposite side to this one and there was a notch to accommodate this design. So I got a pair of pliers to bend out the metal around the plugin area so I could put the power supply and screwed it in properly. One of the screw holes still didn’t line up properly but three still made it firm and secure.

I didn’t pay much attention to the old motor. If I had, I would have realized all the power connectors were for SATA plugins. The hard drive and DVD drive were SATA. This replacement only had older IDE plugins.
Luckily, I had a few IDE to SATA power adaptors. They have the older IDE plugin on one end and the SATA power plugin on the other. I had two available– just what I needed for hard drive and DVD. So I connected them all up and plugged in the computer, hooked it up to a monitor, keyboard, and mouse. And everything was working fine.

—
Nice article Terry. Good to see you were able to overcome those obstacles. Hope you will agree that electronic devices require surge protection, Mindblower!
That is really a 4 pin molex connector you have in your hand, really has nothing to do with IDE, I have a few old SATA drives that can use either 4 pin molex or a sata for the power connector, 20 pin mobo connector is just older ATX standard, the 24 pin mobo connector is just newer AYX standard that allows more current draw for newer mobo. the first 20 pins are still the same. Most newer PSU will have two ATX mobo connectors, just pay attention to the pins and the shape of the connector, only one will fit, some mobo and some PSU’s will even have a six pin ATX connector. I have had to replace several of the OEM PSU’s for different friends. Not all OEM cases will handle the ATX PSU and if so I will try to find an OEM replacement on Ebay.