I recently wrote about recording a video from an Android cable box to my PC using Open Broadcaster Software (OBS). The final video was good quality, and I only had one issue. It was recorded on TV, which means there was a lot of advertising, so I went looking for a way to cut out the ads.
This time, the movie is “Avengers: Age of Ultron (2015)”.
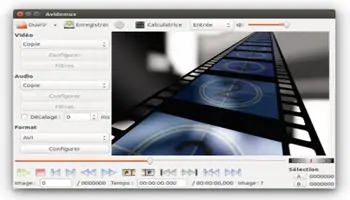
I settled on using a program that I’ve used before called “Avidemux”.
I found an easier way to edit the advertising than I previously wrote about using “Avidemux”. There is a link at the end of this article.
Open the program and click on “Open File”. You can also use the file menu. Open your movie.
I use the video controls at the bottom of the screen and the seek bar to mark out the advertising I want to remove. I previously isolated the movie from the advertising, but I should have done it the other way around.
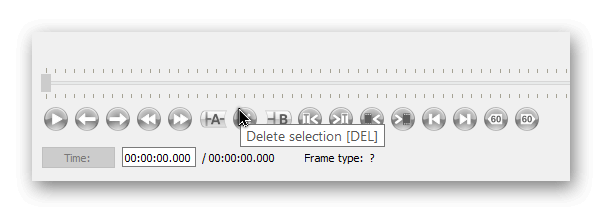
Previously, when all was said and done, I noticed an “X” button between the “A” and “B” buttons. It escaped my attention before. When I put my mouse cursor over it, a pop-up message said, “Delete Selection.” My question was, could I isolate the advertising segments and delete them directly? A little experimentation later, it turns out the answer is “YES”.
New Revised Method For Removing Commercials Using Avidemux
I used the seek bar (click, hold down, and drag) and went to the place in the video where the first block of advertising starts. Between where the movie fades out and the ads begin, that is where I set my first point by clicking on the “A” button. Then, I go to the end of the advertising segment, after the ads end, and the movie fades in. That is where I click on the “B” button to set my second point.
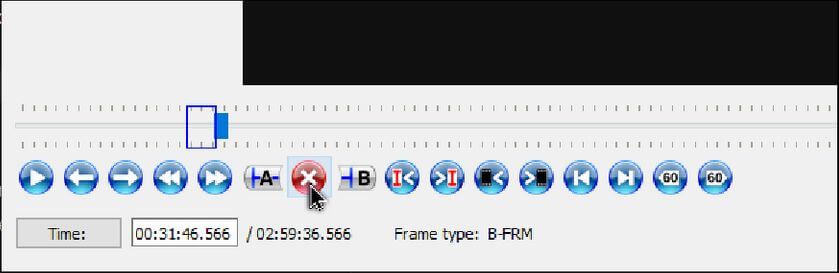
Now that I have the commercials caged in, I click on the “X” between the “A” and “B” buttons. That little segment gets removed, and those ads are history. What is left behind is a red line indicating the cut in the video. Repeat throughout the video.
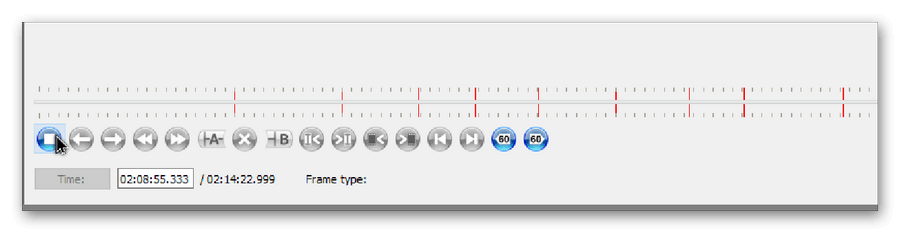
This is how the timeline appeared with all the advertising marked for deletion.
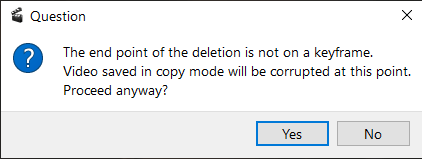
At this point, I did get a warning concerning “The end point of the deletion is not a keyframe” and a warning that trying to save in Copy mode might corrupt the file. I clicked on yes, but then I changed the “Output format“. I don’t know codecs, but I switched the “Video Output” to “MPEG 4 AVC (x264) “and the “Audio Output” to “AAC (FDK)”. I left the “Output Format” on “MKV”.
Once all advertising is removed, save the movie by clicking on the “Save video” icon or using the File menu. This took a little bit longer to do, but the result was an advertising-free copy of the movie.
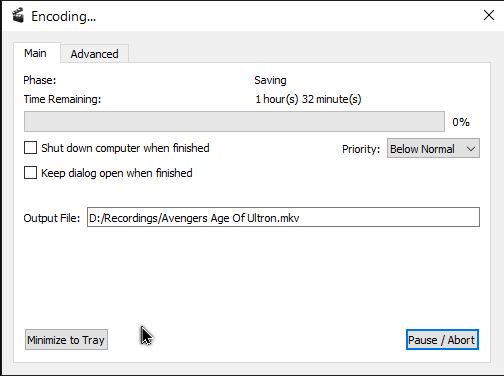
The progress bar:
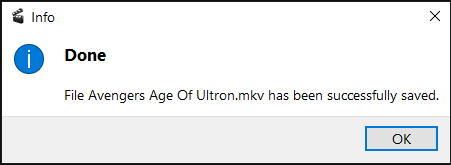
The file is saved successfully:
For more articles on recording, click here.
- Remove Commercials From Recording – Part 1
- Remove Commercials From Recording – Part 2 ⬅ You are here
—
Hi Terry. One important fact was left out. That move I believe is over two hours long. How much time was spent removing commercials in total? Thanks, Mindblower!
I did not keep track of the time at first, but this morning, I edited another two-and-a-half-hour movie. It took me 14 minutes to mark out the commercials and almost 2 hours to save the movie. The time it takes to save will depend on your system’s speed. I switched to High Priority in the encoding window, but it still took almost two hours.
Thank you Terry. Will try it out and report my findings. 14 minutes seems reasonable for that time length. Hope it works on *.ts formats (over the air), Mindblower!