This report involves using an “EasyCAP Composite / S-Video and Audio USB Capture Device” to copy movies recorded on a cable box DVR to my computer. You can use the same procedure for live recordings as well. I’ll be using OBS Studio to capture the video from my cable box and send it to my hard drive.
I previously wrote about using VLC with EasyCAP.
I decided to update my cable system to help bring my cable bill down. One of the reasons my bill is high I’m told is because I have an older setup. So out with the old and in with the new. But I have a few movies recorded that I like to save. That’s why I dug out this relic. I’m trying to save my recordings from the older box before their replacement arrives.
Right out of the gate, I had a driver issue. I hooked EasyCAP up to my CyberPowerPC and I received this error message:
“The software for this device has been blocked from starting because it is known to have problems with Windows. Contact the hardware vendor for a new driver. (Code 48)”.
I found some updated drivers online. I’ve uploaded a copy if you need it. Uninstall the non-working ones first.
Download EasyCAP Drivers From Google Drive
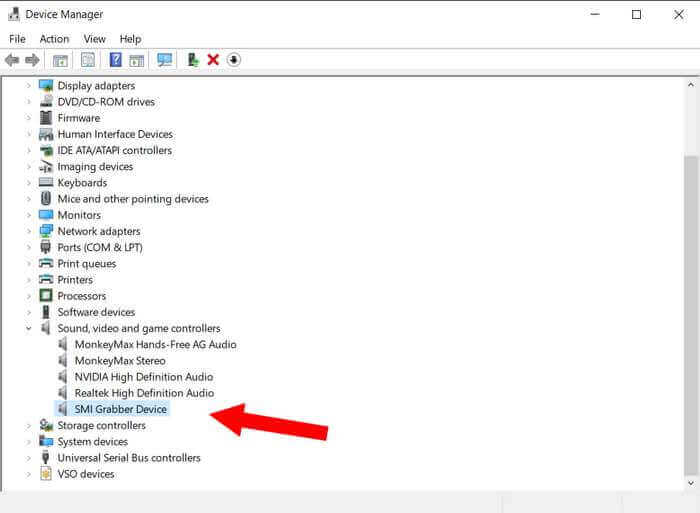
Download, unzip, right-click on the “SmiUsbGrabber3C.inf” file, and then click on “Install”. It displays in the “Sound, video, and game controllers” as “SMI Grabber Device” in “Device Manager”.
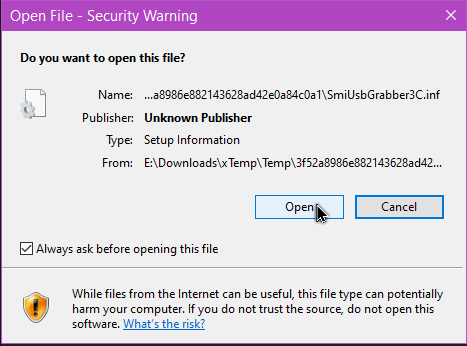
If you get this “Security Warning” click on “Open” and allow any other prompts. Then restart your system.
Once you have the drivers installed, if you haven’t done it already, plug in EasyCAP to your computer. Plug in the wires from your cable box to EasyCAP. I’m using the Red, White (audio) and Yellow (video) one. I’m going to invest in a newer model, eventually.
The software this time will be “OBS Studio”.
Download. Install. Open.
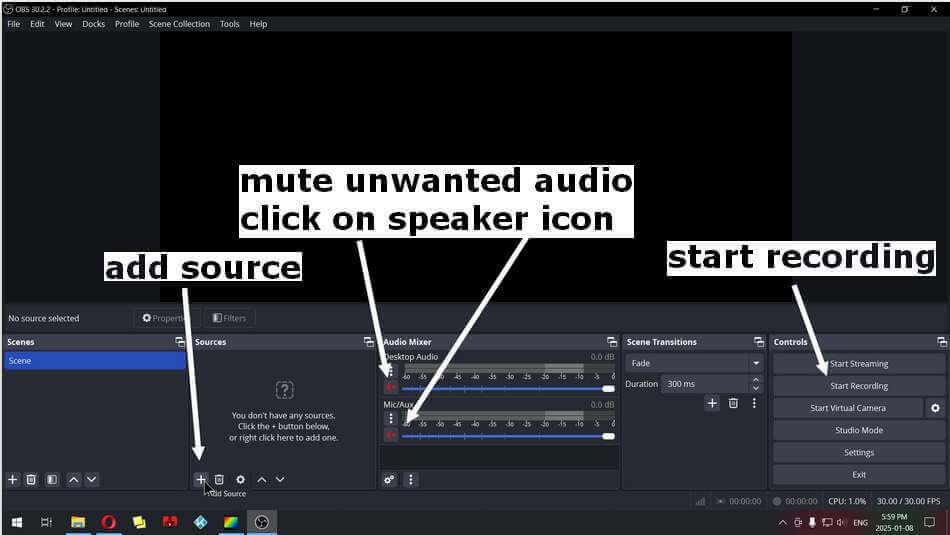
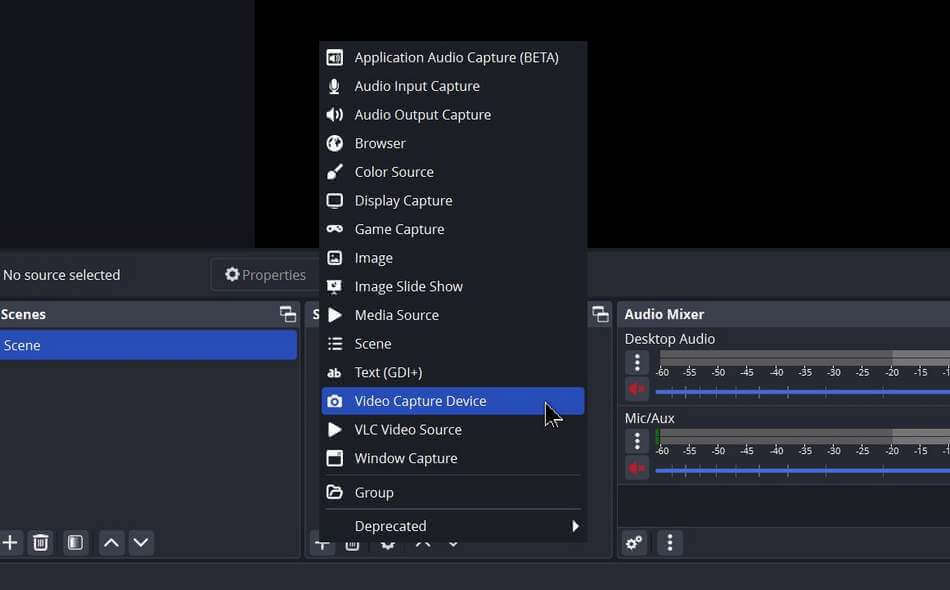
Click on the “Add Source” button and then click on “Video Capture Device” in the menu.
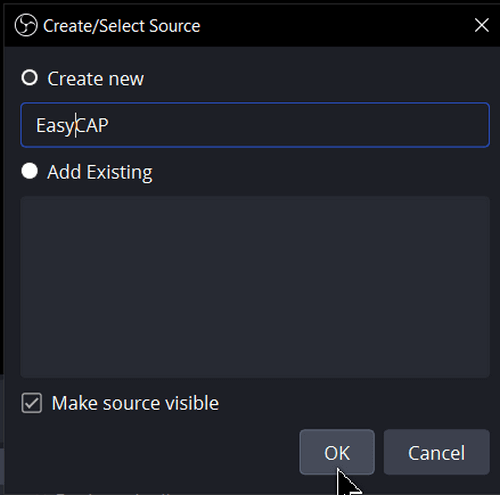
In the window that opens in the “Create New” field I typed “EasyCAP”. Then I clicked OK.
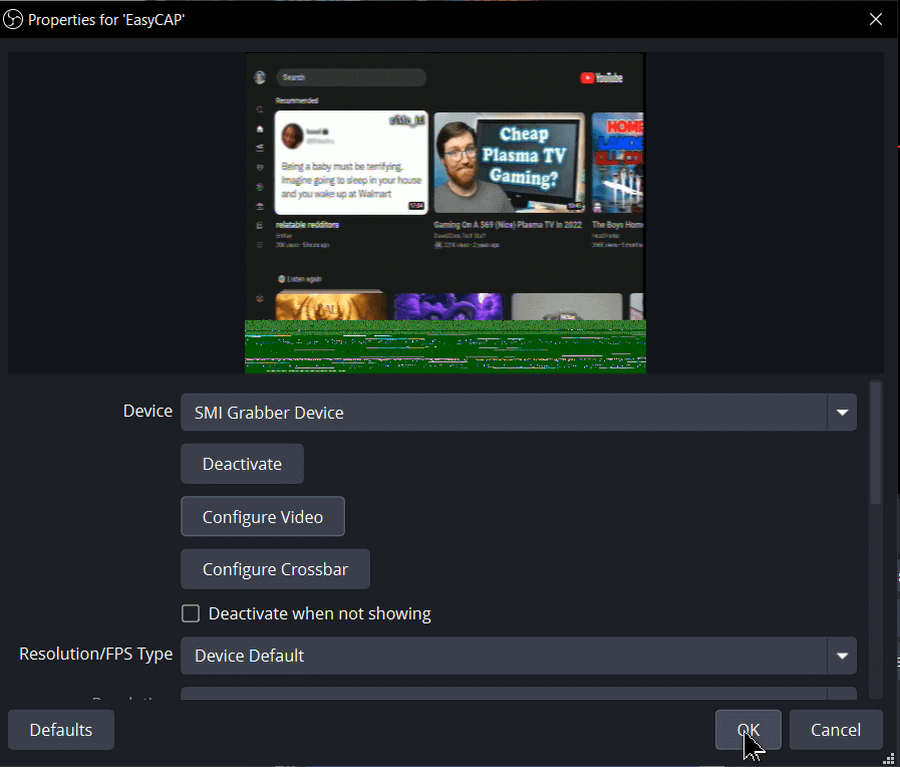
This opened another window with EasyCAP already listed in the “Device” field as “SMI Grabber Device”. If you are more familiar with the software you can play around with the settings. I accepted the defaults and clicked OK.
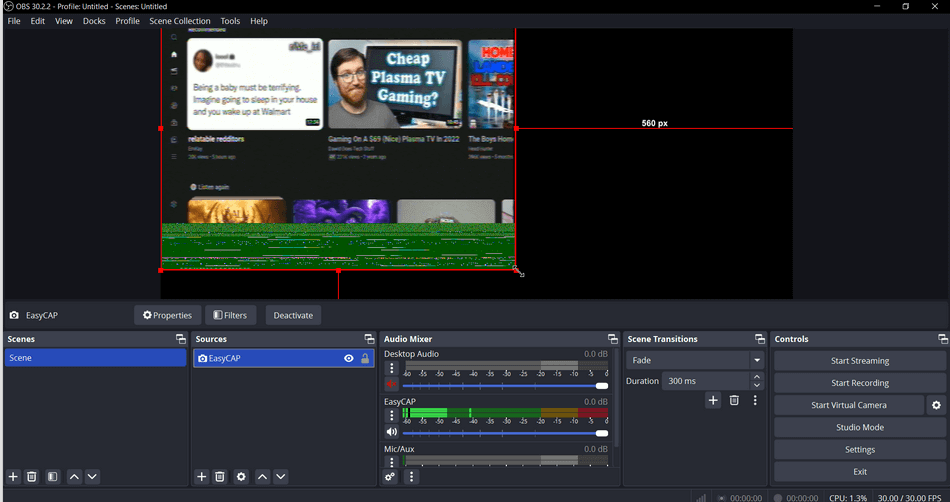
I can now click on the edges of the video and drag to resize it to fill using the darker background as my video template.
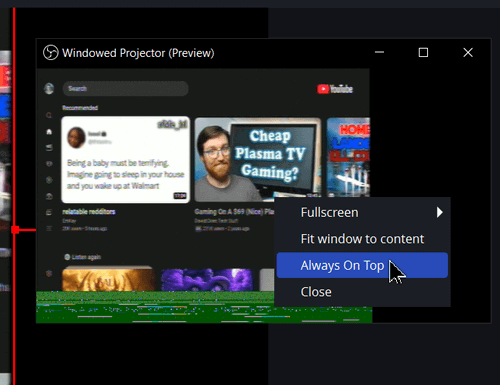
By right-clicking on the video and clicking on “Windowed Projector (Preview)” I can get a smaller preview window to open.
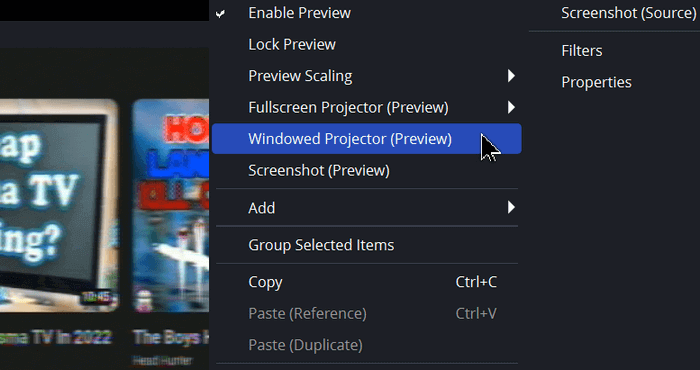
Right-click on the preview window and click “Always On Top”.
Keep in mind I don’t have a clue what I’m doing here. A first time for everything. 🙂
Down in the “Audio Mixer” box, you might want to mute any unwanted audio from your Mic or Desktop sounds. The bells and whistles of Windows.
Now click on the “Start Recording” button. It also becomes “Stop Recording” when you do. Click “Stop Recording” when finished.
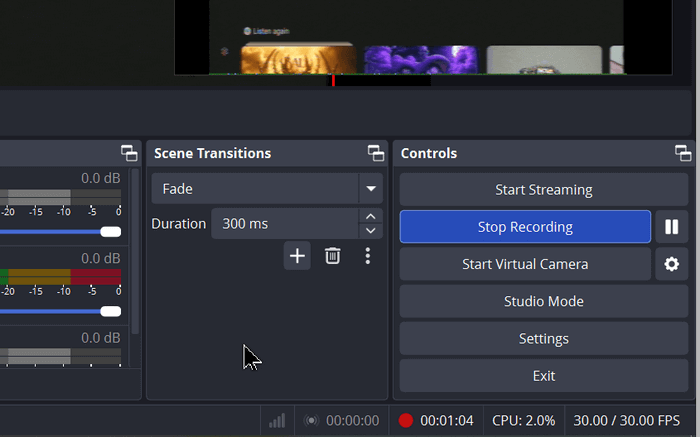
When you stop the recording, it automatically saves the file in your User/Video folder. If you haven’t changed the video format in the settings it saves in the MKV format.
My first test: My 2-minute test video was only 47MB in size. My same 2-minute video through VLC was over 700MB.
That’s the basics with EasyCAP and OBS. I will be investing in a better video capture device in the future.
Any suggestions or comments? You know the procedure.
—