
There is a button called Shapes, which is very useful because it can be manipulated in a lot of ways.
You will find that shapes are very versatile and there are many to choose from. In Word, shapes are known as vector graphics, which are made up of points on a plane connected by lines. Follow the steps below to insert a shape:
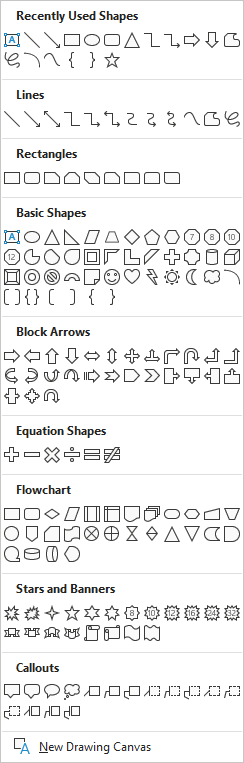
- In Illustrations, click Shapes, which will open a large panel of shapes that is further divided into several categories.
- Once you have selected a shape, click it and the Shapes panel will disappear.
- You will now see a large plus sign and you will be able to move it wherever you like, using your mouse.
- Once you have moved the plus sign near to where you would like to place your shape, click with your mouse once more and the shape will be placed at the spot of your plus sign.
- Alternatively, rather than clicking with the plus sign, if you click and drag, you are able to make your shape smaller or larger. In some cases, you can even alter the entire shape.
Different shapes can be altered in various ways. Some shapes, (i.e., arrows) have points that look like dots that can alter the shape if they are moved in different directions.
Microsoft Word provides us with many shapes that can be used to make our document stand out and emphasize certain texts.
—