Google Photos
My wife needed help with another tech issue– how to download backed-up photos from Google Photos to her computer. After checking it out, I decided to write the steps in case you have had this problem, too. As an addition, I also show you how to select multiple photos to download at a time in this article (Cheers!). I guess the first thing to do is tell you what Google Photos is. To do that we are going to share what Wikipedia says:
Google Photos is a photo sharing and storage service developed by Google. It was announced in May 2015 and spun out from Google+, the company’s social network
Google Photos gives users free, unlimited storage for photos up to 16 megapixels and videos up to 1080p resolution. The service automatically analyzes photos, identifying various visual features and subjects. ~ Wikipedia
Now that you know what it is, we can continue on.
If you have an Android device and a Gmail/Google account attached to it, then Google will back up your pictures to Google Photos. The sweet thing about it is that it has unlimited storage (I like that and hopefully they don’t change it). It is a nice way to keep your photos safe from cell phone mishaps. You know what I’m talking about– dropping your phone in the water or your child deciding to chew/drool (my 8-month-old daughter) on it which causes it to die. Now, how do you download those backed up pictures to your computer system? Great question! It is time to walk you through the process of getting those photos onto your system.
How to Download Your Pictures From Google Photos
Step 1: Head to your computer or laptop and open your browser. You will need to login to your Google Account. To do this go to Google and click on sign-in at the top-right.
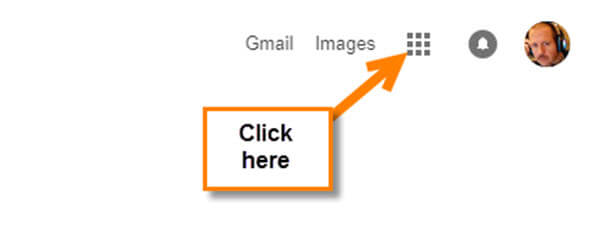
Step 2: After you have signed in, look up to the right and click on the Google Apps link (multiple boxes square). This will bring down a menu of Apps. Click on the Google Photos image which looks like a kid’s pinwheel.
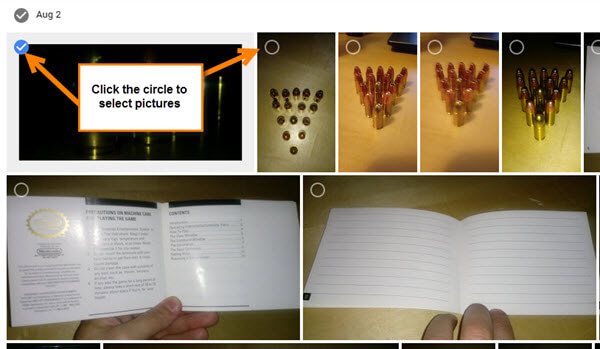
Step 3: You will now see all your photos that have been backed up. Next, hover your mouse over the first picture you want to download. You will see a little circle. Click it. After you have clicked the circle, you will see the circle turn blue with a check mark.
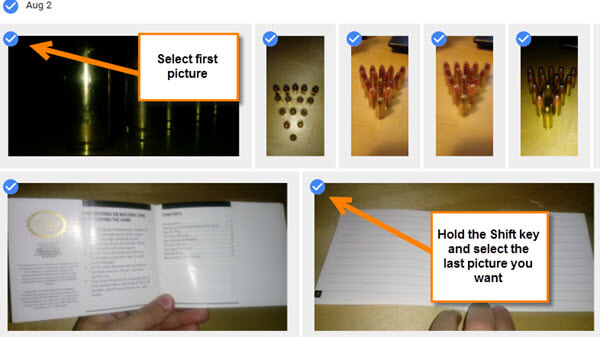
Step 3.1: If you would like to select multiple pictures, continue clicking on each circle on the pictures you want. If you would like to select a batch of them, then click on the first one you want and scroll down or up until you find the last one you want. Then hold the Shift Key and click the circle on the last picture (they have to be contiguous for this work).
Step 4: Once you have selected all the images you wish to download, look to the top-right. Now there should be a bar (mine is blue) at the top which appeared after you clicked your first picture. Here you will see 3 vertical dots on the right. Click them.
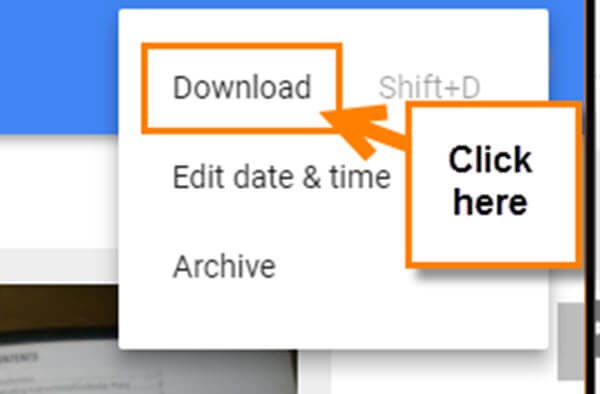
Step 5: This will bring up a menu and from here you want to click on the Download Option. Now, if you selected more than one picture, it will combine them into a Zip file. There is a maximum number of 500 images you can download at a time.
As with any download, it should appear in your download folder or designated folder. Now you are all set to retrieve your backed-up photos. We are not done yet! I wanted to also show you how you can download an entire photo album from Google Photos.
Bonus Tip – Google Photos Album Downloads
Since you are already in Google Photos, we don’t have to go far. If you have already created an album and would like to download the whole thing, then this is how you do it:
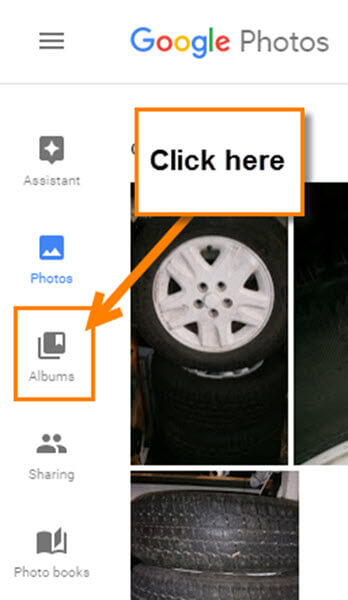
Step 1: First, look to the left and select Albums from the side menu. If you do not see this side-menu, make sure you have not selected one of your photos by accident– this will make the side-menu hide, so uncheck that photo.
Step 2: Next, find the Album you wish to work with. Click it
Step 3: Once you are in your Album, look up to the right and find those 3 vertical dots we found before. Click it to bring up the menu. Now you need to click the Download all option.
DONE! We can now download an entire Album from Google Photos. If you have any tips on Google Photos, please share below.
—
