Hide or Show in Windows 10 And 11
Having the ability to hide features in Windows can be a great way to prevent additional users from seeing the information. Having the ability to add features can customize Windows your way.
Adding Or Removing Watermarks
Degree of Difficulty 4
(Ed note: You can see the full explanation of the Degrees of Difficulty in this Windows Tips article.)
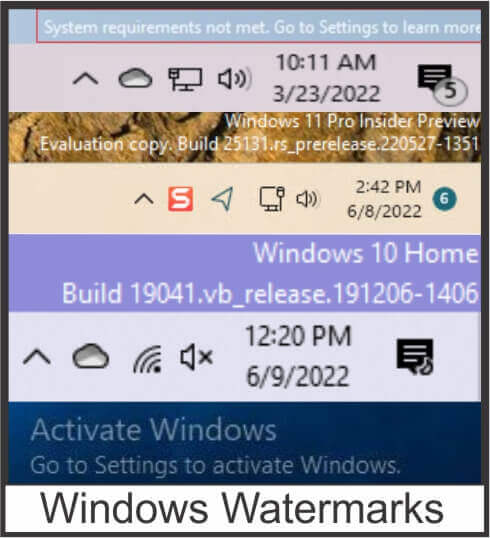
Most Windows Insiders are aware of the Watermark information that appears in the bottom right corner of the monitor as well as individuals who have not Activated their copy of Windows. I have found that having the Windows version and Build Number visible helps me quickly see what boot version I am using.
I can understand anyone not wanting it to show. So, if you find it annoying, a modification in the Registry can do both. This will remove or add all Watermarks in the Bottom right so if you have not activated your version of Windows, it will remove the “Active Windows”. Note: A better way is to Activate Windows!
Adding/Removing The Watermark
When modifying the registry, it is always prudent to back up the Registry . It is important that you follow the instructions below exactly to prevent errors.
Steps
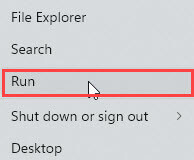
- Right-click the Start Menu and select “Run” or by pressing the Windows + “R” Key.

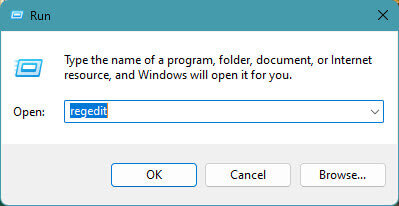
- In “Run”, type “regedit” with no quotes. Click on OK. This will open the Windows Registry Editor. Click “OK”.

- When the UAC opens click on OK.

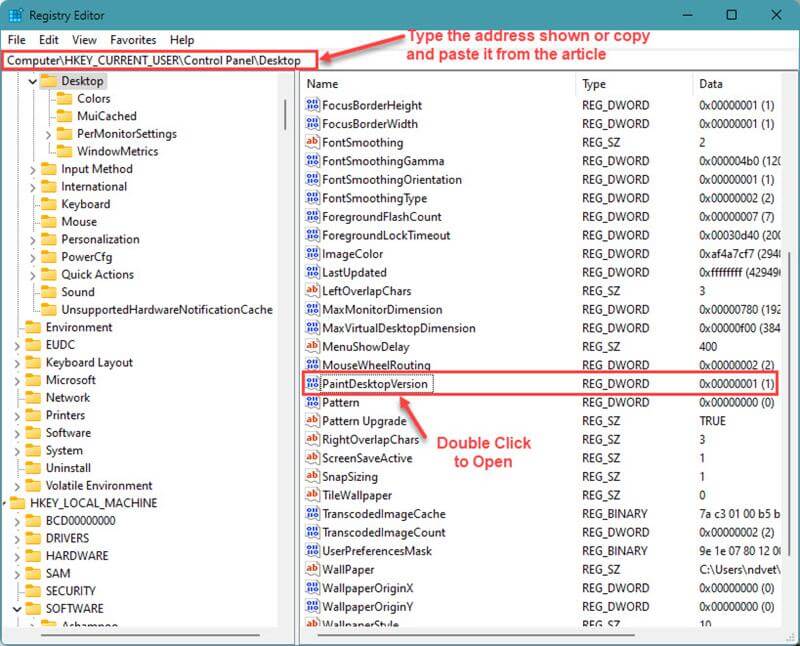
- Navigate to this Registry Key or just copy and paste the address into the regedit address bar.
Computer\HKEY_CURRENT_USER\Control Panel\Desktop
- In the panel to the right, scroll down and find “PaintDesktopVersion”.

- Double click on PaintDesktopVersion.
- Change the “Value Data” to “1” to turn ON the Watermark, or “0” (zero) to turn it off.

- Click OK.
- Close the Editor
- Sign out > then back in to Windows.

The Watermark should now be gone from the desktop if you entered a “0” or appear on the desktop if you enter a “1”
Hiding Files And Folders
Degree of Difficulty 1
Hiding Files
By default, File Explorer displays all your “Non-System” files and Folders. If you want to hide either in Windows 10 or 11, it is a very simple process with Windows 10 being slightly different than Windows 11. Steps for both versions are explained below. The Steps must be done in the File Explorer Window, not the Navigation panel to the left.
Windows 10 Hiding Files
- In File Explorer, click any file(s) you wish to hide and navigate to the File Explorer ribbon.


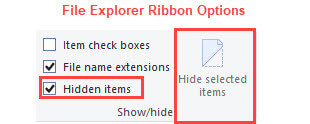
- On the File Explorer Ribbon click on “Hide Selected Items”. That is all it takes to hide a file in Windows 10.**

Windows 10 Hiding Folders
- In File Explorer, right-click on the folder you wish to hide.
- On the File Explorer Ribbon, click on “Hide Selected Items” as shown above.

- In the pop-up window, you may choose to have only the folder hidden or to have the contents of the folder hidden as well. After choosing, the Folder should disappear.
**Note: Hiding Files and Folders depends on the setting in the File Explorer ribbon. If “Show Hidden Files” is selected, the files will remain visible.
***Even if you delete the folders, they may still appear but are slightly faded in the Navigation pane in File Explorer.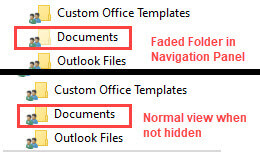
Windows 11 Hiding Files
- In File Explorer, select the file(s) you wish to hide. Right-click on the file(s) and select “Properties”.
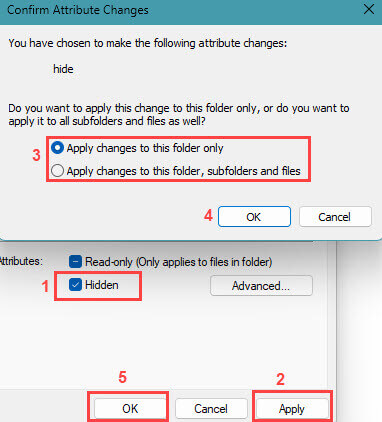
- In the Properties window check “Hidden” in Attributes.
- Click on “Apply” then “OK”.
The file will no longer be visible. See ** Note above.
Windows 11 Hiding Folders
- In File Explorer, right-click on the folder you wish to hide from view and select “Properties”.
- In the Properties window, check “Hidden” in Attributes.
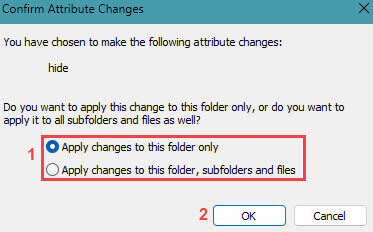
- In the pop-up window, you may decide to hide only the folder or all the contents of the folder as well.

Now the Folder and (if selected) its contents are hidden from view. See ** and *** Notes in the Windows 10 section above. Hidden Folders will appear slightly faded in the Navigation Pane.
Hiding Drives Windows 10/11
Drives are visible by default in File Explorer and are normally exactly what you want. However, you may want to hide a drive from view to make access difficult or to hide a drive that you don’t use. Whatever the reason, hiding a Drive is an easy process.
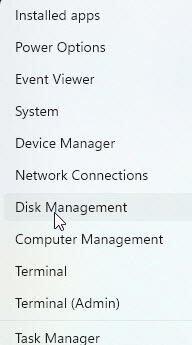
- Right Click on the Windows Start Menu and select “Disk Management”.

- In the Disk Management window make sure that the Volume Column is wide enough to show the drive letters.

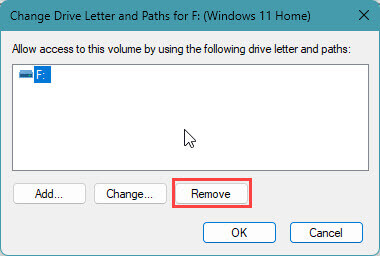
- Right-click on the drive you wish to hide; select “Change Drive Letters and Paths”.
- In the pop-up window select, “Remove” to remove the drive letter.


If you open File Explorer, you should no longer see the drive visible.
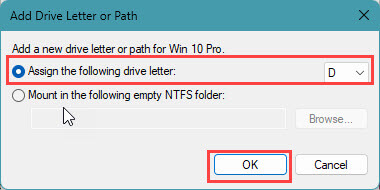
To make the drive visible again, repeat the steps above but in Step 4, add a drive letter. It is usually best to use the suggested drive letter that is shown.
Summary
Not everyone wants a constant display on the desktop, the image is too light and small to cause monitor burn that worries some people, and others like the look. Hiding Drives, Files and Folders are different in the fact that being hidden, they are much harder for someone to accidentally modify or view. Whichever your preference, the power is in your hands.
—