People who know me, know I like to do projects with my brother. This time he is working on a Web series and asked for my help with editing and some other technical issues. With any project you are working on, you might have people all over the world that you need to share files with and this is true with my brother and me. He lives in California and I’m up in Washington State. One of the easiest ways to share files/folders with a colleague is by using Google Drive. I want to show how you can create and share a folder with someone so you can work together without being next to each other. Now open up that Google account and let’s get started.
How To Create/Share Google Drive Folders
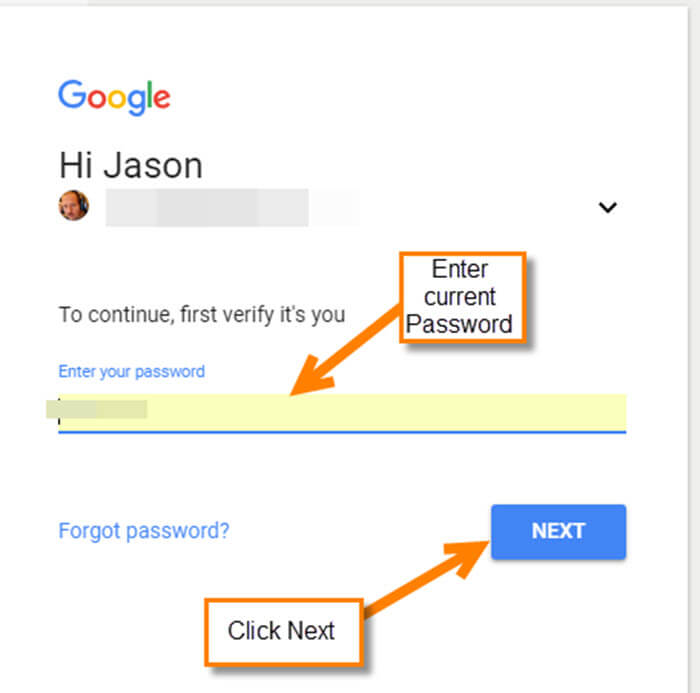
Step 1: Open your Google browser and log in to your Gmail account.
Step 2: Once signed in, head up to the top right and click on the menu boxes to the left of your Profile image. This will bring up the menu– you are looking for the Drive icon. Click it.

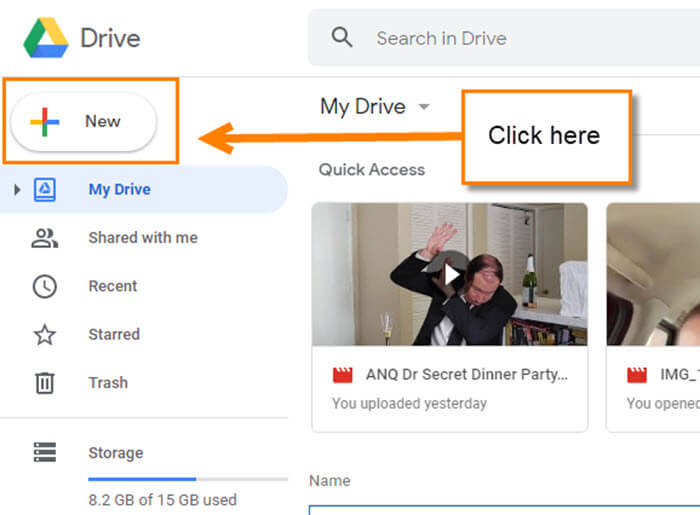
Step 3: Now that we are in our Google drive you will want to create the folder you want to share. To do this, look to the top left. You should see a plus sign with the word New. Click it.
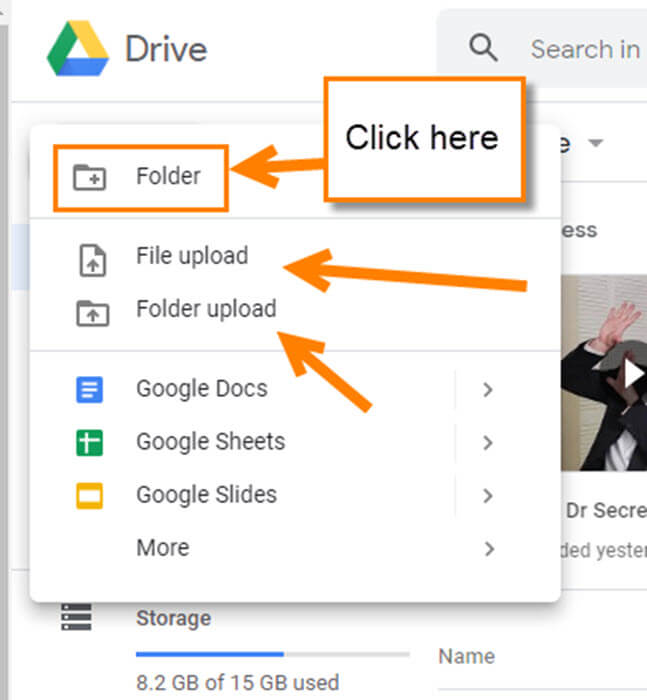
Step 4: From here you can upload a folder, upload a file, or create a folder. For this article, we are going to create the folder. Click on the top option labeled Folder.
Step 5: Name the folder so you can identify it. Name it and then click Create.

Step 6: Your folder is now created and ready for you to share. To do that you need to right-click on the folder. This will bring up the menu and you should see Share at the top. Click it.

Step 7: Here is where we enter the people whom we want to share this folder. If they are someone you email often, then when you type their name in, the email address should appear. If they are not, then you will need to type in their full email address. Now that the person is chosen it is time to look to the far right where there is a pencil icon. Click it.

This will give you the permissions that can be set for the person you are sharing the folder with. They give you two options:
- Can organize, add, & edit (so basically all the power you have)
- Can view only (I like this one better)
Once you have picked the person and set their permissions, you can now click on the blue Done button. But before we do that let me show you the advanced options. You should see this link at the bottom right of the window. Click it.

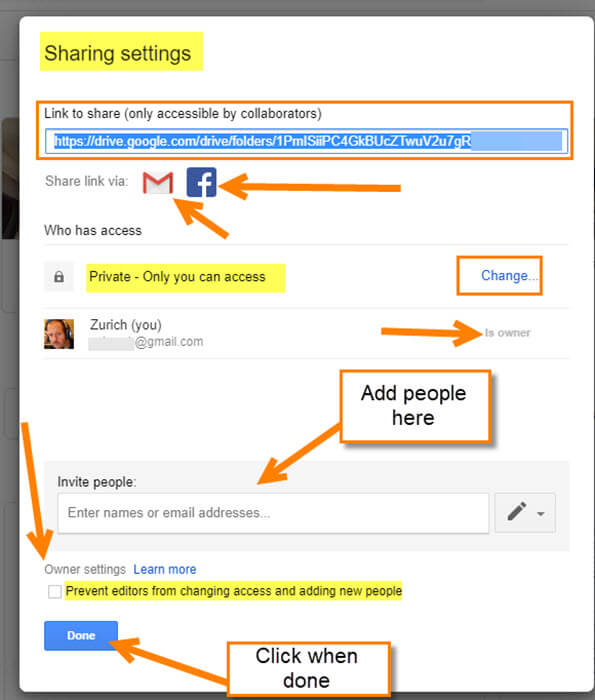
Step 8: Now we are on the Sharing Settings (Advanced Options) window. They give you more options here:
- Share the link to the folder either through Gmail or Facebook or copy it and send that way.
- Also, you can invite people as we did in the last step.
- At the bottom left, there is a box to check. ”Prevent editors from changing access and adding new people”.
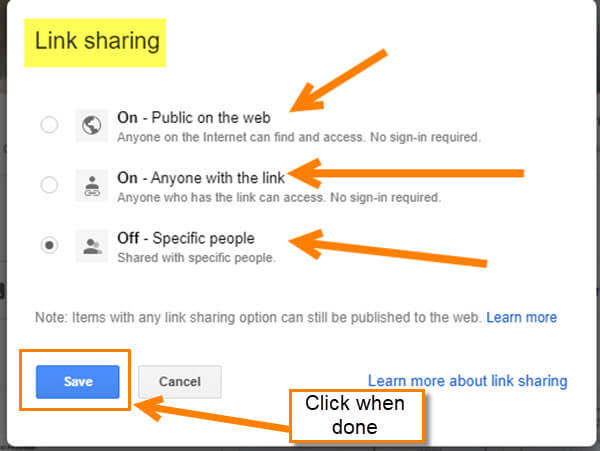
- In the middle under Who has access, there is a link to the right of ”Private – Only you can access” that says Change. Click it. This will bring up a window called Link Sharing. Here you can change the folder to On – Public, On – Anyone with the link, or Off – Specific people (can view). Once done, click save and then click the Done button.
Now you have invited someone else to view this folder. Remember to add the files you want them to view.
That is how easy it is to create and share a Google drive folder. Time to get those projects started and invite other collaborators to that folder.
—