Facebook Status
A woman called me wanting to change her Relationship status on Facebook. I wasn’t sure how to do this myself, so I went to Facebook, signed in, and started clicking around.
Here’s how to do it…
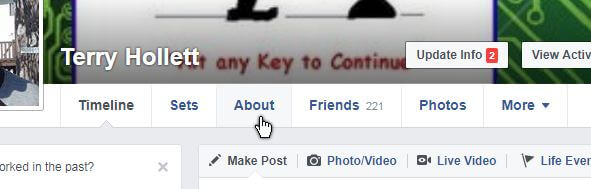
Sign in to Facebook and at the top of the page, on the blue bar, click on your name, usually in white letters.
Then, just under your cover picture, you will see TIMELINE, SETS, ABOUT, FRIENDS, PHOTOS and MORE. Click on About.
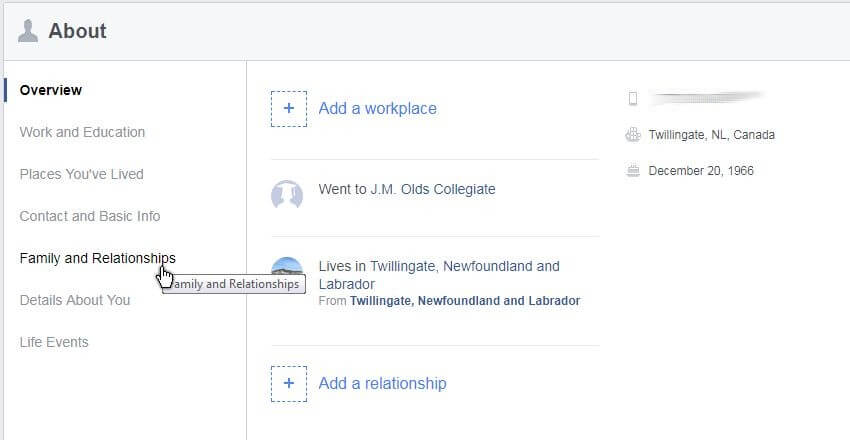
In the About box on the left-hand menu, click on Family and Relationships or Add a relationship on the right side.
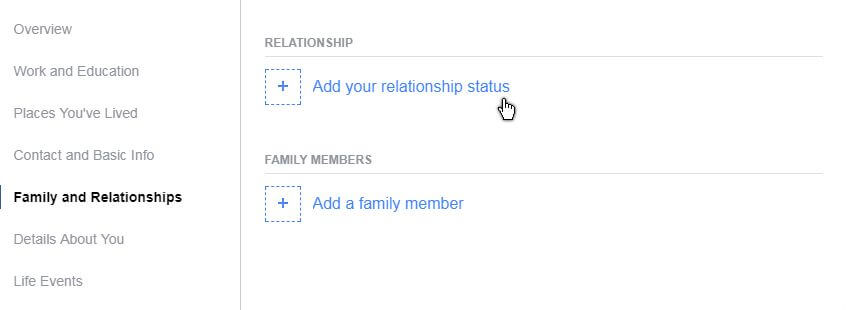
Then, in blue letters on the right-hand side, click on Add a relationship status.
In the Relationship Status area, click on the upside-down little triangle and click on what you want to change it to. This woman wanted Engaged.
Depending on what status you choose, you will get another series of options to select.

In the long blank box, type in the name. In this case of person engaged, note that the “cult” of Facebook actually requires your significant other to have a Facebook account. Otherwise, any name that’s typed in will not display on your Facebook status. At least, we couldn’t get it to go through.
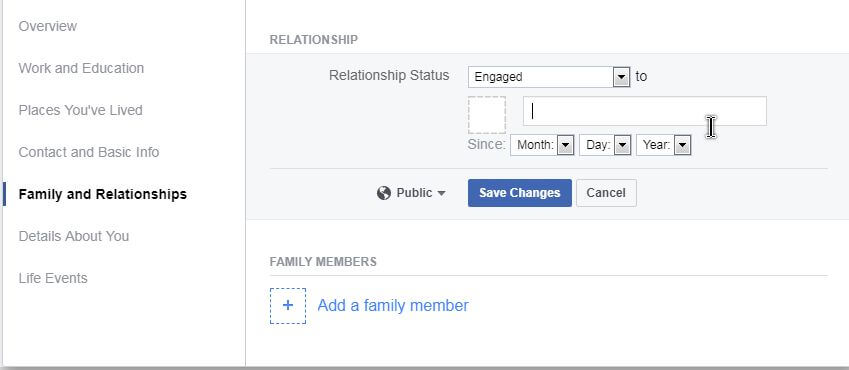
Then, indicate the date in the Since fields. Click to change the month, day, and year.
Then, just Save Changes. As I already pointed out, depending on what relationship you choose, the resulting information box may differ. Just fill it in accordingly.
—