If you like to customize your Windows 7 or 8 computer then why stop when you get to the System Properties window? With a little imagination you can change the logo to any 32bit bitmap image or if you just want to remove the Windows logo you can do that also.
To be able to do this, we shall be editing a system file which we will have to take ownership of and backup. You will also need two little apps – Resource Hacker and PNGtoBMP32, the first app to hack the system file and the second to change a png image to 32bit bmp. The download links are here: Resource Hacker & PNGtoBMP32.
This tip will work in both Windows 7 and Windows 8. The instructions in this article are written for Windows 8 and the method may vary a little for Windows 7.
The default Windows 8 system properties logo. To open System Properties from your Start screen type Control and click on Control Panel then scroll down to and click on System.
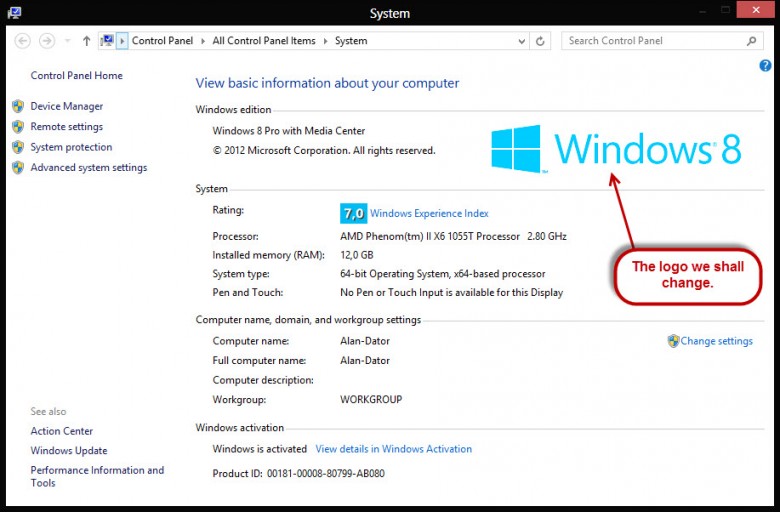
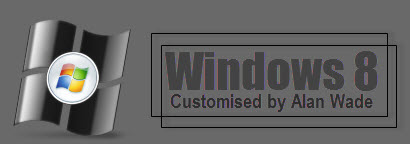
Next you need to do is design a png image that you want to use as your logo or just download one from the many sources available on the net. I say a png image because a bitmap by default is 24bit. When an 8bit alpha channel is added it becomes a 32bit but not so easy to make without Photoshop. The image can have any name you choose to give it.
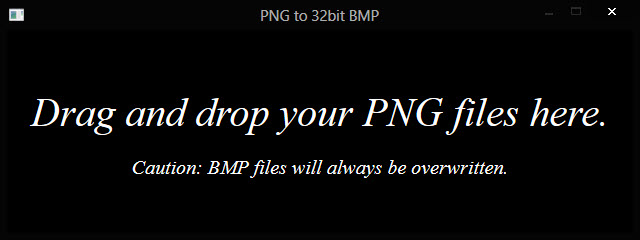
Next run the PNGtoBMP32 app. A thing to note here is to make sure both the PNGtoBMP32 app and the png image are in the same location, that way you can find the converted file very easily.
With the app open, just drag and drop your png image to where the dialogue tells you, your 32bit bmp is created instantly.
Should you want to double check, right click on the bmp and select Properties… the information under the ‘Details’ tab will then show you that it is the right bit depth.

Switch to your desktop if you are at the Start screen and navigate your way to the Windows folder (normally on your C drive) then look for a folder called Branding, click on that to open it.
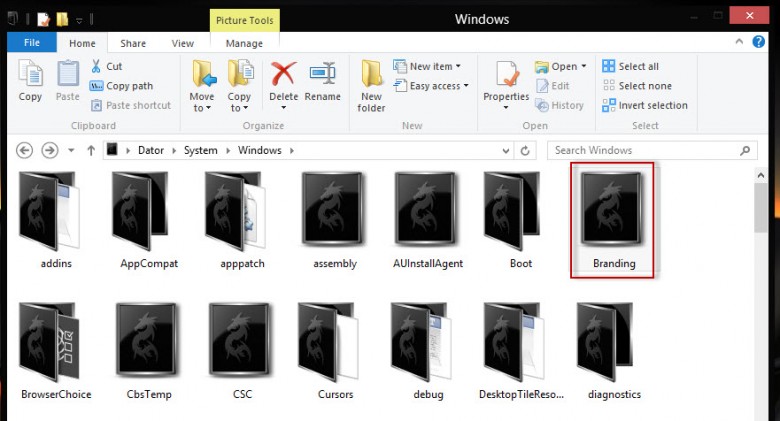
You will now see two folders, click on shellbrd to open it.

In the folder you will see a dll file called shellbrd, right click on it and select Properties.
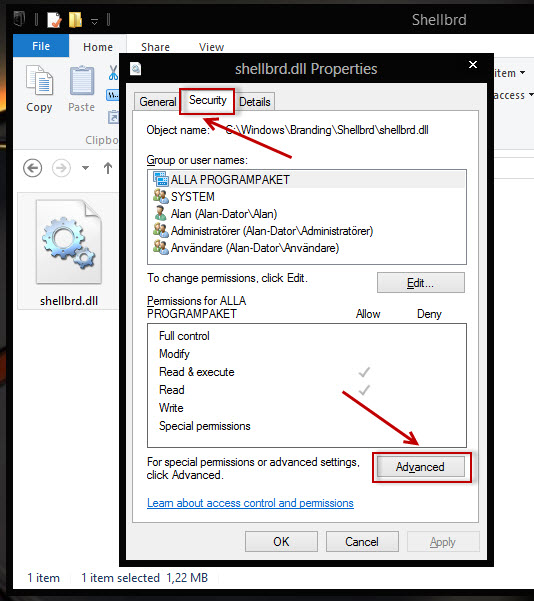
Select the Security tab then click on the Advanced button at the bottom.
At the top of the window that opens click on Change.

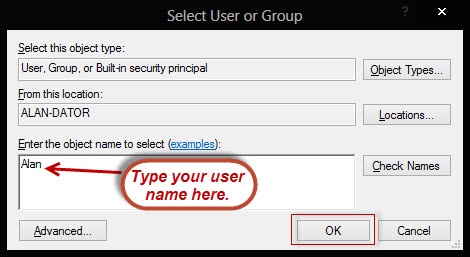
Now type your user name into the text box and click on OK and another window will open. You may need to use an Admin account.
You will now be back at the Advanced Settings window again. Click OK to close the Window and now you are back to Properties window.
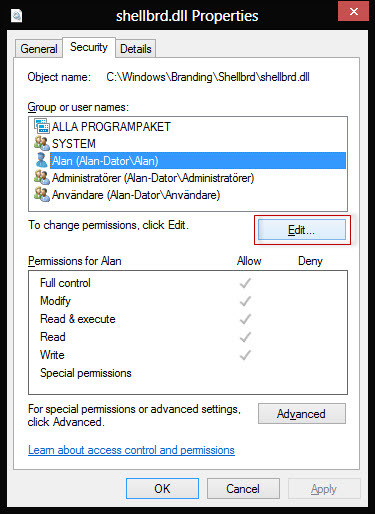
Click on the Edit button then highlight your user name and put a check mark in the Full Control check box and click OK.

You may get a warning at this point, just accept it and you have ownership of the shellbrd.dll file with full permissions.
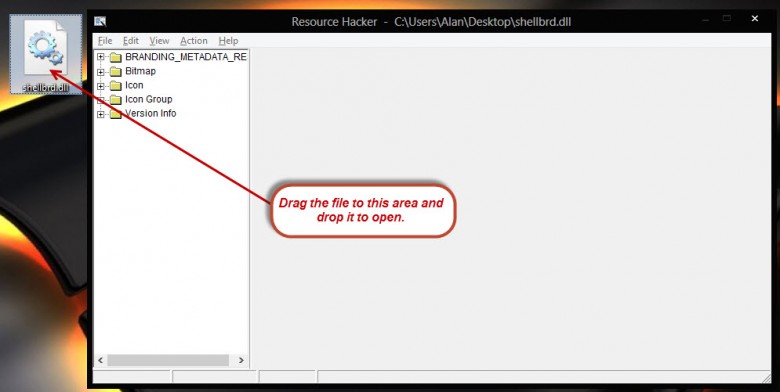
Copy the shellbrd.dll file to your desktop by right clicking on the file and selecting copy then paste onto the desktop. Open Resource Hacker then just drag and drop the shellbrd.dll file into the blank area of Resource Hacker and it will load the files rescources.
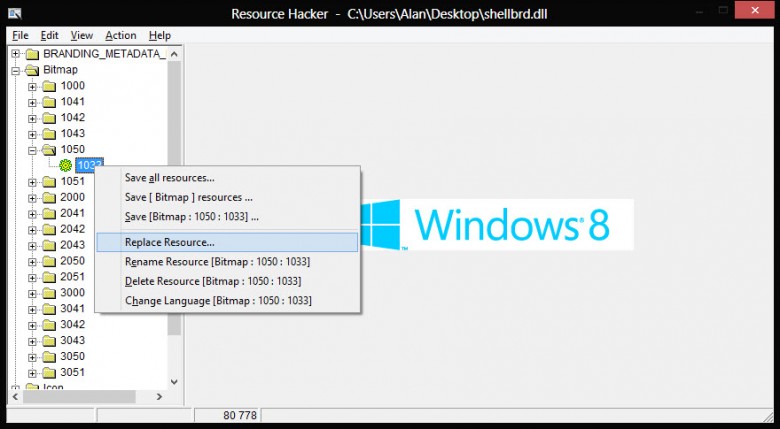
There are THREE keys you need to edit which are all located under Bitmap, the first is at folder 1050, right click on the key 1033

In the window that opens click on Open file with new bitmap and navigate to your 32bit bmp image. Click on the image then click on Open, now click on Replace.

Don’t worry if your image looks a little distorted or discolored, that’s the alpha layer and it will present itself properly.
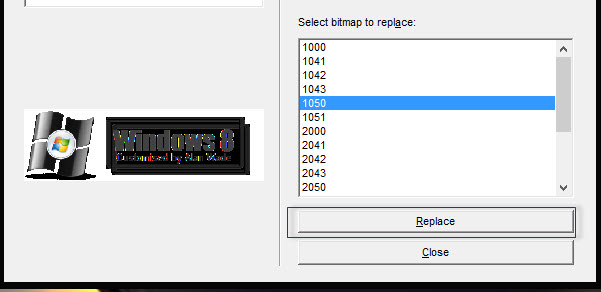
Do the same in folders 2050 and 3050, the key numbers are the same.
Click on File then Save and Resource Hacker will save the newly hacked file and a copy of the original which will be aptly named shellbrd_original.dll.
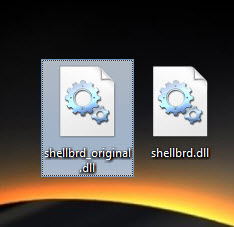
Make sure you have this backup file! If you don’t then make another copy from the original file in the shellbrd folder and save it somewhere other than your desktop.
Close Resource Hacker.
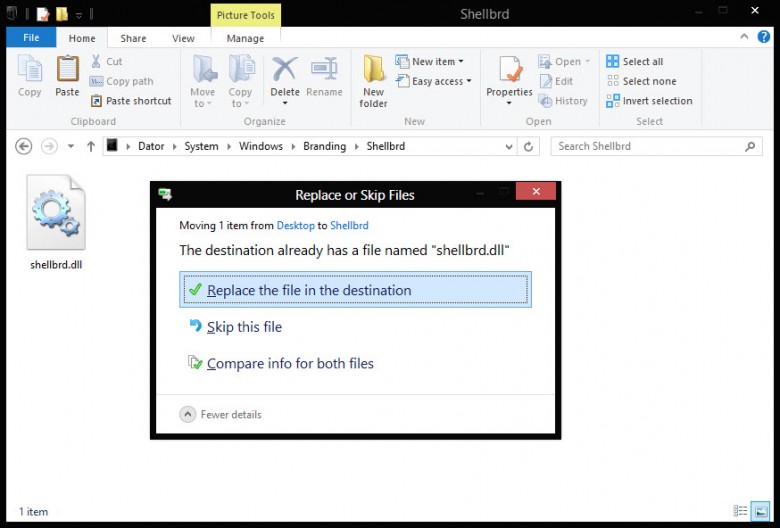
Drag the file shellbrd.dll from your desktop and drop into the shellbrd folder. Select Replace the file in the destination when asked then close the window.
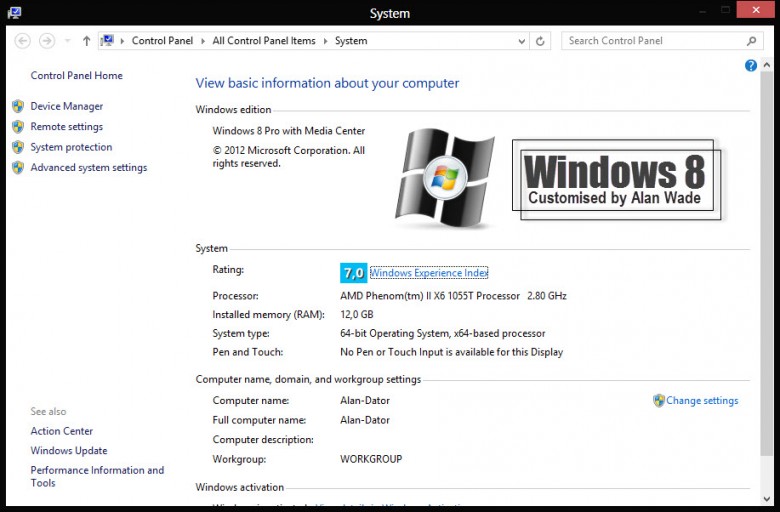
Open System Properties again and check your work!
If you want to delete the logo and leave the area blank then instead of replacing the images in folders 1050, 2050 and 3050 right click on the key 1033 and select Delete Resource instead. This is quite a lengthy article but it took a lot longer to write than what it takes to actually make the changes.
Enjoy your customized System Properties window!
Super cool
Thanks alot!
Changed my logo to Windoge 8!
you very goood
how do I change it back? I saved shellbrd.original.dll and tried to replace resource from that file to shellbrd.dll, nothing happens… help pls
to getHO did you place the original file in to a new folder and rename it back to shellbrd.dll and then replace it ?
to getHO did you place the original file in to a new folder and rename it back to shellbrd.dll and then replace it ?