
I know there are many ways to find birthday cards. You can even purchase them at a dollar store for two for one dollar. There are applications and websites that will help you create them and some applications even have thousands of suggestions to choose from.
Then I wondered how hard it would be to create my own card using Google Docs. There are many websites to choose images and greeting suggestions from.
You can make the entire card on one sheet of regular paper and fold it twice but that requires making some of the “pages” up-side-down so when folded, they are right-side-up. I like to use a full-size card– 8.5×11 folded in half. I use cover stock which is 65 lb paper available at any store selling printer paper.
I opened docs.google.com and started with a new document and made the document landscape with the margins .5” all around.

File > Page setup
Set the orientation to Landscape and the four margins at .5, then click OK.
Then I created two columns on the page with the center 1” instead of the .5” default.
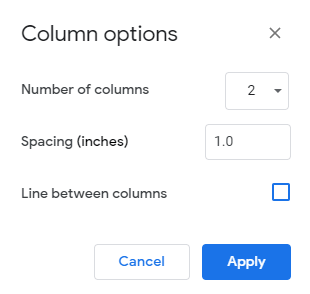
Format > Columns > More options
Change the Spacing to 1.0, then click Apply.
The left column becomes the back of the card and the right side the front of the card. Unless there is something you want to print on the back, press Insert > Break > Column break to get to the top of the right column.
On the web locate a site to download a free clip art or picture for the cover of the card. Try searching for “free birthday clip art”.

Select an image and paste it onto the cover page. Add any text you want to personalize it.
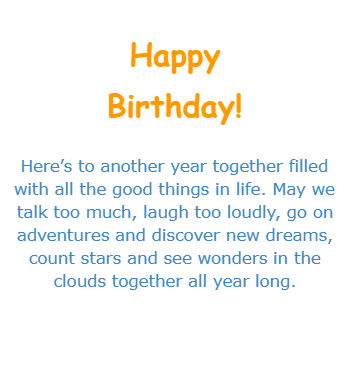
Ctrl+Enter to go to the second page where the right column will be the inside right side where the greeting will go. On the web, search for “greeting card quotes” and pick one that fits the occasion then modify it to fit your needs.
You could also add pictures or more words to the inside left and perhaps your email address and phone number on the bottom of the left side of the cover page so they will print on the back of the folded card. I often locate a picture of the person I am sending the card to and put it on the inside left.
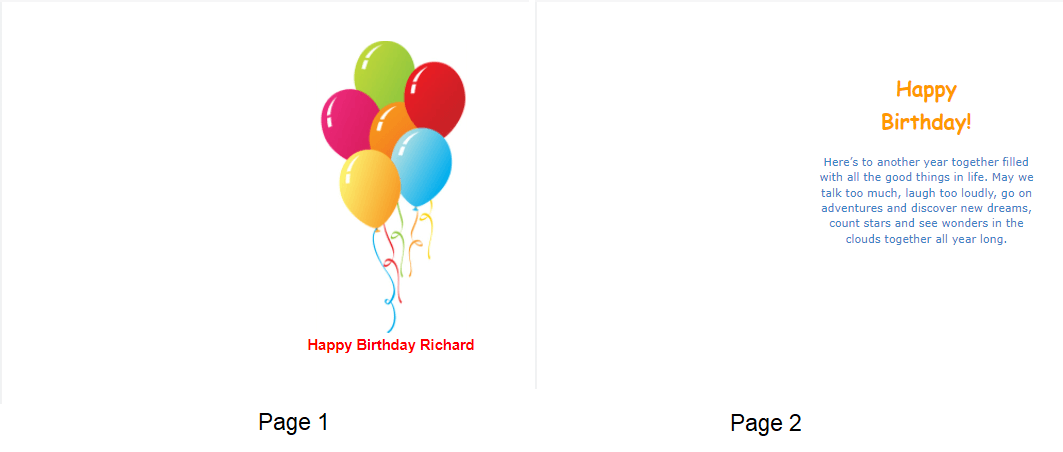
The final card. Page 1 is the back and front of the card. Page 2 is the inside left and right.
Printing depends on your printer. If it will print front and back, you can just put the card stock in and let it print. Do a test print first to see if the orientation of the second page lines up with the front page.
If your printer does not do two-sided printing, then print only page 1. Turn the paper over and print only page 2.
I find it fun to create unique cards for my special friends and family. I hope you will enjoy it as well.
Dick
—
Thank you! I’ve been trying to wrap my brain around how to create a simple card without my tech-savvy son’s help since I’m creating a surprise message for him. Other searches left out important steps or their videos skipped over steps. Your instructions were complete, simple, and easy to follow. Mission accomplished on my first try! Thank you! Thank you!