My uncle got in touch with me awhile ago. He had put ink into his printer but it wouldn’t work. In his case, he forgot to take off the protective plastic strips from the ink cartridge. But someone suggested to him that he needed his printer Lined Up.
I assumed he was talking about alignment. So, if your printouts aren’t coming out straight, here is how to align your printer. This is using my Canon Pixma MX492. I’ve noticed that this print alignment warning only comes up after I put in a new ink cartridge. I usually ignore it. But if your prints are not coming out straight, then do the following:
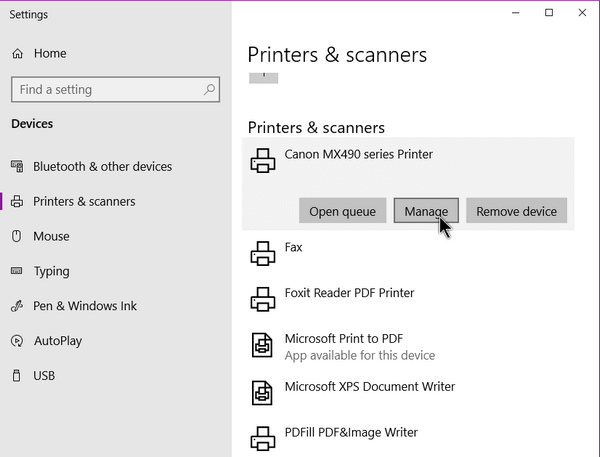
First, in the search bar type Printers and Scanners and click on it when it appears in the menu list.
Find your printer listed and click on it. Then click on Manage.
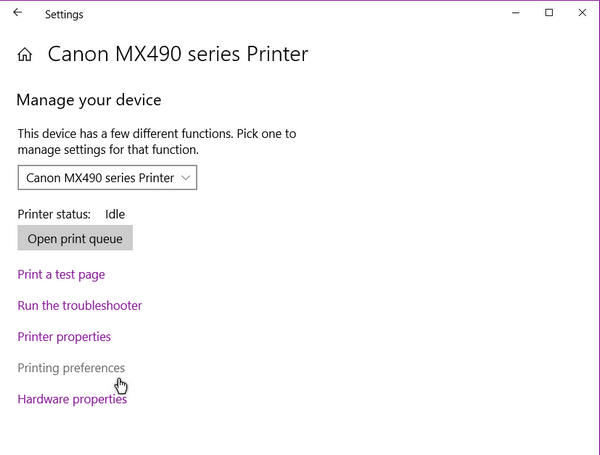
In the next window, click on Printing preferences.
Then click on the Print Head Alignment icon.
Click on the Align Print Head button first if you are having problems. Then click on Print Alignment Value. If you’re not having problems or just replaced the ink, I recommend just clicking on the Print Alignment Value button.
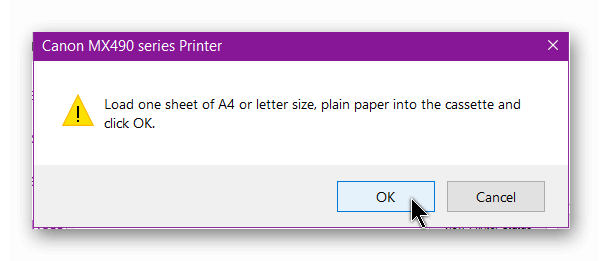
It will tell you to make sure there is paper in your printer.
Then it will warn you about starting anything else before it’s finished. Just click on OK.
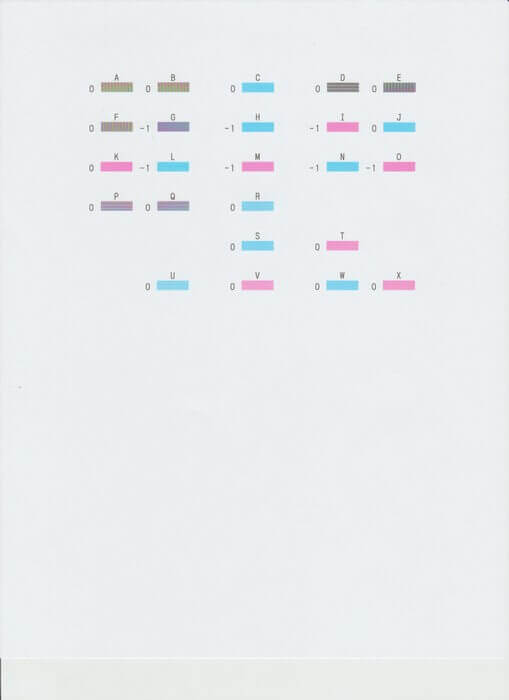
This will print up a page. This is what my Canon page looks like.
Everything looks straight and normal. So now I have to put it in the scanner and press the colour scan button. Only repeat if you still have problems. Otherwise, as I said, when I put in new ink, I always ignore this warning and so far no problems.
—

