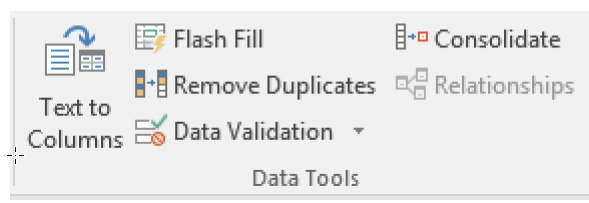
Why would you want to apply data validation to the cells in your Excel worksheet? Well, using data validation will restrict certain data types or values that your users can enter into a cell seems like a good idea to me. Don’t you agree?
Follow the steps below to learn how:
- Select the cell or cells you would like to create a rule for.
- Select Data | Data Validation.
- On the Settings tab, under Allow, select an option from the list below.
- Whole Number – will restrict your cell to accept only whole numbers only
- Decimal – will restrict your cell to accept only decimal numbers
- List – allows you to select data from the drop-down list
- Time – Will restrict your cell to only accept time
- Date – Will restrict your cell to only accept a date
- Text Length – will restrict the length of text in your cell
- Custom – Used for a custom formula
- Now, under Data, select a condition.
- You can now set other values based on what you chose for Allow and Data.
- Select the Input Message tab to customize a message displayed when your users are entering data.
- Select the Show input message when cell is selected which will allow the above message to display when your users select or hover over the selected cell or cells.
- Select the Error Alert tab and customize your error message and select a style.
- Click OK.
—

