My uncle’s friend passed away and he had a video he wanted me to do up. He said to make it fancy and put a border around it or something. So a bit of searching around and I came across this site:
This is my first time using this site am not sure what I’m doing, so who better to teach you how to use it? 🙂
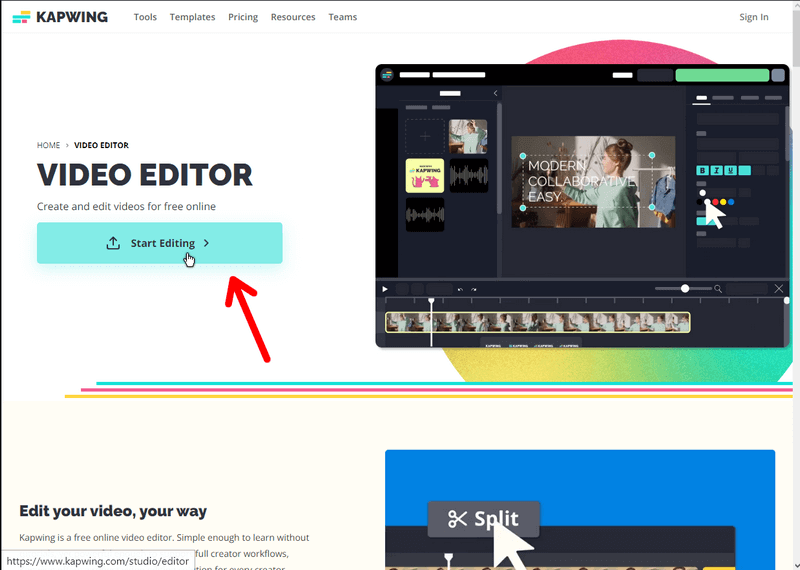
Go to their site and click on the green Start Editing button.
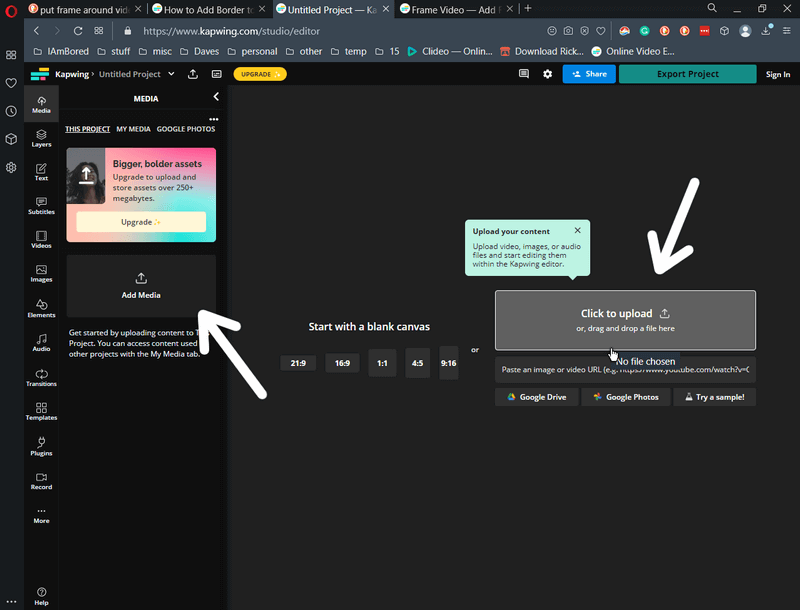
Now you’re in the editor. You can “Click to upload” or drag and drop your video here.
With your video loaded up, you’ll notice blue dots on the corners of the video. You can click and drag on one of these corners to resize the video leaving a white background. You can change the angle of the video by clicking on the one directly under the bottom of the video – click, hold down, and drag it left or right.

If you want it simple, and only shrink the video, click on one of the corner dots and drag it toward the center of the video leaving a slight white border around the edges of the video which you can change the background colour of afterward.
You’ll also notice the video is stretched out over the timeline at the bottom of the screen. You also have various controls to the right of the video like Trim, Crop, Filter, etc.
On the far left-hand side, you have some options like Media, Layers, and Text… If you click on the Elements option, you get a Backgrounds option, but nothing that I wanted.
You can import your own backgrounds, borders, and so on. The video I was working with was supposed to be like a memorial video. My uncle and his friends go around singing gospel songs, so I wanted a Christian background that wasn’t too heavy or busy. I searched online and settled on this one that I have already opened in PhotoFiltre.
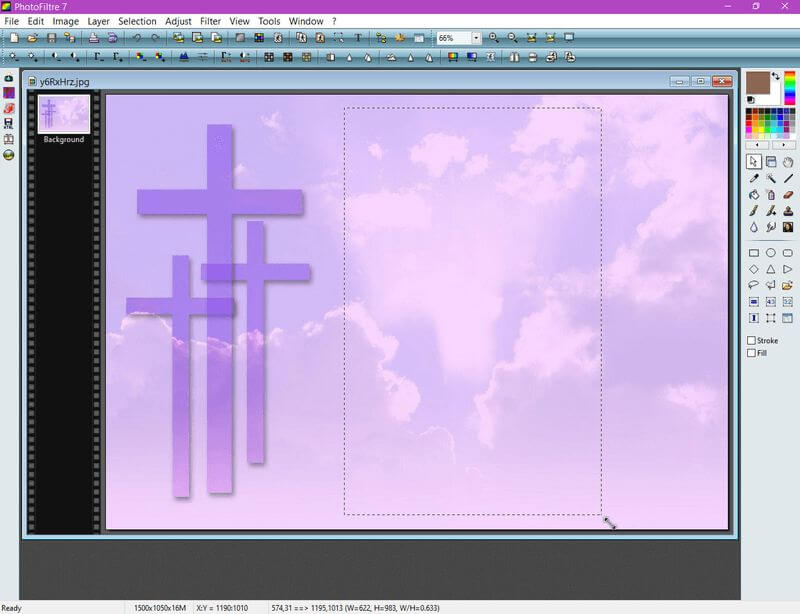
When I found this I knew exactly what I wanted to do – cut out a section in the middle and make it transparent so the video will show through.
I’ll do up a more detailed report later with pictures showing how to make simple transparencies in PhotoFiltre but basically what I did was this: on the left-hand black layer-bar, I right-clicked on the Background thumbnail, duplicated it, then in the top layer I highlighted the area I wanted transparent, right-clicked in the area I wanted to be removed and clicked on Cut. And with the top layer still active, I then went up to the Edit menu, clicked on Copy, minimized the graphic that was showing, and then in the PhotoFiltre window I right-clicked again and clicked on “Paste as new image”. Saved that image as a PNG file and I had my transparent window on my background picture.
Back to the video editor…
Click on the Add Media button or drag and drop. Now the picture is in the left-hand media manager section. Hovering the mouse over it, two icons appear: a trash can to delete it, and a blue square with a white plus sign to add it to your project. I clicked on that.
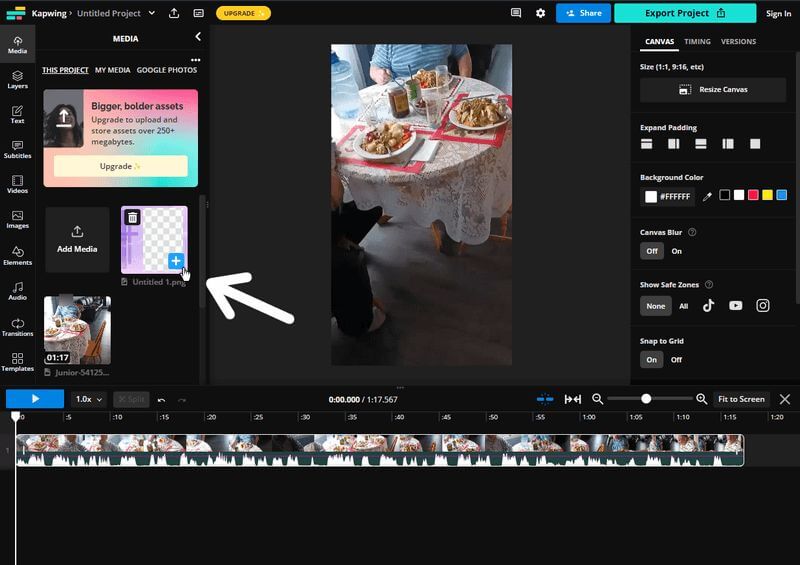
But when I added this picture to the video, I still had a problem. I couldn’t adjust the picture outside of the video borders so had to adjust the video to fit the transparent window on the picture. At least the transparency was holding.
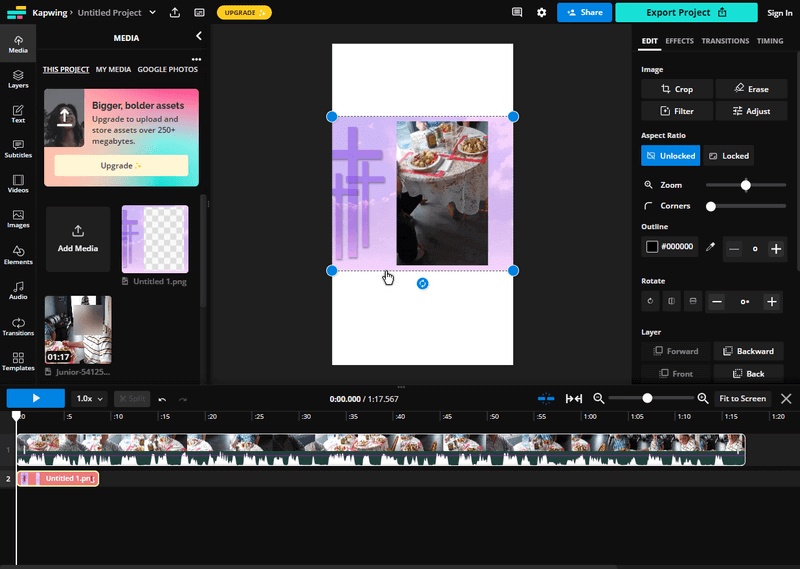
Also, looking at the timeline towards the bottom, the picture only displayed about 10 seconds in. After playing the video, the picture overlay disappears and I was left with just the video playing by itself.
To stretch out the picture overlay to the full video, click and hold down to the end of the picture layer, in orange, click and drag until it stretches to the end of the video.

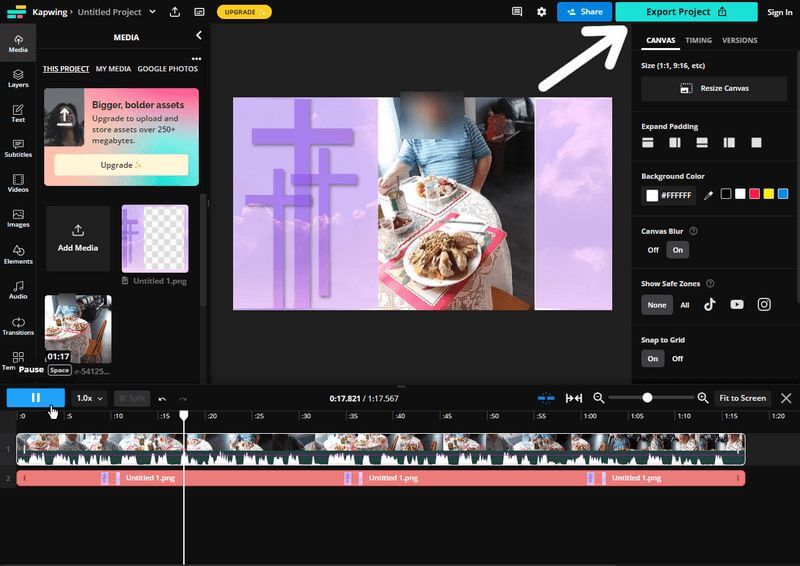
But I still had the white borders top and bottom of the video. I could crop it but the end result would be a small-resolution video. So I clicked on the white border hoping it would give me some adjustment options and it did. On the right-hand side of the screen, I now had options to adjust this canvas by clicking on the “Resize Canvas” option at the top right-hand side of the screen.
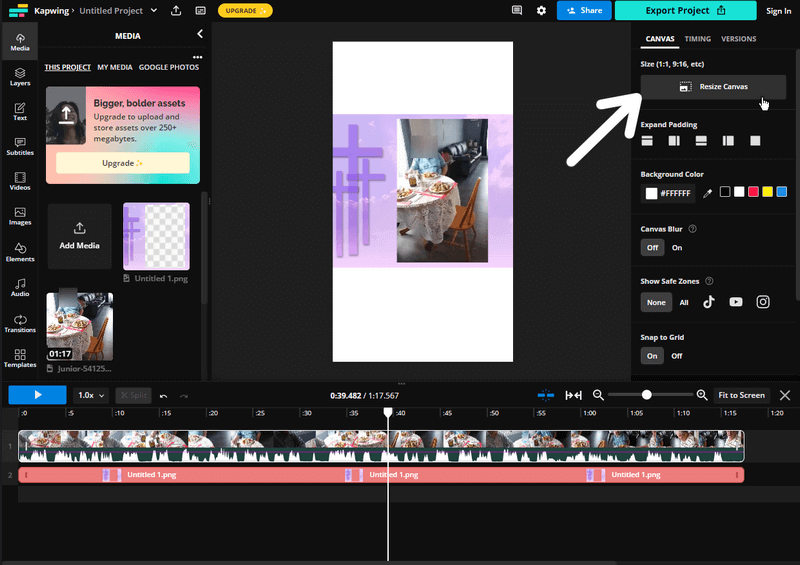
I clicked on that and a small window popped open.
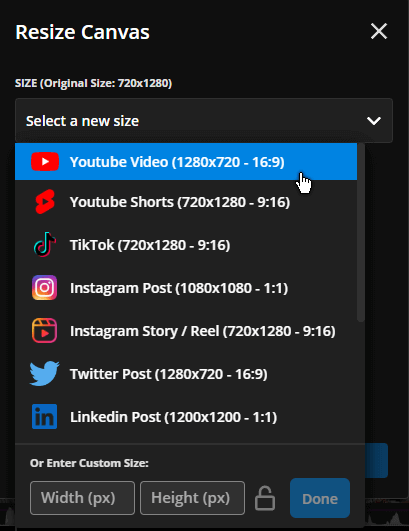
I clicked on “Select a new size” and just selected the first option – Youtube Video (1280×720 – 16:9). Then Done.
Perfect. I decided to save it and see what it was like. So I clicked on the green Export Project button at the top right of the screen.
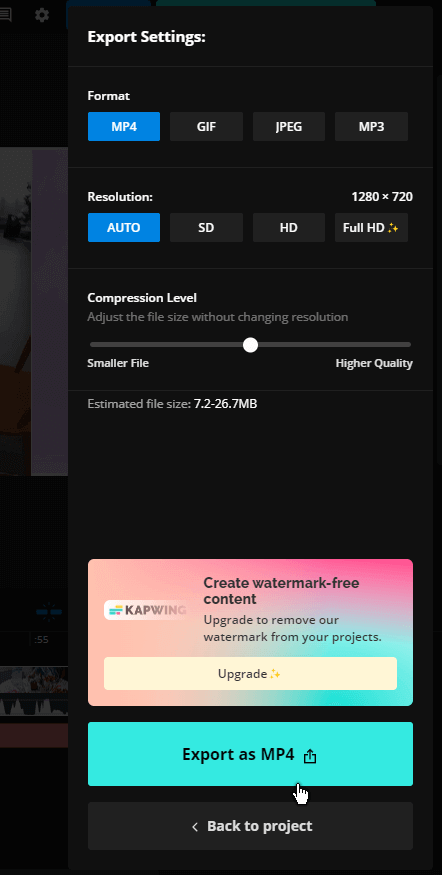
Then I got the Export Options. I left the Format on MP4 and the Resolution on AUTO. I left the Compression Level as is and clicked on the green Export as MP4 button towards the bottom.
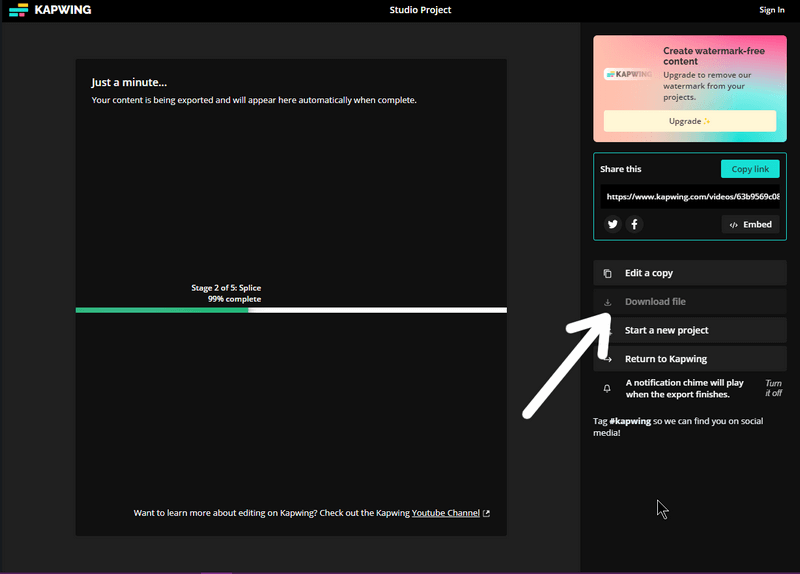
It started rendering the video and I waited for it to finish and then clicked on the “Download file‘ option.
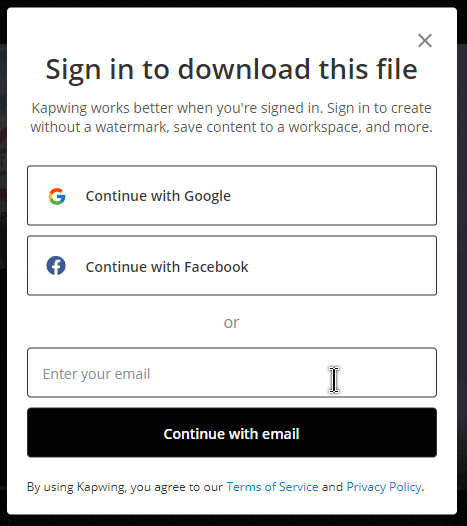
To download the file, I had to sign in first. I tried with only my email method but it wouldn’t go through. Some CAPTCHA issue, so I decided to sign in using one of my Google accounts.
After signing in, I was given the standard “Save As” box where you can name the file and choose where on the hard drive to save it. Here is a screenshot of what it looks like. I didn’t notice until after rendering that this program treated my picture overlay as two separate pictures, one layer on each side that didn’t perfectly line up with the edges of the video. Then there is the watermark. I could go through the paces again and try to fix the alignment issues, but the watermark?

I could crop the bottom half of the video just above the watermark edge and still have a half-decent video. Read here on how to crop videos:
How To Crop Videos With Free Crop Video
And I still wasn’t finished. I had to add a message screen. In this case, I used the same purple cross background and typed the message on it. I decided to finish it in Windows Movie Maker. I opened up Windows Movie Maker and added the picture with the message first to the timeline and then to the video and saved it from there. Despite the minor glitches, overall, it didn’t turn out too bad.
—