It doesn’t matter which operating system I have loaded…

… I love to use custom icons, and there is no shortage of them available for download… so why not?
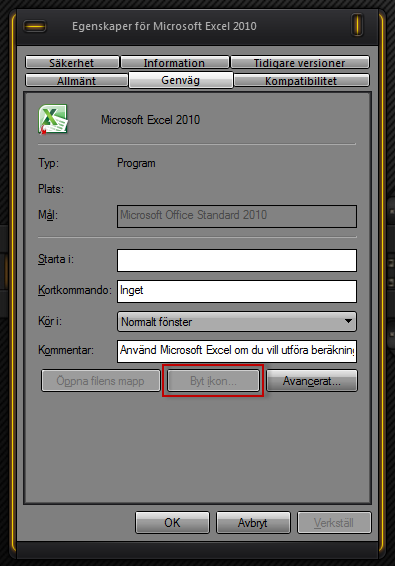
If you also like to step outside the box and make Windows your own, this is how to customize icons for apps and programs, such as Microsoft Office, which have the “Change Icon” option disabled.
With Windows 8 you need to right click on a tile then on Properties to find the shortcut path and change the icon at its source… otherwise, it’s just the same as for Win 7.
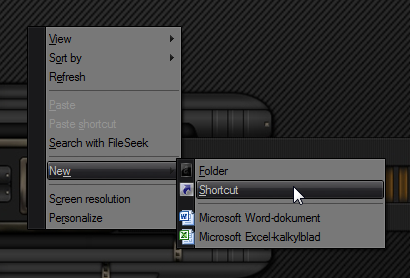
Right click on the desktop and select New then Shortcut.
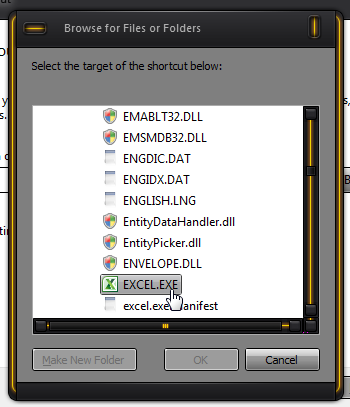
In the window that opens click on Browse…

… and navigate to the program/app’s exe file, click on it and then on OK.
You will now see the path in your ‘Create Shortcut’ window, click Next to continue.

In the next window you can either change the name of the shortcut or accept the default.

Click on Finish after your decision and your shortcut is created.
As you can see, it has the default app icon…
… but now, when you right click on it and select Properties, you will find that the “Change Icon” option is activated…
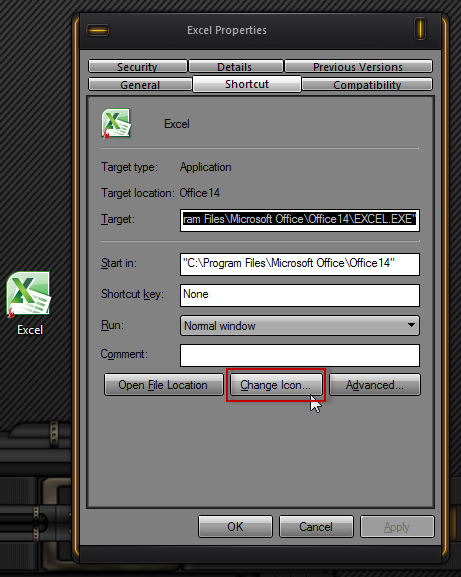
… allowing you to change the icon to anything you want.

This is good for keeping all your icons in the same theme.
**Here are three safe sites where you can get thousands of icons: