Once your presentation is finished and you are taking questions from your audience, wouldn’t it be nice to have a preview slide showing to refresh their memory?I personally think it is a great idea! PowerPoint animated shapes are a great way to display a lot of graphic reminders. You could use the same slide prior to your presentation to pique the interest of your audience before you begin. Believe it or not, this really is not terribly difficult to do.
Follow the steps below to learn how:
- Save all graphics you would like to use in one folder with your presentation for easy access.
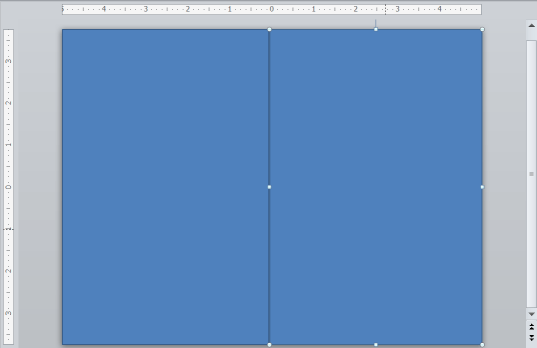
- Divide your slide into equal sections (this is not mandatory).
- Insert an AutoShape such as a rectangle into each section.
- Fill each AutoShape with a different graphic file or picture.
- Assign an entrance effect to each AutoShape using the After Previous Start setting so each picture is shown individually.
Follow along with this example:
- Insert a blank slide into your presentation.
- Click the Insert tab and select Rectangle from the Shapes dropdown in the Illustrations group.
- Insert it consuming the left side of the screen.
- Copy the rectangle and position it to the right.
You are now ready to fill the shapes with your pictures. Follow the steps below:
- Right-click the rectangle in which you would like PowerPoint to display first. For our purposes, we will use the AutoShape on the left.
- Select Format Shape from the context menu that displays.
- Select Fill in the left pane (if necessary.
- Click either the Picture or Texture Fill option.
- Click File.
- Naveigate to and select the picture you would like to display.
- Click Insert.
- Click Close.
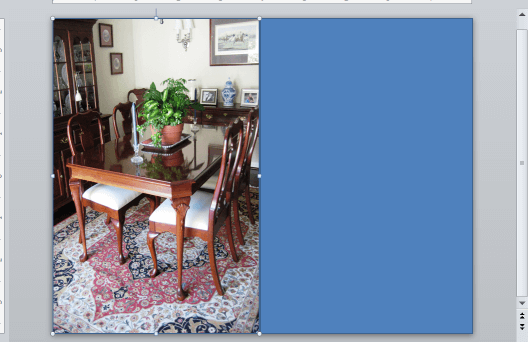
Repeat the above instructions to fill your shape on the right and you will then be ready to apply an animation to each shape.
- Select the picture on the left (or the one you want to appear first).
- Click the Animations tab.
- From the Animations drop-down in the Advanced Animation group, select Wipe from the Entrance section.
- In the animation task pane, find the selected rectangle and select Start After Previous from the drop-down.
- From the same drop-down, select Effect Options.
- From the Direction drop-down, select From Left.
- Click OK.
Now, that slide will display the picture on the left immediately, using the left wipe effect. You can click Play in the task pane to preview it if you like.
Repeat the process with the picture on the right, but instead, select From Right in step 6.
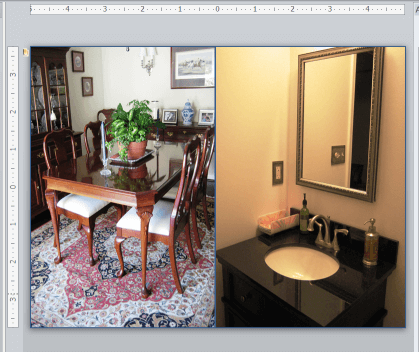
In this example we used just two pictures to simplify matters but you can divide your slide into numerous pictures. The larger your viewing screen, the more pictures you can display on one slide.
But wait, there’s more!
You can stack AutoShapes for a layered effect!
After creating your first layer, add a second layer by positioning more shapes right on top of the first set of pictures. The shapes that comprise your second layer do not have to match the first. In fact, mistmatching creates quite an interesting effect where pictures in your first layer are partially obscured as the second layer exposes each picture.
When adding a new layer, you can work on the same slide bu tyou may find it a bit easier to create each layer on a temporary slide and when the layer is complete, just click CTRL + A to select all the elements in the temporary slide and paste it all to your permanent slide.
You can use this effect to show any number of pictures or graphics at the beginning or end of your presentation. You could, if you like, even use it in the middle of your presentation, but I wouldn’t recommend it unless it is for a particular audience as it could easily distract people.
If you use this slide at the beginning or end of your presentation, be certain that it repeats.
I think you will find lots of uses for this particular tip!
Versions 2007 – 2010