
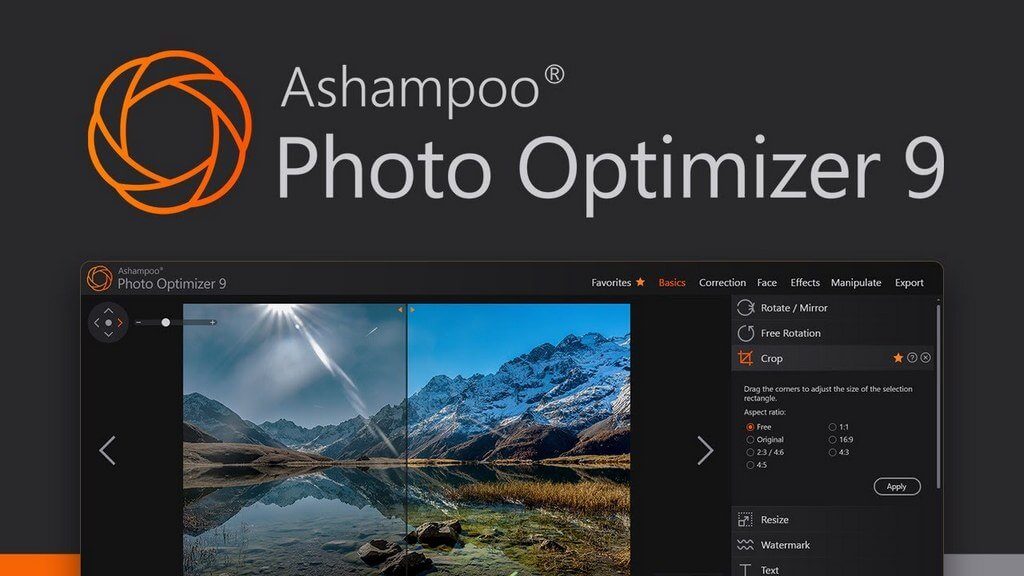
Ashampoo Photo Optimizer 9
Those of us who write for DCT use a lot of images and usually, those images need to be resized or even touched up for the best presentation. However, optimising images even further is more for the enthusiast, which is where Ashampoo Photo Optimizer 9 comes in.
I take a lot of photos when I’m out and about in Buenos Aires, mainly for adding to Google Maps, but they also serve as a useful diary reminder when I want to look back on times past. Sometimes those photos need a little help, perhaps because of the light, the horizon may be off or the picture simply needs optimising to bring out the best in it. Ashampoo Photo Optimizer 9 is just that – a photo optimiser for bringing out the best in your photos and it’s a very simple program to use.
When opening the program you can add a folder or a single file for optimising and then choose the various options to improve the photo. For the purpose of this review, I’ve chosen a photo of a cornfield that has too much sunlight so the scene looks overexposed, with before and after images.
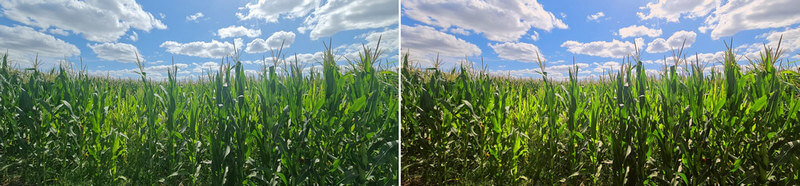
In this example, I simply reduced the temperature and increased the contrast for a richer photo and I think the result looks much better.
Optimising Older Photos
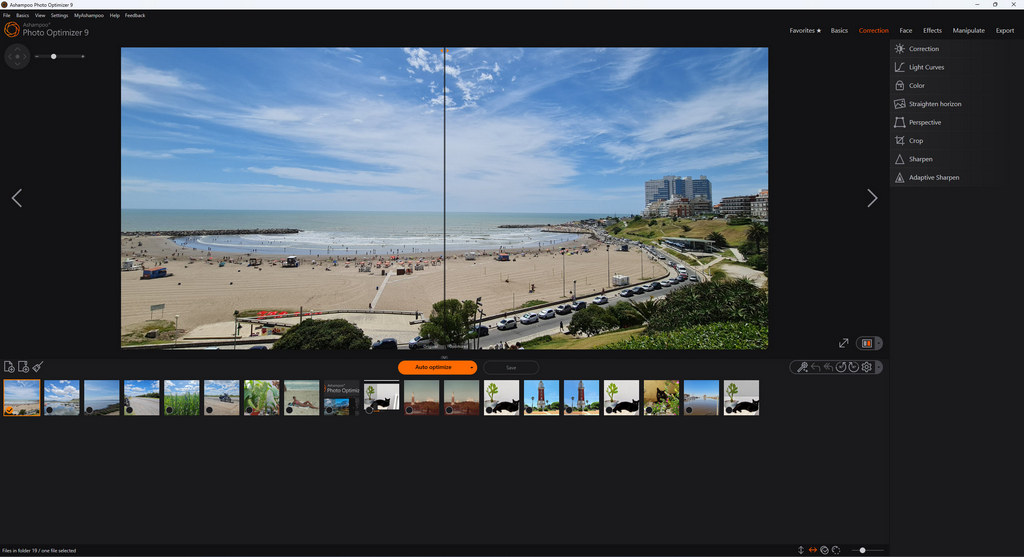
What I like most about Ashampoo Photo Optimizer 9 is the before and after slider which literally shows you how your photo will look when the effect has been applied. This can be set to horizontal or vertical and the optimisation is immediate, i.e., on the fly. This is a photo from 1993 which I scanned on a flatbed at about 300 dpi and as you can see, the slider is evident, before and after.
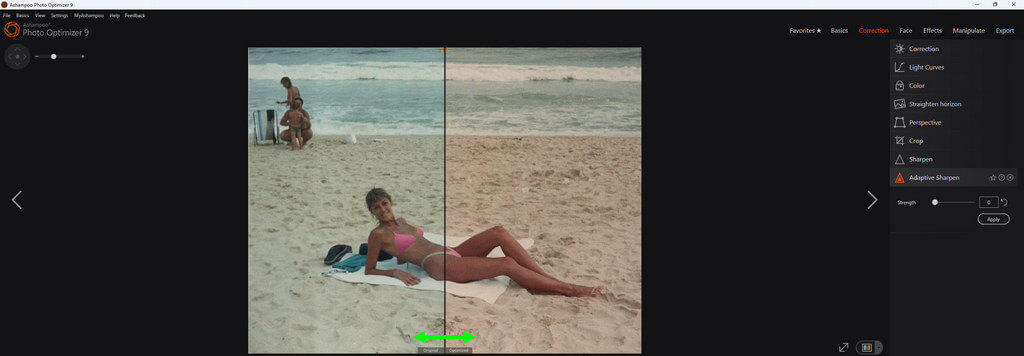
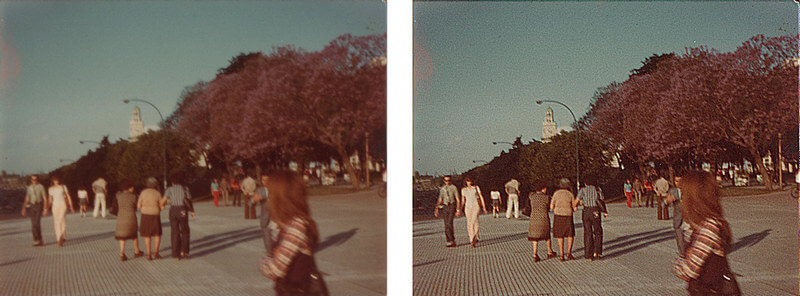
Here’s another photo, this time scanned from a 1976 photograph with the original being a little blurred, presumably because when I took the photo, I and the subjects were moving. The effect used was adaptive sharpen and it does appear sharper than the original.
In this photo, also from 1976, I snapped a scene on a freighter in the port of Montevideo, Uruguay. There’s a lot of detail in the shot and it also looks a little blurred, but after sharpening, there’s is a big improvement.

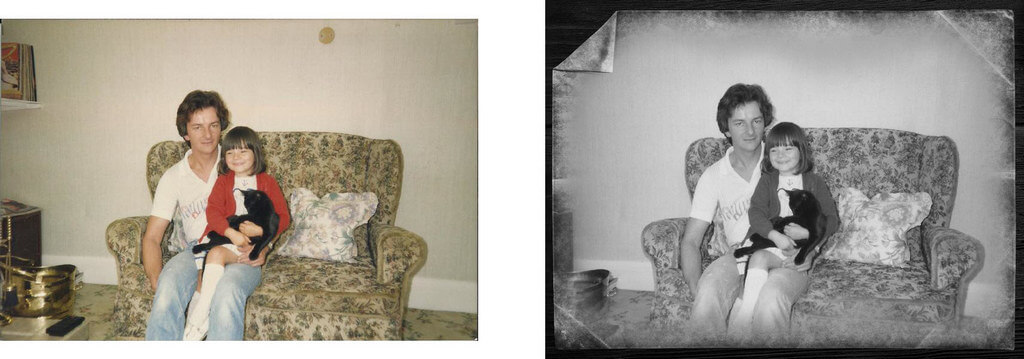
Some photos look better in black and white or at least give the illusion of being older photos than they really are and like most other photo manipulation programs, this is easy to do in Ashampoo Photo Optimizer 9.

There are many other effects that can be applied to photos, most of which I probably would never use, but those that are available in Ashampoo Photo Optimizer 9 are easy to find, apply and save. I would always advise anyone using programs such as this, to keep the originals and always ensure that optimised photos are saved as copies.
(Ed note: Ashampoo Photo Optimizer 9 is currently discounted to $29.99 (US).)
—
Hi Marc. Thanks for sharing this article. I was looking forward to using this program this summer, but might get to using it till winter time. Just too many pictures to scan and do not want to overload my multi unit. Looking to purchase a picture scanner. Any suggestions, Mindblower!
I have been using this for a while now (along with an older version) and it is really easy to use. I have to recommend it. It is my go to for simple fixes (it can do more than just simple), because it does a good job and it is quick about it.