Microsoft has removed the option to adjust your window border width in Windows 8, which was previously located through the Advanced Appearance Settings in Windows 7. You can still adjust the border widths but now it has to be done via a registry tweak.
Before we get started usual warnings apply, create a system restore point and/or back up your registry.
- From the Start Screen, type regedit then press Enter to open the registry editor.
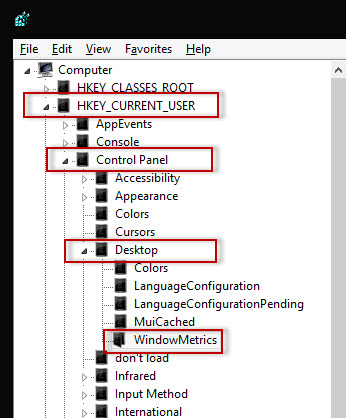
- Click on Hkey_Current_USER then on Control Panel.
- Now click on Desktop and then on WindowMetrics.
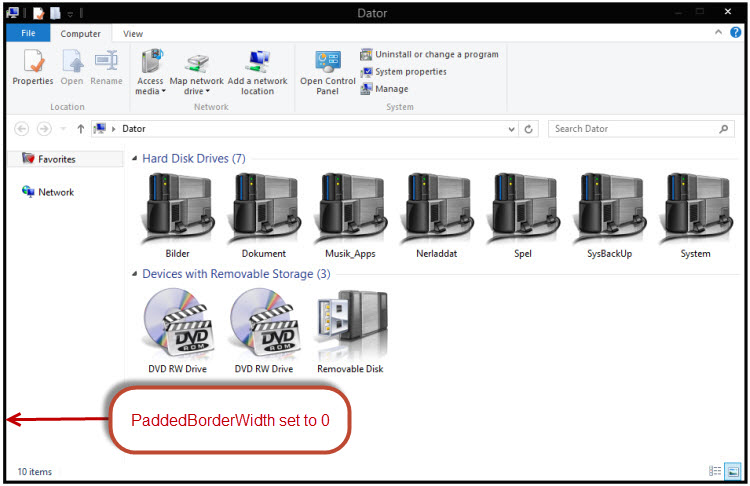
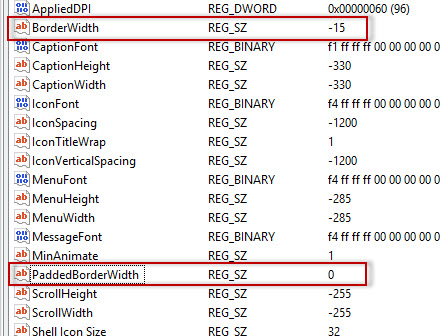
- In the right hand pane look for two values, one named BorderWidth which should have a default value of -15. Double click on it and change the value to 0 (zero).
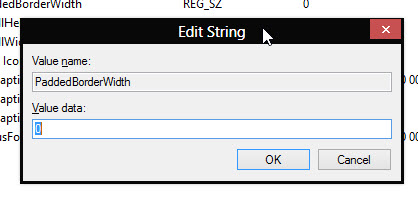
- Now scroll down and look for a value named PaddedBorderWidth. Double click on that and pick a value from 0 to -1500.
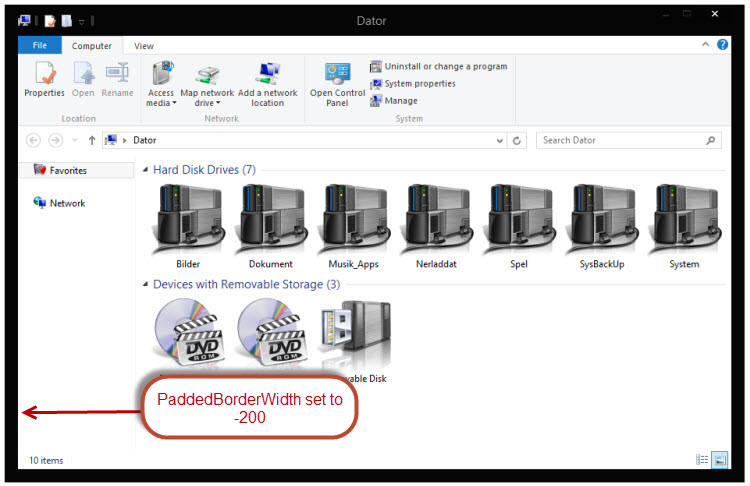
0 being the thinnest and -1500 being huge. In the screenshot under I set it at -200 and as you can see that is quite big.
- Once you have picked a value press OK to close the value box then close the registry editor.
Log off then back on again and open an explorer window, such as ‘Computer’, to see the changes.
If you want to revert to the defaults then go back into the registry editor and set BorderWidth to -15 and PaddedBorderWidth to -60.
Enjoy your windows borders at the width you want.