Delete Unused Apps in Bulk
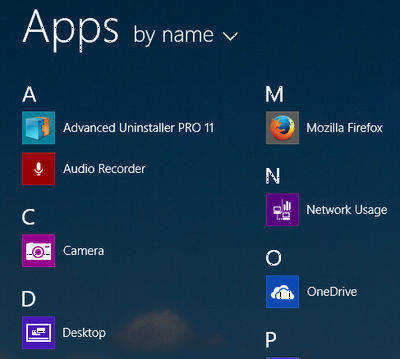
Microsoft has always bundled a passel of utilities and applications with its operating systems. Since they don’t know what you’ll use, their solution is to basically give you everything. It’s up to you to decide what you need and don’t need.
In Windows 8.x, you can go through all the Apps and delete the unused offenders one at a time. This can be a long boring process. Another better option is to let a little utility get rid of them in bulk.
The tool I’m talking about is aptly named WinAppRemover. It is free and portable– just how I like it. You can get this little beauty at this SourceForge Site.
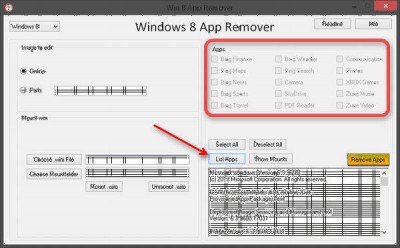
Download it and you’ll be presented with this window. There is a drop-list in the upper-left corner for you to choose which version of Windows you are running. If you’ve gotten the Windows 8.1 Update 1, then choose the item named Windows 8.1.1
Until you click the List Apps Button the options will be greyed out and unavailable. The above image shows all the Apps grayed out because I have already run it and removed some Apps. The ones in the current list aren’t installed on my computer.
Simply select the Apps you want removed and click the Remove Apps Button. All done!
Correct PreFetch and SuperFetch Settings for SSD
There are thousands of Internet sites that will expound on the virtues and curses of the integrated Windows PreFetch and SuperFetch systems. This is especially true when talking about a Solid State Drive (SSD). I am not here to debate these points and will let you sort them out for yourself.
By default, Windows 8.x is supposed to recognize that it is installed on an SSD. It should then update the PreFetch and SuperFetch settings in the Registry. I say “should” because it doesn’t always behave as it was intended.
My computer is a case in point. While researching this article I discovered that my SuperFetch settings were not only wrong but had been that way for a long time. Once I ran WEI, the settings were corrected in the Registry and I noticed a marked improvement in overall system responsiveness. Read on…
The Windows Experience Index (WEI) should generally not be considered the best benchmarking tool. I think many people place too much weight on its results.
That being said, it does provide a critical function that may not be readily apparent. By running WEI, Windows gets notified of your system’s capabilities and updates some internal settings. These settings have to do with several things like graphics capabilities, drive speeds, CPU speeds, etc. And you guessed it, the types of drives installed in your computer.
Unfortunately, Windows 8.x no longer has WEI available in a Graphical User Interface (GUI) like its predecessors. You can still run it in an Admin Command Box with this command line: winsat formal -restart clean
I have a better idea and there’s an App for that. You won’t believe this but it’s called WEI– imagine that! It’s free and portable and you can get it at the WinAero Site.
Note: Keep in mind that to achieve the most reliable results from WEI, you should not be running any other software in the foreground.
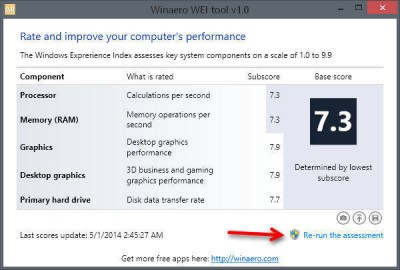
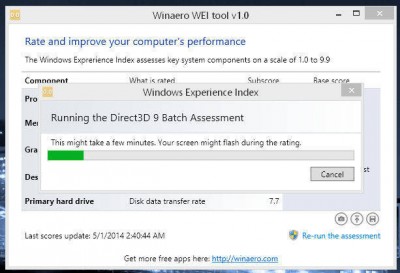
The program comes in ZIP format, so unZIP it and run it. You should see this familiar- looking window:
Simply click on the indicated link labeled Re-run the assessment.
It will take a few minutes to complete its scan. Be patient…
The most important reason for running WEI is to make sure Windows’ settings are up-to-date. It won’t hurt to run it when you make major changes to your computer either. These changes may include new graphics drivers or hard drives– particularly when adding an SSD into the mix.
Note: Both of these utilities scan 100% virus-free at the Virus Total site.
I hope you find these gems as useful as I.
Make it a great day!
Richard

Richard, I had no idea that the Experience Index did anything more than ‘benchmark’.
Useful to know, thanks.
Glad you found it useful, Marc,
Richard