
If, like me, you find that you often work in the Print Layout view in MS Word, you may find using text boundaries to be useful. Text boundaries are dotted lines that appear in your document to delineate the limits of text elements. When you utilize Text Boundaries, dotted lines will appear around the margins of the text in your document, as well as the headers, footers, etc.
- In Word 2010 display the File tab of the ribbon and click Options.
- Click Advanced at the left side of the dialog box.
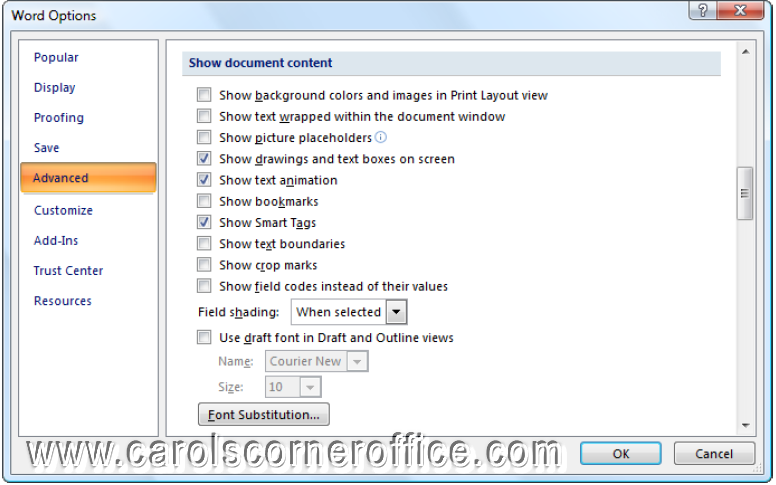
- Scroll through the options until you see the Show Document Content section.
- Click in the box next to Show Text Boundaries to turn on the feature.
- Click on OK.
Although this is a tip points out a useful feature, I suggest you don’t get used to it.
The setting continues to exist in Word 2013, but MS “fixed” it. Now, instead of showing the box around the whole page, where it is useful. the “box” appears around EACH PARAGRAPH! Now instead of useful it is distracting and clutters the screen.
When asked, the Official MS reply was that the rendering engine was changed and the feature is now displaying “correctly” (it was “wrong” in earlier versions!).
So now it is a FAD, Failing As Designed! Users think it is a bug or a “failure”, while programmers say it is “Working as Designed!”