When it comes to image viewers we freeware fanatics are very well catered for, with at least 3 top free programs to choose from… FastStone, IrfanView, and XnView. I am a diehard FastStone fan myself but I appreciate that most people have their own favorite. I don’t generally look into alternatives, simply because the 3 aforementioned are pretty difficult to beat. It’s no surprise then that although NexusImage has been around for a while, I have only just checked it out… three key words caught my eye; small (good), simple (gooderer), and portable (even more gooderer).
While many users will be happy with their installed image viewer of choice, NexusImage certainly fits the bill either just to use for quick views or as part of a portable flash drive toolkit. NexusImage is a comparatively small 2.00MB zip download which scans 100% clean through Virus Total. It is quite basic, but uncomplicated can be a good thing… right? And it does have some rather unique qualities, giving it a certain je ne sais quoi.
The opening screen consists of a plain black rectangle with just a title bar across the top:
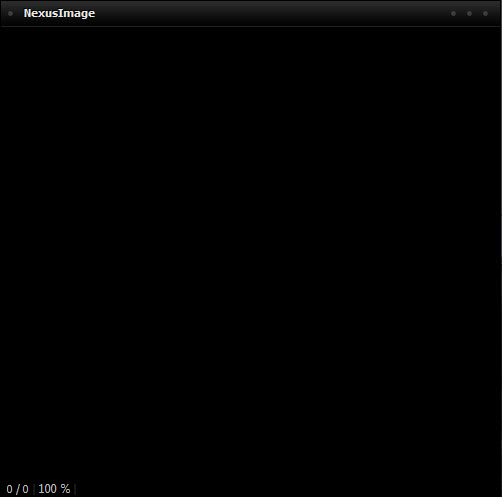
The screenshot is actual size. If you look closely you’ll see a little gray dot to the left of “NexusImage” and three more on the far right. Clicking on the left dot opens the main menu while the three on the right can be used to Minimize, Maximize, and Close the application. The first thing you will notice is that the desktop background dims simultaneously as the program opens.
Click on the Menu dot and choose Open to navigate to an image folder. Open the folder, highlight any image, then click Open, and that’s when NexusImage performs it’s magic. The interface will now go full screen, with the selected image displayed in a main window and all other images contained in the folder displayed as thumbnails, old 35mm film strip style, down a right hand panel:
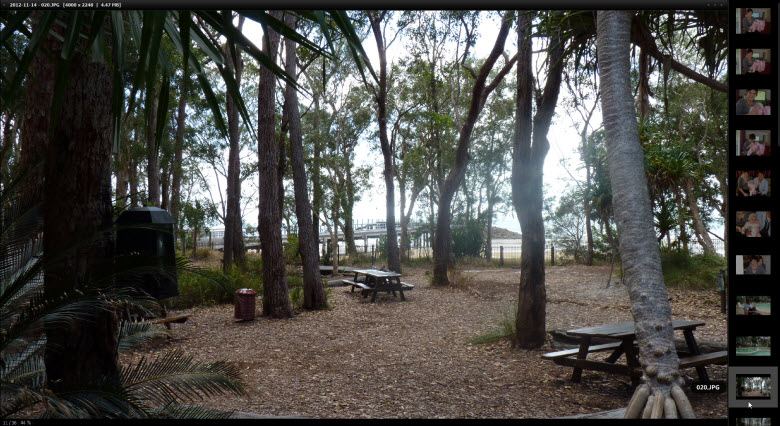
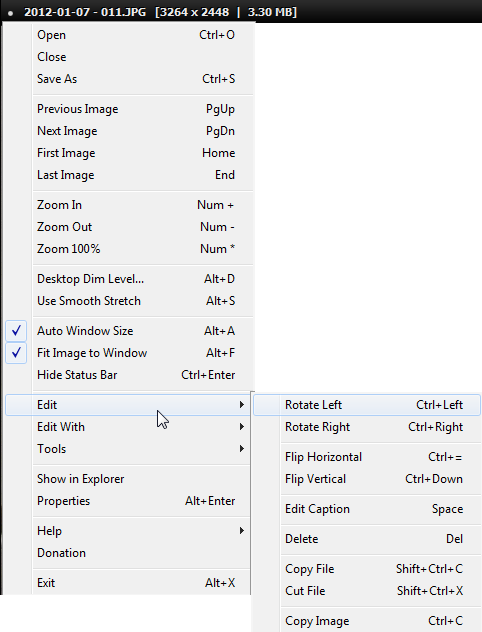
The above screenshot has obviously been resized down to reduce file size, which is unfortunate because it also detracts from the overall effect… but I hope it at least gives you an idea. Swapping images in the main viewing pane is simply a matter of clicking on a chosen thumbnail, and the main (and only menu) is now also accessible by right clicking on the featured image. The menu is pretty basic fare but there are a number of useful options available, particularly under the Edit menu item (note the ability to add captions to images)…
… and the Tools menu item:
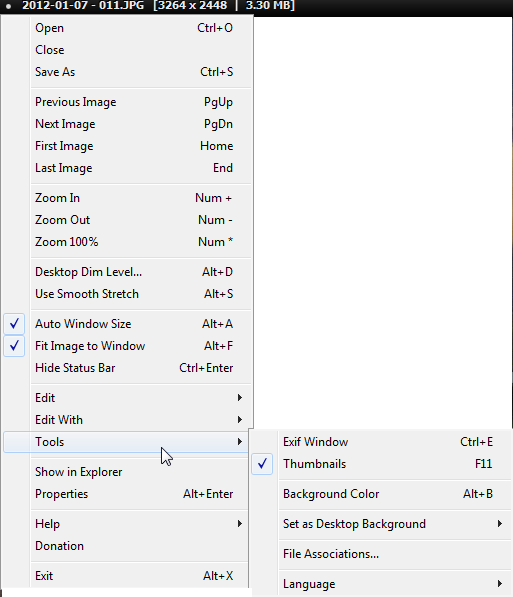
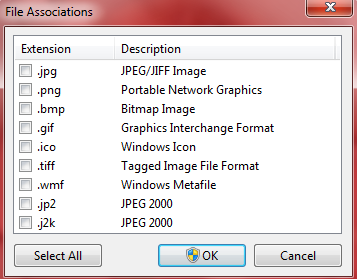
As you can see from the screenshot, NexusImage provides a very simple method for setting an image as your desktop background, and you can easily make NexusImage your default viewer for one or as many image formats as you like:
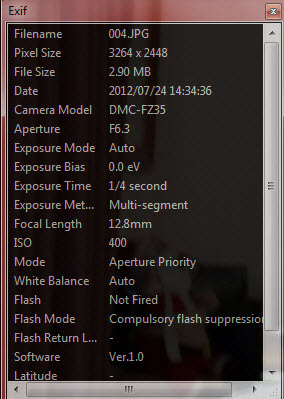
And photography buffs should appreciate the ‘Exif Window’ feature:
If you are looking for a quick, uncomplicated image viewer which doesn’t require installation, NexusImage is pretty impressive… well worth a look see.
Check it out and download here: http://www.xiles.net/nexusimage/