

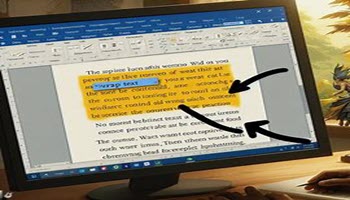
In my last post, we went over the basics of different text wrapping options. Today we will go a little deeper and go over some more detailed text-wrapping options.
We now know that there are several options we can use:
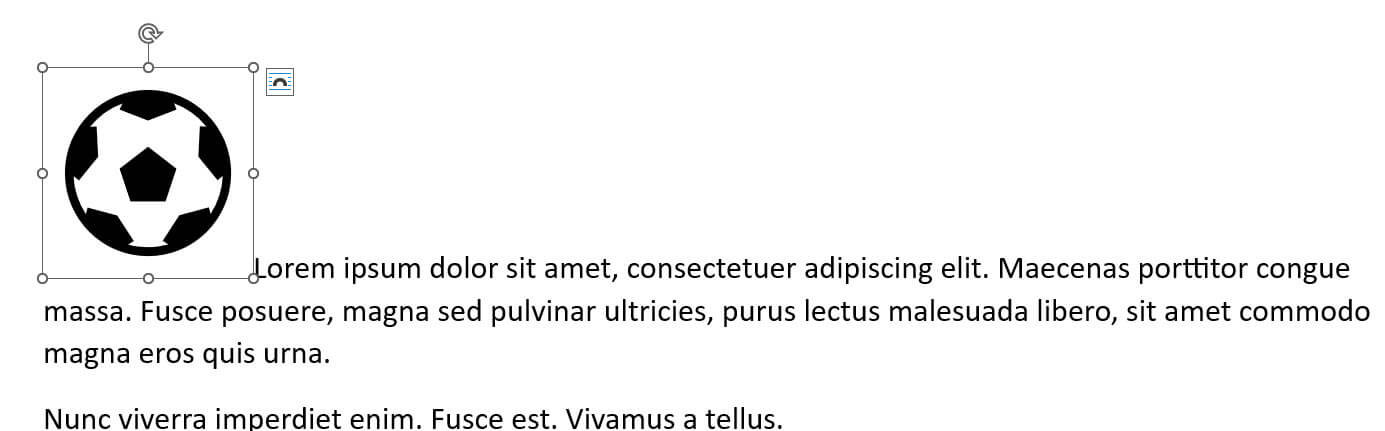
The first option is In Line with Text, which we have seen.
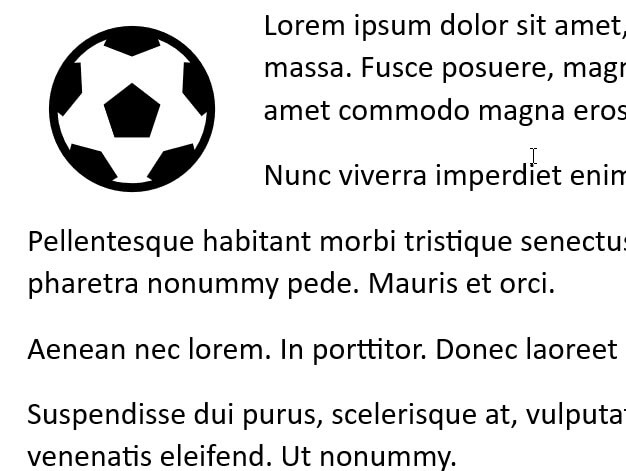
The second option is Square. The square option will make your text flow around your image’s bounding box, which creates a square frame around your image and keeps your text on the right edge of your image aligned in a straight vertical line. You may notice here that the text on the left edge of your image will not adjust to keep your text in a straight vertical line. By default, the text on the left of your image does not hyphenate either.
Your next Wrap Text option is Tight, which will bring your text as close as it can around your image. If your image has a transparent background, the effect could be more dramatic, but that is a personal decision. You can still see the bounding box, but your image will have a much more extreme edge to illustrate how your text follows the edge and not the whole box.

The next option is Through. Through is very similar to Tight and in many circumstances, you will not notice the difference. Through will fill in any gaps in the white space of your image, that is assuming your image has a transparent background.

So, in some cases, you might need to adjust your wrap points around your image to get the full effect of the Through option.
With the four options above, if you move your illustration, your text will continue to flow around it in the manner of the option you have selected. This will offer you great flexibility for the placement of your illustration and you can also achieve some fantastic visual effects in your document. Should you add more text to your page, the illustration, by default, will move with your text. If you open the Wrap Text menu, you will see that the Move with Text option is checked by default.
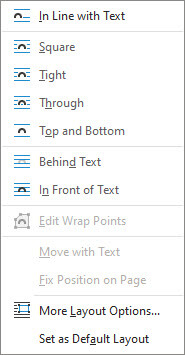
The Fix Position on Page option will keep your image in the same place, even when you key in more text.
The Top and Bottom option is next on the list. With this option, your text doesn’t flow around your image but the image will be placed on its own line and your text will appear above and below.

Using the Top and Bottom option, you can move your picture anywhere and your text will remain alone on the line and will stay in the top and bottom positions.
This is pretty interesting and helpful stuff is it not?
Stay tuned for more on this subject!
—


Could you provide the link(s) to your previous article(s) on text-wrapping in WORD?
Thanks,
Dan
No bother…I found your article (…/how-to-wrap-text-around-images-in-word).
Thnx anyhow,
Dan