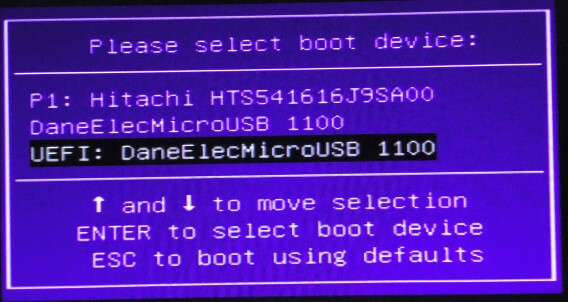
This is on my Acer, Windows 7 system that doesn’t support TMP or Secure boot. I’m assuming you got your bootable flash drive ready, in reference to my last article: How To Install Windows 11 On Unsupported Hardware. First, boot off your flash drive. I hit F12 at the boot screen and then I chose UEFI: DaneElecMicroUSB 1100 from the boot menu.
Note: The key(s) you use to get to your Boot Screen will vary depending on the motherboard manufacturer.
Then choose your Language, Time, and Keyboard and click Next.
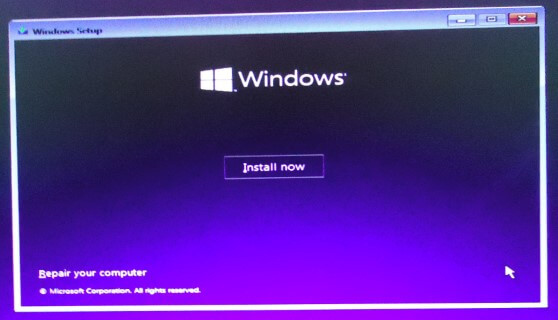
Then click on Install now.
You’ll get a Setup is starting message. On my system, it seemed to have stalled but then it continued again.
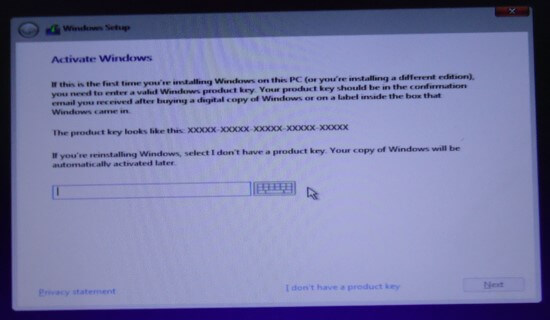
Then comes the Activate screen. Since I don’t have a key, I clicked on I don’t have a product key, down by the Next button. With Windows 10, if you didn’t activate, you would only lose some customization options and couldn’t change default programs. I don’t know if this will continue with Window 11. When the official version is released to the public, your Windows 10 key on your system now, should work.
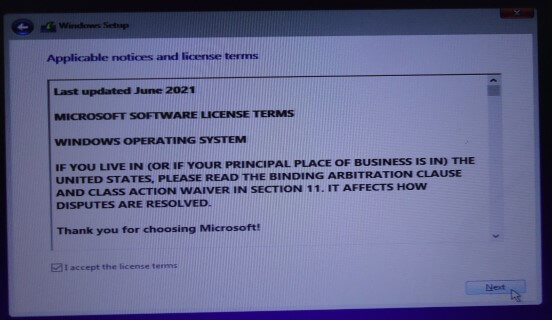
Check the I accept the license terms and click on Next.
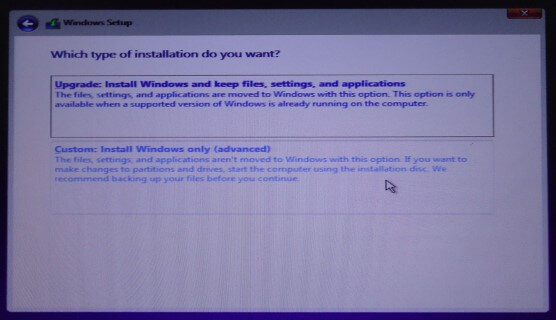
Which Type Of Installation? If upgrading, choose the Upgrade option. If doing a clean install, choose the Custom option.
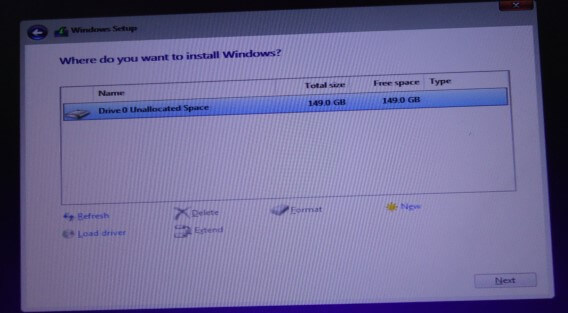
Click the Drive to install to, and then Next.
Then Windows will start installing files. You’ll get a few messages on your screen and your system might reboot. Just let it run. I think at this point is where Windows gave me an error message claiming Windows couldn’t be installed. It suggested restarting the installation. I just restarted my computer and the installation went on.
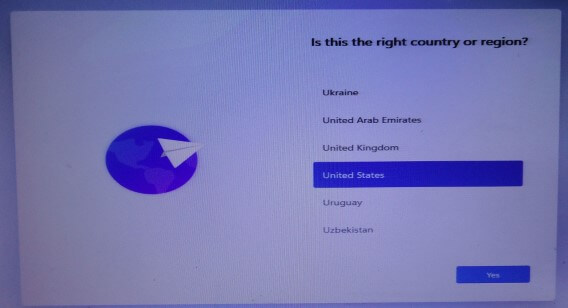
Then it went to the screen to Pick your country or region. Scroll through the list, find the right one and click on Yes.
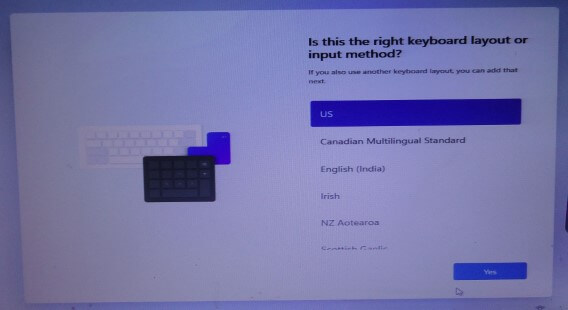
Then your keyboard — click Yes.
The next screen asked about a second keyboard layout, click Skip. Or if you have a need for it, click Add layout.
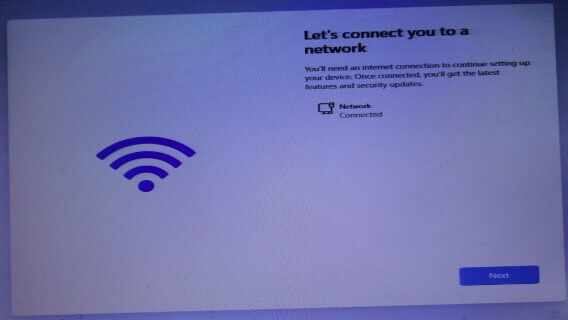
With Windows 10, you could install without the Internet. Windows 11 will not allow you to install without it. Select your network if wireless and input the appropriate information, then Next.
Then it will check for updates. It might reboot the system at this point.
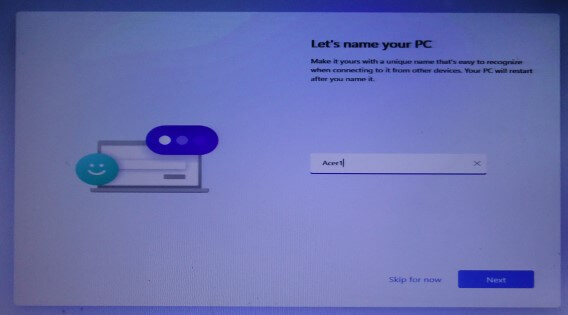
It will ask you to name your computer but you can Skip it if you want. Click on Next.
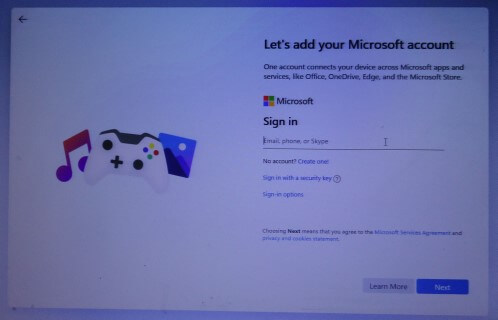
Another change — Microsoft is forcing you to use an online account. Some online sources say click on the Sign-in options. I did but still no local account option. Put in your Microsoft email or create one. Follow through from there.
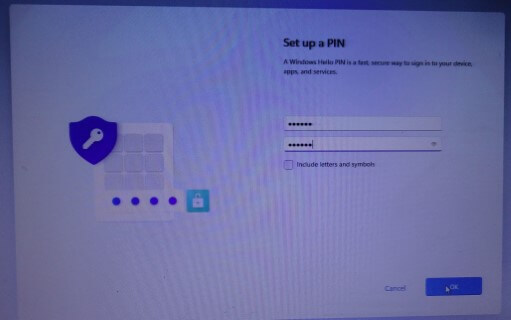
Then they ask you to set up a PIN.
Then there are the standard Privacy Settings. Most people set them all to No. Then Next.
Then there’s a Let’s customize your experience screen that I just skipped.
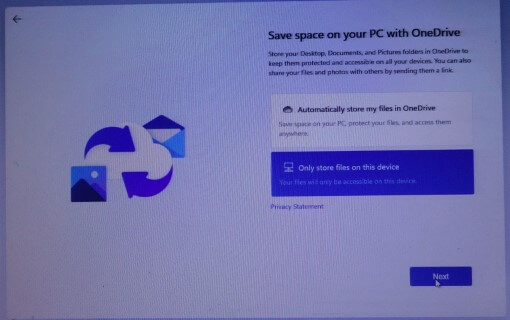
Then you are given the option to Save Space By Using OneDrive. I picked the option to Only store files on this device. Then Next.
You then get a screen to try Microsoft’s premium apps. I clicked on No, Thanks.
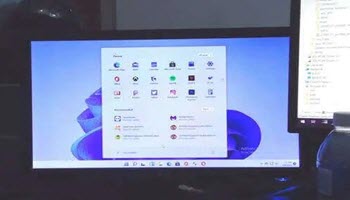
Finally, I had Windows 11 installed on a computer that it doesn’t support. I don’t plan to keep it on this system. It’s really slow and choppy on this computer and I thought Windows 7 was a drag. Also, I can’t customize it which means I also can’t change default programs (not activated).
—



I thought that Windows 10 was forever, they were not going to update to Windows 11.
Well, the latest version of Windows 11 has been described as Windows 10 with a fresh coat of paint. So right now it’s still kinda Windows 10. 🙂 And it’s no surprise to me to see a corporation going back on its word.