

I have done other articles in the past touching on different types of illustrations, and breaks in Word, and how to add them to your documents. Somehow, I managed to forget to tell you about how to wrap text around them! So, as promised to one of our readers, I will try to rectify that with this post.
When you add an illustration to your Word document that contains text, you will have to decide how you would like your text to flow around your illustration. Now, depending on the type of illustration, Word will either place it on top of your text or in line with your text by default.
Today I will teach you how to use different layout options to change the way your illustrations interact with the text on your page. We will call this Wrap Text.
When you insert a picture into your document with text, Word will place it in line with your text.
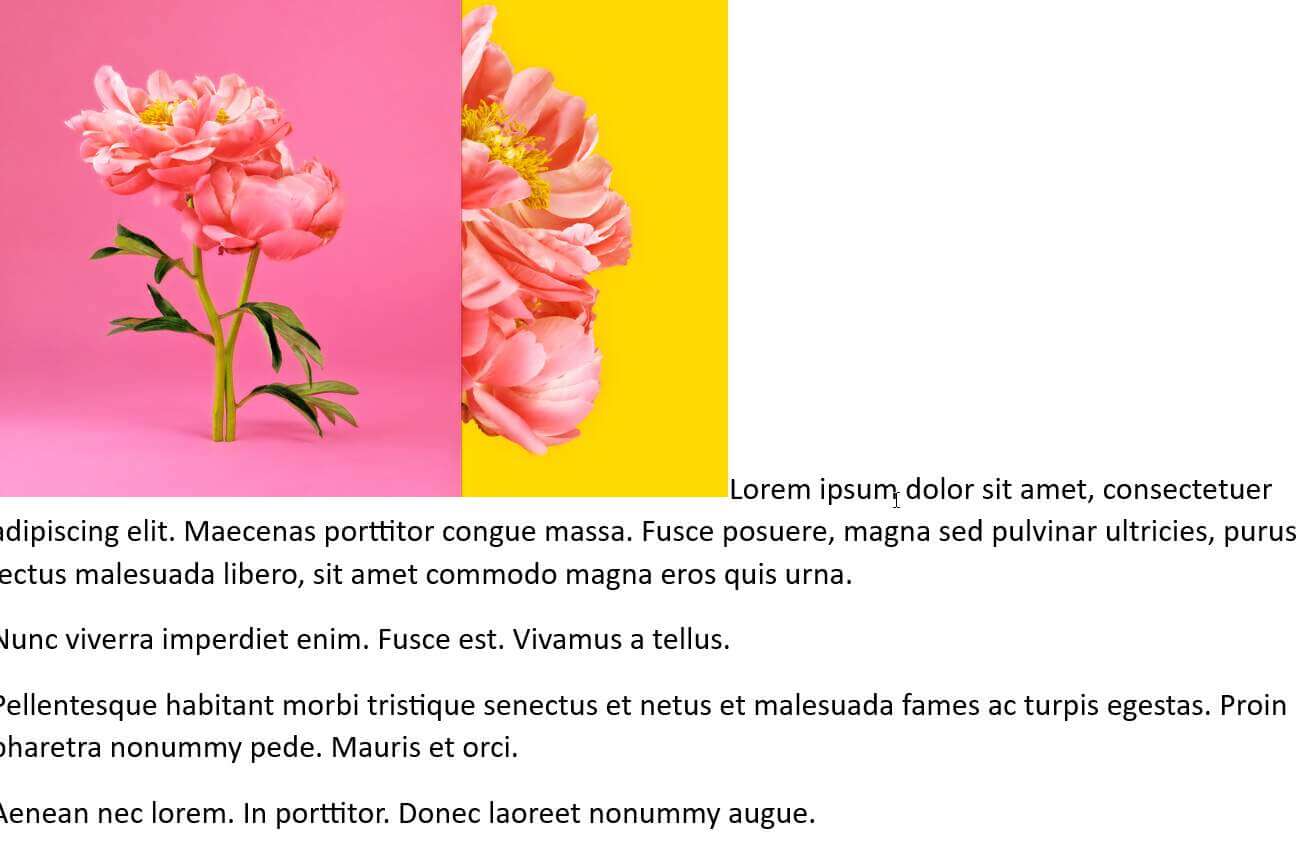
As you can see, the picture has been placed in line with the rest of my text, just as if it were more text. Word does this by default with pictures, icons, SmartArt, charts, and screenshots. On the other hand, Word places shapes and 3D models in front of your text by default.
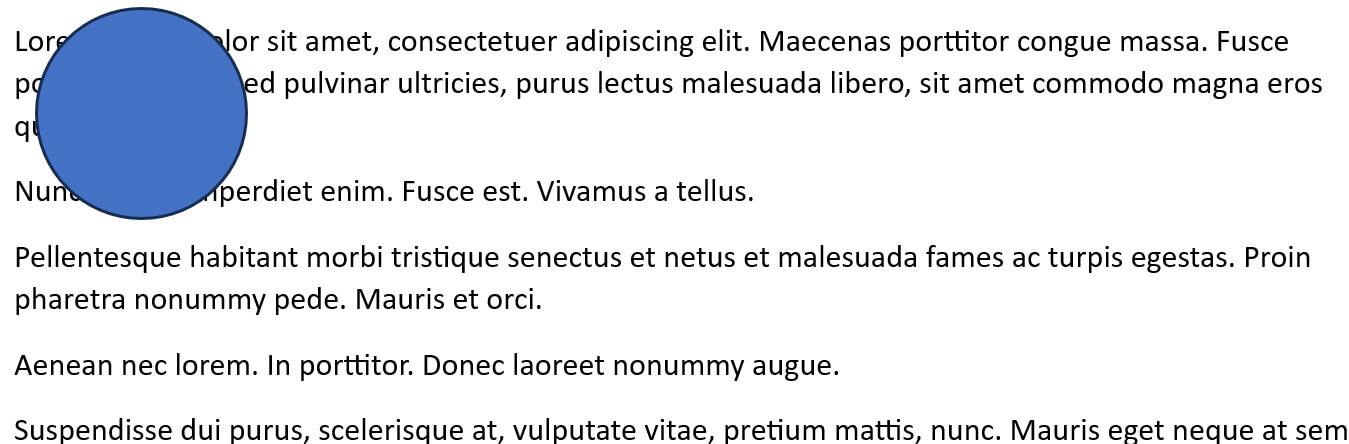
As you can see above, the circle shape that I inserted has been drawn and placed on top of my text.
Because the user draws shapes by using a click-and-drag method, they are not placed at your insertion point. Instead, they are placed wherever you first click to begin drawing your shape.
The default wrap text may be exactly what you would like, but remember, regardless of what type of illustration you have, there are several different ways that you can wrap your text around it.
There are different text-wrapping options. To see a list of Wrap Text options, you must have your illustration selected. You will know it has been selected if you see a bounding box with small write dots (handles) around it.
At this juncture, a contextual tab will appear on your Ribbon, depending on the type of illustration (i.e. picture, graphic, or shape format). On this Ribbon in the Arrange section, you will see a Wrap Text button. This is where you will find various Wrap Text options.
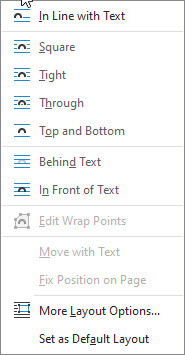
There are seven options listed here:
- In Line with Text: This is the default option. With this option selected your illustration is placed on the line at the insertion point as if it were just more text. Your image will move along the line as more text is added
- Square: With this option selected, your text will flow around your image in a square. The text will attempt to create a straight line around the square
- Tight: This option will bring your text tight to your image while following the shape of the wrap points around your illustration
- Through: This is very similar to Tight and in most, but not all, cases will be indistinguishable. Text will fill gaps in the image if your image has a transparent background
- Top and Bottom: This will place your image on its own line and the text will appear above and below your image
- Behind Text: This will place your image behind your text on a separate layer. An example would be a watermark or background image
- In Front of Text: This is the default option for shapes and 3D models. Your image will appear on top of your text on a separate layer and may obscure it
The Wrap Text options can also be found by clicking the Wrap Text icon in the top-right corner of a selected image.
The images in this menu give you a visual indication of how your text wraps around your image. This menu will also show a tooltip when you hover your mouse over one of the Wrap Text options.

You now know the basics. We will take a more detailed look at these options in a following post. Stay tuned!
—

