
As I’ve gotten older, my memory has deteriorated exponentially. Actually, I have a theory about that; I reckon the brain is like a hard drive. As a hard drive gets older, it fills with more and more data until it’s so full that accessing specific pieces of that data becomes more and more of a chore. So maybe it’s the same with the human brain.
Anyway, I digress. My point is that remembering things, such as appointments and events, doesn’t get any easier with age. Some might turn to apps such as Sticky Notes for help, but if you have a Gmail account, there’s a simple answer using a Gmail feature known as “Schedule send”.
How To Use Gmail’s Schedule Send
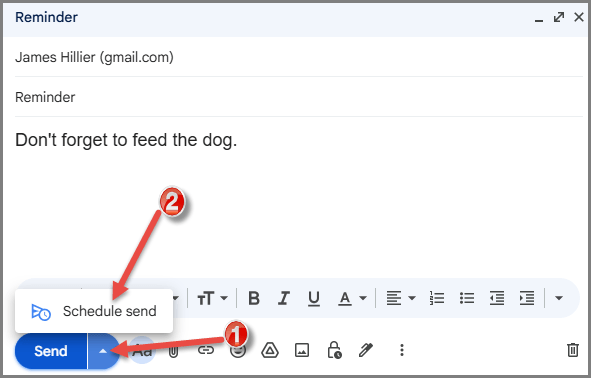
- Go to your Gmail and compose a new email to yourself
- When you’ve completed the message, click the little triangle adjacent to the “Send” button and then click “Schedule send”
Pick a time and date, and when satisfied, click the Schedule send button
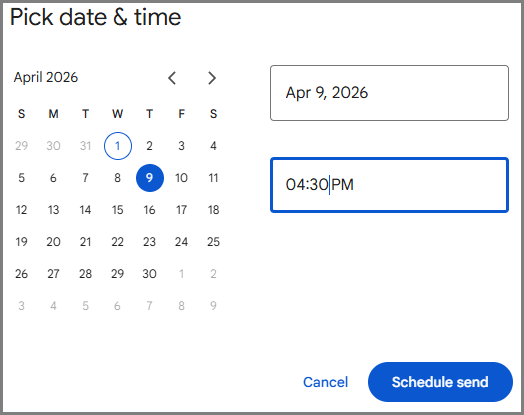
That’s it! You’ll now see that the email is in the “Scheduled” folder. If circumstances change and you need to edit the information in the email message:
- Open the “Scheduled” folder and click on the email
- On a Mobile Device: Tap the three-line icon (the hamburger menu) in the top-left corner, then scroll down and tap Scheduled
- Click the Cancel send button, and the email will be popped into your Drafts folder, where you can make any edits and then “Schedule send” again
You’ll receive your reminder on the date and time you specified, and if you check your Gmail on a regular basis, you should never miss an appointment, payment, or whatever again.
—