Bulk Rename Utility
The Bulk Rename Utility has several functions that can be used individually and in combination to create changes to your files. The program’s menu and file structure are very professional-looking, with probably more functions than you will ever use. 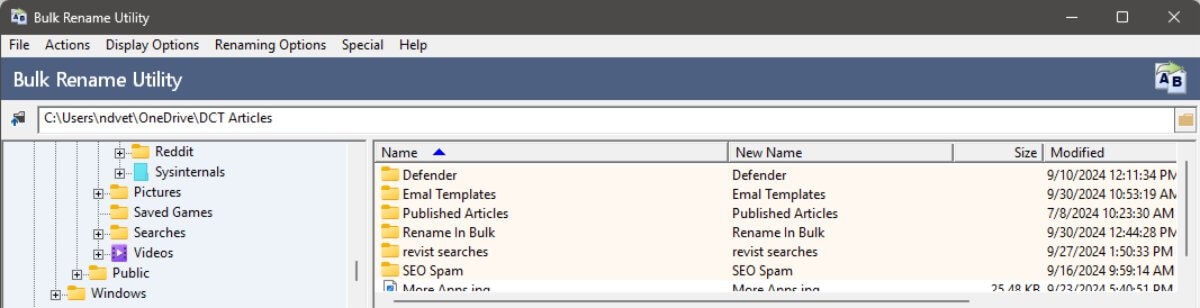
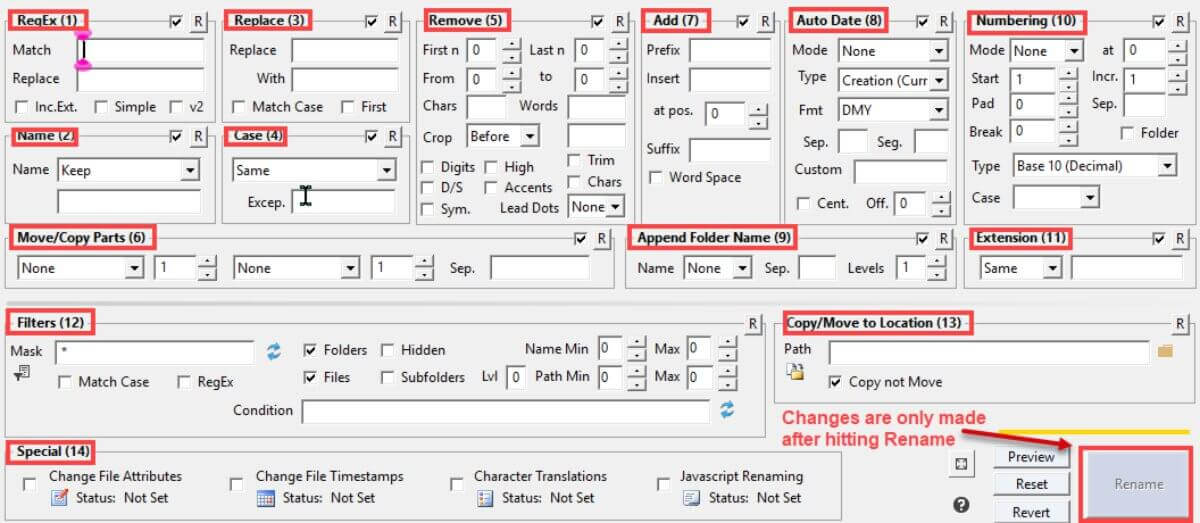
In the example below only function 5 is checked with the command to remove the first 3 characters. This results in renaming the files with a numbered prefix and hyphen on the left to the files on the right.

Another common renaming issue is when you upload photos to your PC. The standard naming format that is used to name each photo is “[year]+[month]+[day]+numerical identifier”. It can be very difficult to remember which photo 20200829_122654.jpg was.
Well-disciplined individuals may rename every image as it is taken but most of us don’t. With the Bulk Rename Utility, you can rename as many files as you wish giving them a meaningful title that can always be renamed again if necessary.
This can save a lot of time when you have multiple photos of a single event. For instance, if you happen to visit Las Vegas and take a few dozen photos. Leaving them on your PC with the default name can be difficult to remember a year later but using this utility can help give them a more meaningful name. Renaming multiple files is slightly more difficult than just removing prefixes but it only takes a couple of steps to get it done.
Because the data in front of .jpg is different for each file I have found the easiest method (for me) is to use this process:
- Click on the Renaming Option in the menu bar and ensure Prevent Duplicates is checked
- When it asks for a format, ensure it is set to its default value of “%name%_%count%”. This will allow us to rename our files and keep a numerical value to prevent duplicates
- Now we Function 2 “Name (2)”. Select “Remove” You will see that all the files will show only the .jpg extension
- Click on Rename. This will remove the name and replace it with an (_) underscore and a numerical value. In this instance, it would look like “_01.jpg”
- Remove the checkmark on Function 2
- Place a checkmark on Function 3 Replace (3). Enter the (_) underscore in the Replace field
- Add the new name for the file in the “With” field. I used “Las Vegas Trip 2024-”
- Including the hyphen at the end of the name will allow each file to have a numerical suffix that prevents duplicates
- When you are finished the file 20151010_150617.jpg will now become “Las Vegas Trip 2024-01.jpg” and the files will continue to have incremental numbers added until the last highlighted file you convert
Summary
I am sure there are more efficient methods of renaming your files using this program, There are several features I have never used yet. I started doing it this way and did not look for a faster way that probably exists. I will leave that up to you.
If you want to modify the date, numbering, or even change the extension it is capable of that and a lot more. The help feature is full of tech support. After installation, if you select a set of files, you can right-click and select the “Rename Here” option. Additionally, if you are into photography, you can rename files using the EXIF metadata to organize your photos by resolution, date, etc.
—
Jim, For years I have been involved with a local camera club and have run a variety of digital image competitions. I have found the Bulk Rename Utility invaluable in preparing these images for review and voting. I am able to strip off all the information about who submitted the images. Also, there is a great feature where I can randomly sort the files.
I have been using this utility for more than a decade now and find it far superior to anything Microsoft sticks on Windows.