


I wrote before about creating greeting cards using OpenOffice. Read here: How To Create Greeting Cards In OpenOffice
I purchased the “Hallmark Card Studio” sometime after that. It was on sale and, no, this is not a paid review. It’s merely one of the programs I use now. So here is basically how to use Hallmark Card Studio. With Christmas right around the corner, I decided to print a few simple cards to distribute.
Using Hallmark Card Studio
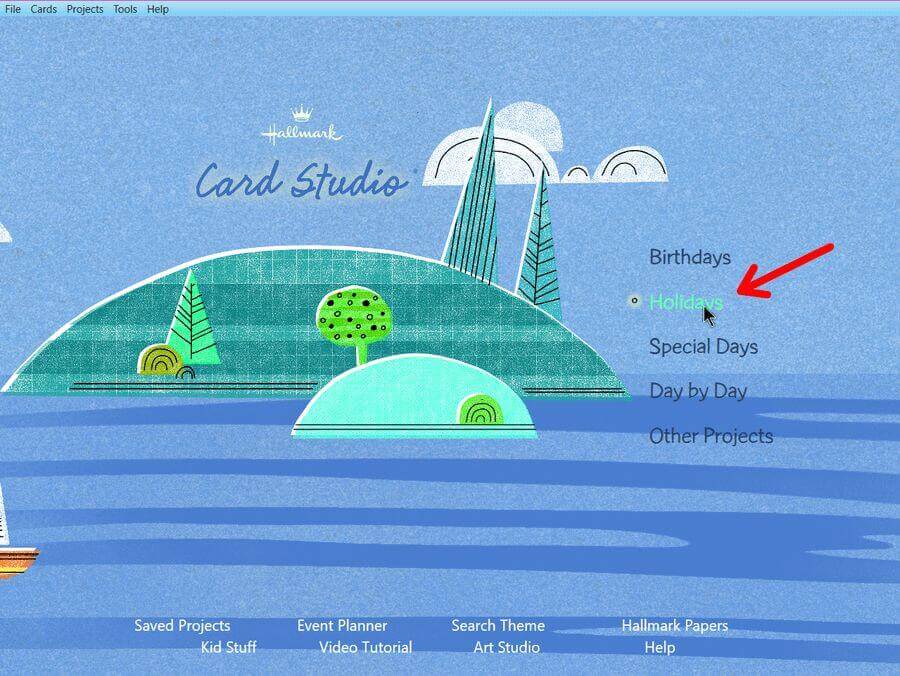
Open the program and make your selection on the opening menu screen. I clicked on “Holidays”.
Then I looked for “Christmas” on the left-hand menu and then chose the audience, I clicked on “Anyone”. On the right-hand side, you get a series of thumbnails of the cards available for you to scroll down through.
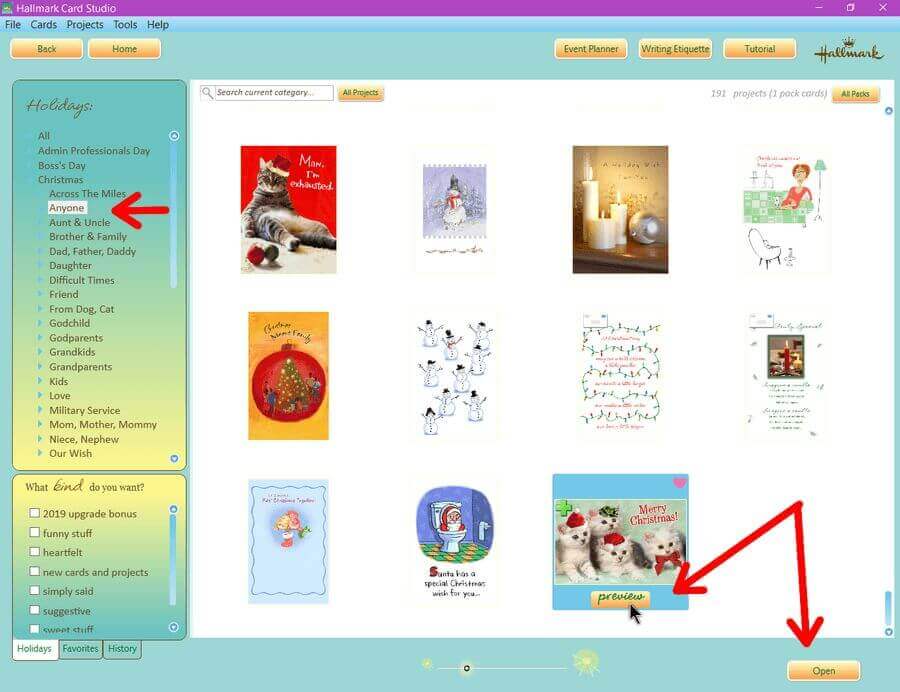
I selected the one with the “kittens” and “Merry Christmas” in red. Clicking on preview shows you how the card will look, including the verse inside. Close the preview and click on “Open”.
This takes you to the editing screen that allows you to customize the card as you see fit.
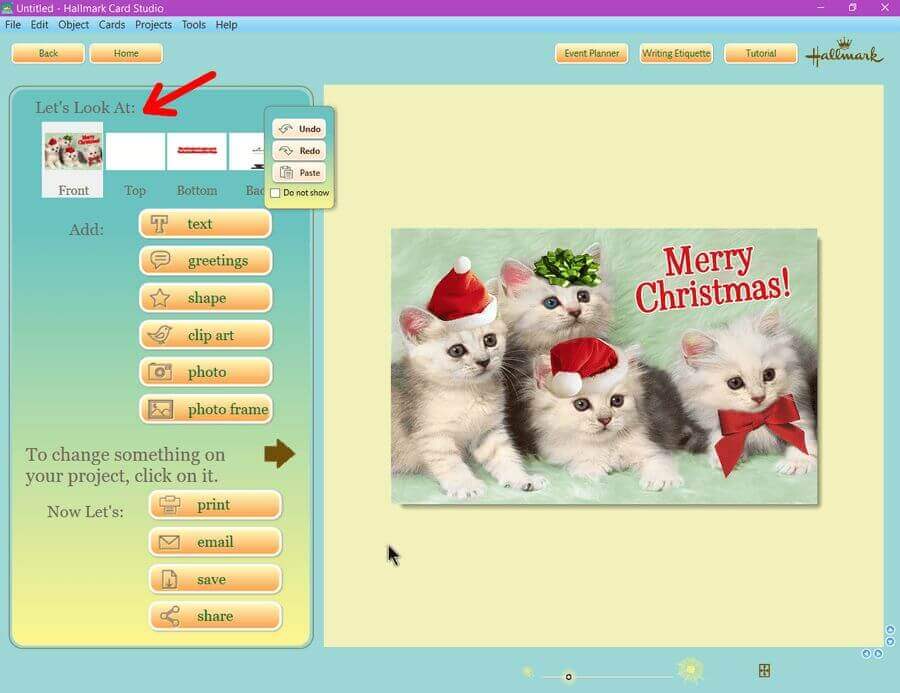
In the “Let’s Look At:” section, you can select the outside or inside of the card.
Down the left-hand menu buttons, you can add your own text, greetings, clip art, photos, etc. When finished, you can print, email, save, and share.
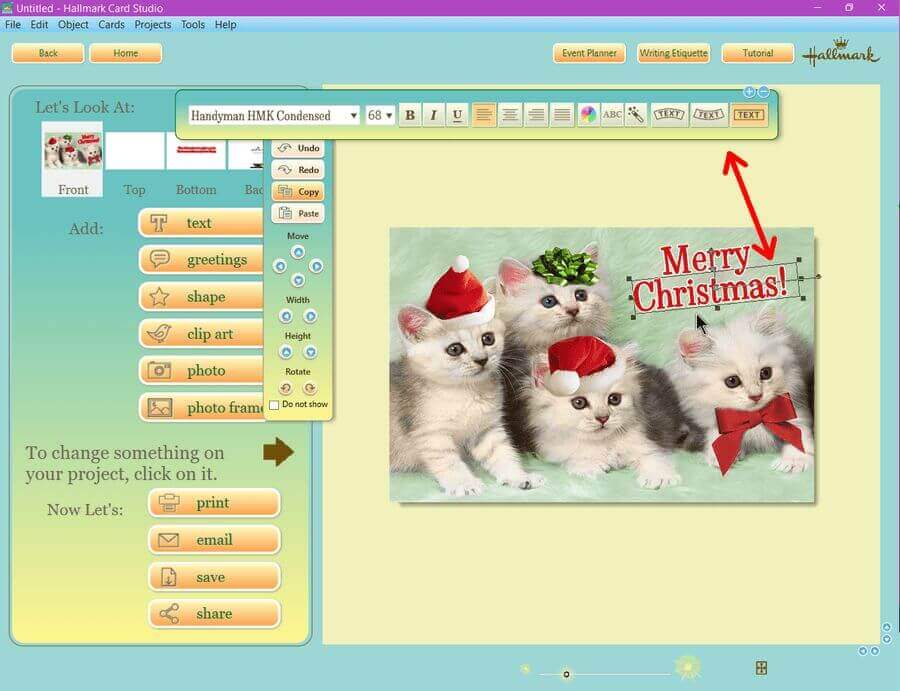
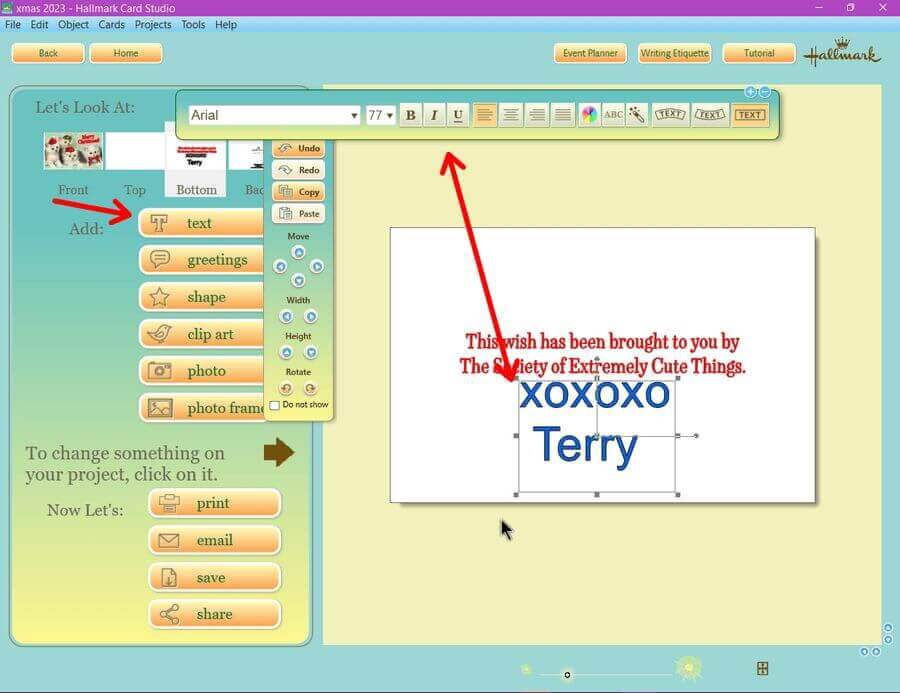
On the right-hand side is the card itself. You can change anything here. Clicking on the words, in my example, “Christmas”, brings up a menu bar across the top to adjust the words, font, colour, size, and so on. You can click on the picture to adjust it or even replace it with your own.
Then I switched to the inside by clicking on the appropriate view back up in the “Let’s Look At” section. Again, by clicking on the text, you can change it. Or click on the “text” button in the left menu and add your own text. In my case, my name. You get the same text formatting toolbar at the top.
Print Your Card
Once everything is done to your satisfaction, it’s time to print. Click on the “print” button in the left menu. Now, surprise, surprise… I had a problem. My printer information wasn’t showing. I originally set this up with a printer I no longer have. I had to go up to the “File” menu and click on “Print Setup”. There in the “Name” section I clicked on it (it was on a PDF writer) and switched it to my Canon MG2500 series printer. Then OK.

For “Paper Size”, I switched it to A4. Then I clicked on “Quarter-fold”. Everything is printed on one side instead of two. I unchecked “Print Borderless”. I don’t really mind borders as long as everything is centred and even.
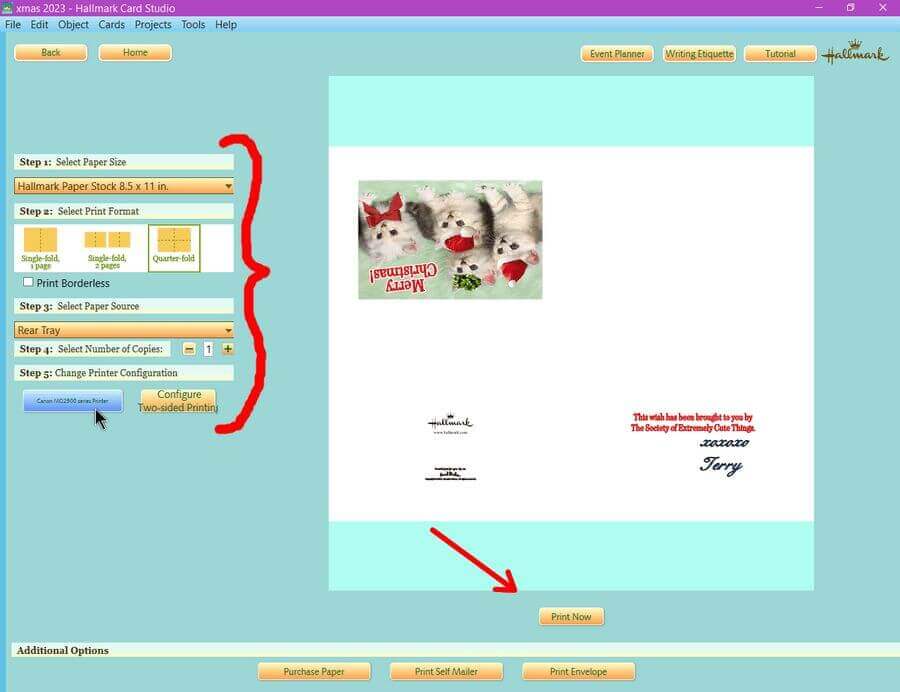
Paper Source – Rear Tray.
Number of copies. One at first, just to test.
You can click on the first “Printer Configuration” button to change printer options or click on “Configure Two-sided Printing” if you are printing on a “single-folded” sheet of paper. This is a wizard that will walk you through setting up your printer for proper printing on both sides of a single page.
Otherwise, click on the “Print Now” button at the bottom of the screen.
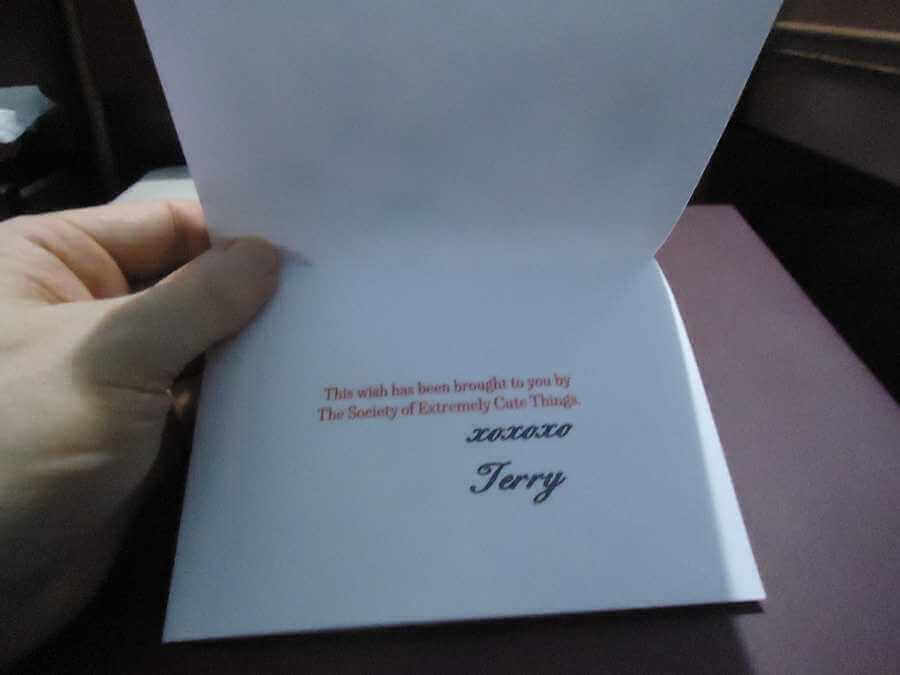
The Final Result

For more card stuff, click here.
—


Great article about creation of greeting cards, especially for people who may be light on graphics software. Your explanation gives people practical steps for using the Hallmark software.
However, you should have said something about pricing….basic price, hidden extra pricing, etc. These are practical pieces of information also.
I bought this a few years ago and can’t remember what I paid for it. I remember it was on sale. The current pricing page can be found here: https://www.hallmarksoftware.com/products/products.aspx?preflanguage=5&rs=48
The basic studio price is currently listed as $29.99
The Deluxe version is $49.99
For MAC computers it’s $39.99
I printed out 12 cards then power went out. Now I need to print the second page! How can I do the second pages without doing the first one over again??
There don’t seem to be any direct options so my recommendation: You could try going to File then “Export As PDF”. Then open up the PDF file and print up only page two on each respective card.
or Open the card in the editor, delete everything on the front of the card (you can click on the pictures and words and just delete them) so the outside is completely blank, and then just run it through the printing process again.