Last month I wrote about creating a shortcut to websites so one can go directly to the site from the desktop. Some of those shortcuts have icons with images and others are just plain squares. Then we saw how to assign an icon image from a group of generic ones located within the Windows System32 folder. What about creating our own image and using it?
Icons are square images usually 32×32 or 16×16 pixels in size. They are ICO files. You can use an App as simple as Paint to create an image or use a picture that is meaningful. Then convert that image file format into the ICO format. There are many ways to accomplish this but here is ICO Converter, a site I located to do it for you.
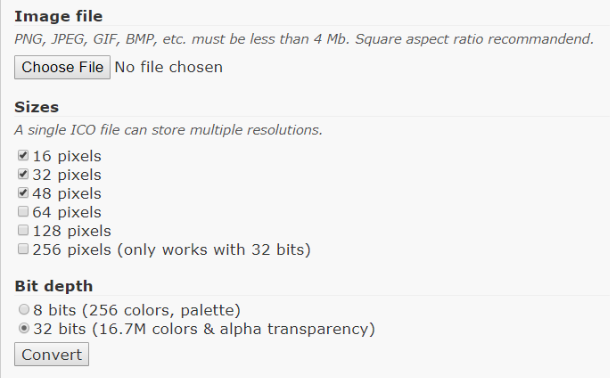
It generates a Favicon.ico file that you can rename for use locally to change the picture on any of your shortcuts. Simply click Choose File and locate the image in File Explorer. Then click Convert. I left all the other options at their defaults.
So, instead of using one of the generic ones from the Windows System32 folder, you have one of your own to use.
If you have a website, you can use it by placing the Favicon.ico file in the same location as your index.htm file in the root directory of your website.
Then, when someone makes a shortcut to your site, the shortcut will have your image as the icon background.
You can also use the following code between the <head></head> tags in every HTML file on your site. Here’s an example:
<head>
<link rel=”shortcut icon” type=”image/x-icon” href=”favicon.ico” />
</head>
For those without a website, this is one of those fun things to know. For webmasters, it is a way to include your logo on shortcuts and to the left of the URL in the address bar.
Hope you found this useful. Just adding to our digital toolbox…
Dick
—
