Guess what? You can customize an existing bulleted list in Word 365, or apply your own specifications to the bullets format using the Define New Bullet dialog. I am covering this because I get lots of questions in this regard.
Follow the steps below to learn how:
1. On your Home tab, in the Paragraph group, select Bullets.
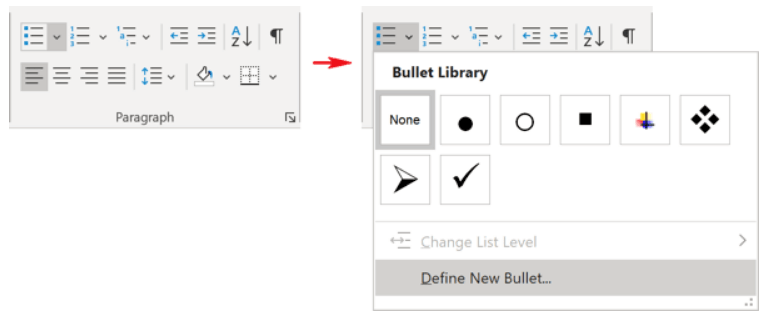 2. In the Bullets list, click the Define New Bullet item to display the dialog.
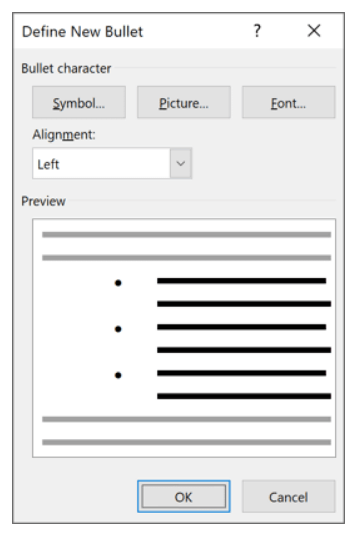 3. In the Define New Bullet dialog box, click Symbol to open the dialog where you can select the symbol for the custom bulleted list.

- You can select any other font in the Font list should you choose another symbol from that font. (i.e., the symbol Square)
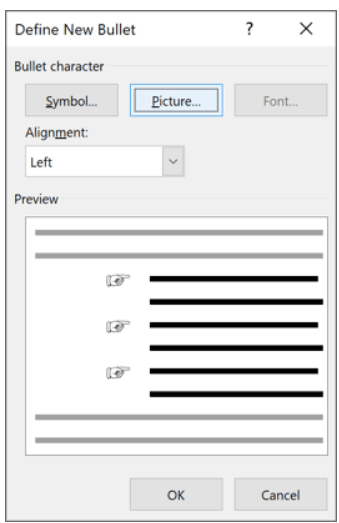
- The Picture button will select a picture from a file or from the Internet so you can use it like a bullet. For instance, the finger pointer icon
- Font opens the Font dialog where you can change the color or style of your bullet symbol (i.e., bold, italic, strike-through, etc.)
- In the Alignment list, you can set the distance from the left, centered, or right margin where Word places the bullet
- Word will show your chosen symbol as a bullet in Preview
- Click OK to implement your new bulleted list
More to follow!
—
In Office 365 Word:
How may I customize the order in which the STYLES appear on the menu?
That is a very good question. I will try to address it in a future article. Thank you for asking.