I recently purchased a little web cam from Wish. It’s supposed to be HD quality, but there’s no way this thing can pump out HD quality video; in the same breath, if you wanted a half decent camera image for something like Facebook chat, it’s not too bad. If you want to produce HD quality video for YouTube, it ain’t going to happen.
Using the built-in microphone, I recorded a brief video of me talking and during playback, with all volume controls on my system turned as high as they would go, I could barely make out what I was saying.
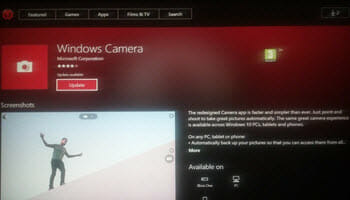
The only positive side is that it gave me an excuse for using the Windows 10 Camera App. So, here’s how to use the Camera App to record a simple video.
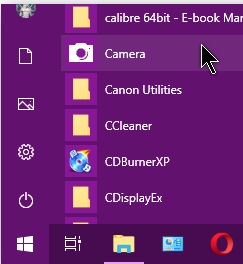
With the camera and microphone plugged in, open the Camera App by clicking on the Start button, then Camera:
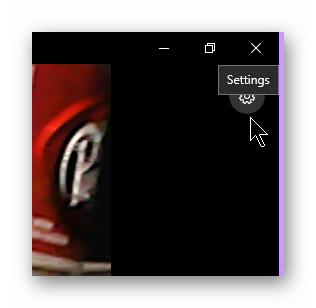
You first might want to go to the settings in this App by clicking on the Settings gear icon.
I didn’t have many options for video. The highest resolution I could get was 480p 4:3 30fps. I was expecting at least 720p.
I left the Flicker reduction at 50 Hz and Digital video stabilisation Off. Use the Esc key to get out of the settings menu. Now you just need to click on the big white button with the camera icon. (The smaller white outline camera icon under it is for taking still pictures.)
Click on the big button and it turns into a button with a big red square in it. It should now be recording. You should notice the counter at the bottom of the video screen going up. Press the Record button again to stop recording.
Now you need to save it. Warning: Closing this App without saving it will offer no warnings about saving your project first!
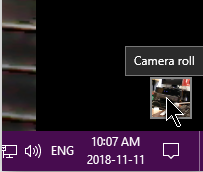
Click on the Video Thumbnail in the lower right-hand corner.
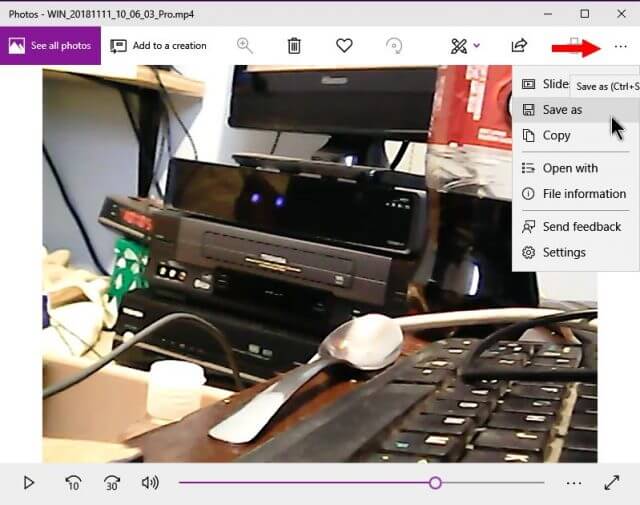
This opens a video player that allows you to view your creation. You can move your mouse over the various buttons to see what they do, but right now I’m concerned with just saving it, so click on the three dots in the top right-hand corner of the player and in the menu that drops down, click on Save as. Put in a name and choose the folder to save it in, and that’s it. Welcome to Hollywood 🙂
—
