Sometimes I need to take some screenshots on my Chromebook. I found three ways to do this. This is on an HP Chromebook 14-db0002ca.
Method #1
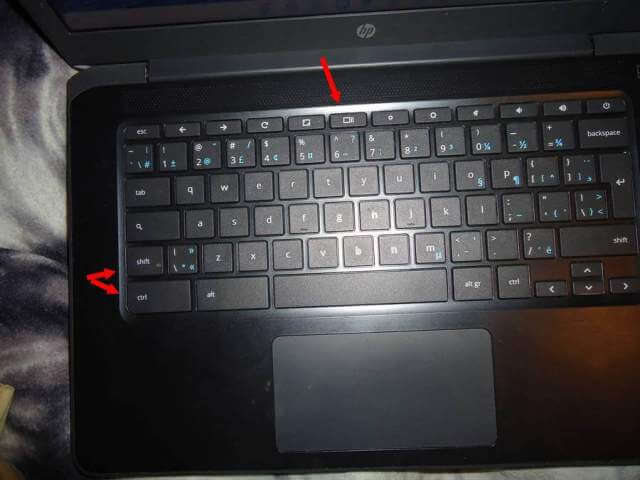
On the keyboard, click on CTRL and the key that looks like a square with two lines on the right-hand side. I’m calling this the “screenshot key”. This takes a screenshot of your entire screen.
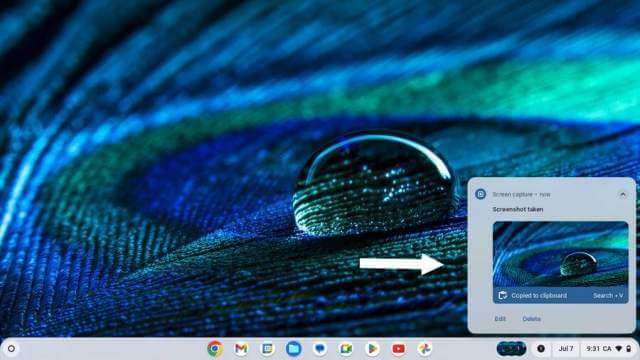
You will get a popup in the lower right-hand corner of the screen. The screenshots are automatically saved in the “Downloads” folder.
On the thumbnail, you’ll get a chance to “Delete” this file or “Edit” it.
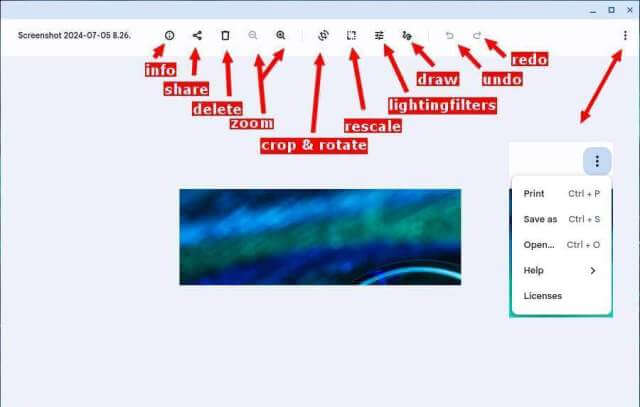
If you select “Edit”, the picture opens in Chromebook’s picture viewer program with some basic editing tools listed across the top. Those include info, share, delete, zoom, crop & rotate, rescale, lighting filters (exposure, contrast, saturation), draw, undo, and redo.
Clicking on the three-dot menu gives you more options like “Printing, Save as, and Open”.
Method #2
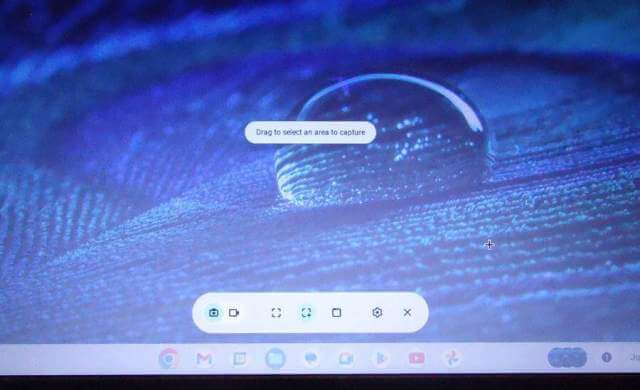
If you want to take a screenshot of a section of your screen use “CTRL + SHIFT + screenshotkey”. The screen goes a bit blurry. Then use your mouse or cursor to click, hold down, and drag the cursor around the part of the screen you want to capture. Press Enter when done.
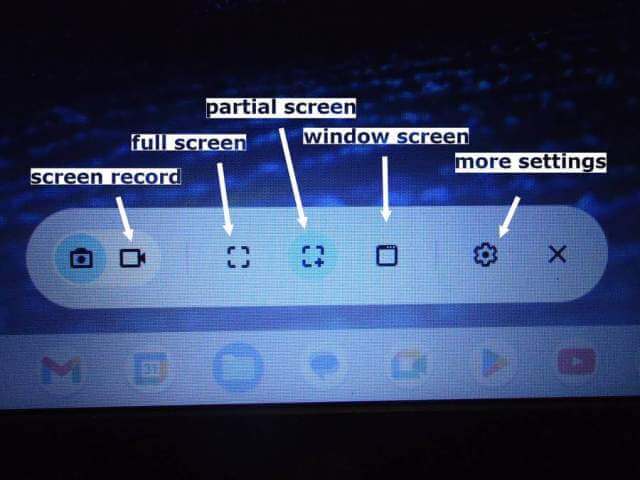
There is also a toolbar with extra options towards the bottom of the screen. These options include screen record, full screen, partial screen, window screen, and settings.
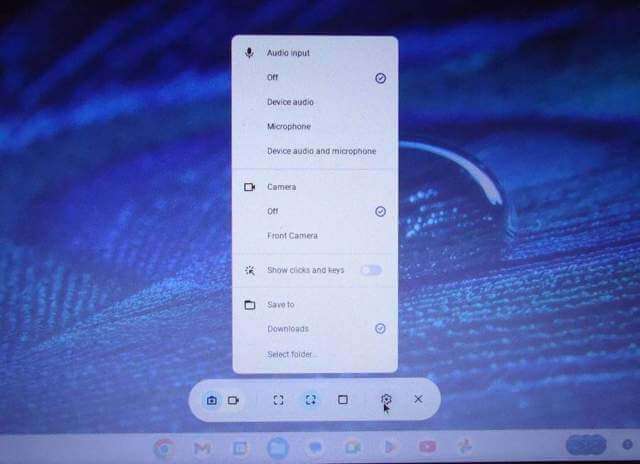
The “Settings” choice gives you more options for recording your screen.
Method #3
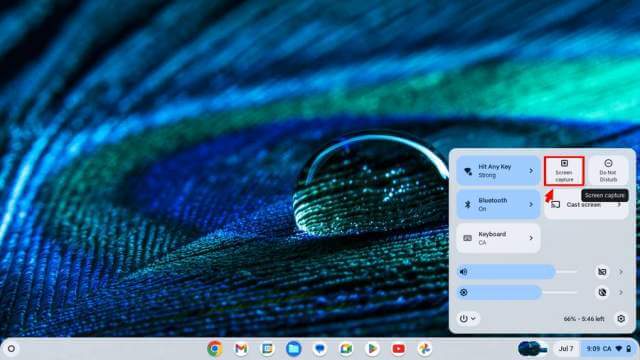
Click on the clock in the lower right-hand corner of the screen. In the menu that pops up, click on the “Screen capture” button. Then the instructions are the same as method #2.
These are just the basics for making screenshots on a Chromebook.
—
