Now that it is summer, and all my kids are out of school, I need to take a vacation and get some family time. With any vacation, there is a “To Do List” which must be done before leaving work for that well-deserved break. Other than the usual things like clean-up projects, there is one thing I find that is a MUST. “What is this “MUST” you speak of, Jason?” Good question, my friend. The “MUST” is setting up that out-of-office email so everyone knows you are out and when you will be back. Plus, it is always nice to let people know who they can contact when you are not in to deal with issues. In this article, I want to show you how you can set up that away email in your Outlook 365 Web App. It is easy to do and once done you can enjoy your break knowing that it is taken care of. Let’s open up those Outlook 365 Web Apps and get started.
Set Up Out-Of-Office Replies In Outlook 365 Web App
Step 1: Log in to your Office 365 online account. Once logged in, you should be on the Apps Screen. Click on the Outlook 365 App at the front of the list. Some of you might log in a different way but the point is that we need to be logged in to Outlook.
![]()
Step 2: Now that we are in, go to the top-right of the screen and click on the Gear icon.
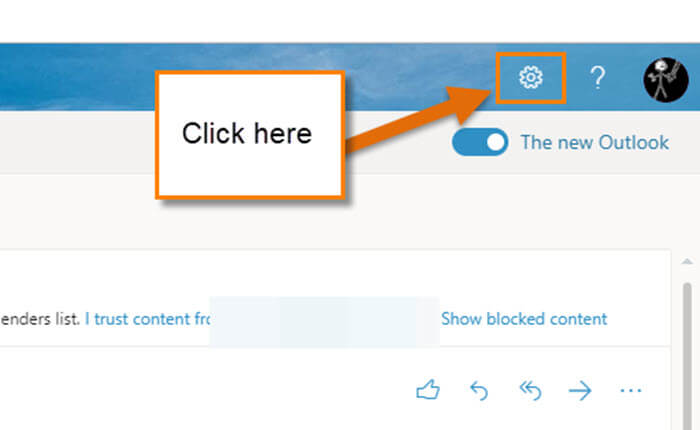
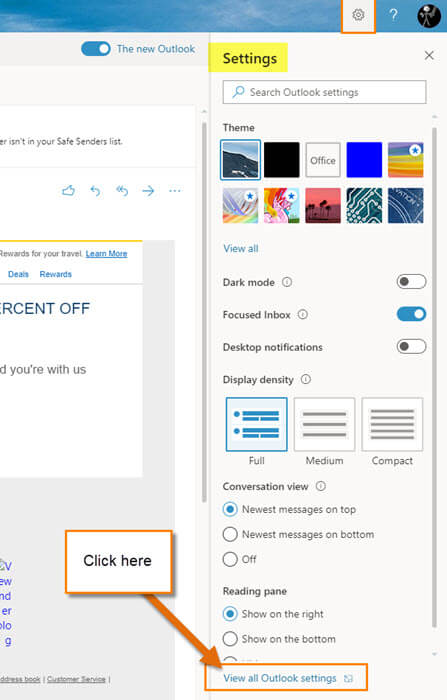
Step 3: A menu will now appear; look to the very bottom of this menu. Click on the link, “View all Outlook settings”.
Step 4: Once on the next screen look to the left under the Settings menu and click on Mail.

Step 5: In the Mail menu to the right of the settings menu. Look for the Automatic Replies option and click it.

Step 6: Here is where all the magic happens. On this screen, you will set up the out-of-office email replies. They give you some options that you will need to fill in and decide on:
- Turn Automatic replies on which is the switch at the top.
- Check the box next to “Send replies only during a time period”
- Then enter the dates you will be out of the office. If you do not set a date/time then the reply will remain on until you turn the automatic replies off.
- Below that they give some boxes to check. These I left clear since they didn’t need to be checked for me.
- The first reply box is where you enter the auto-reply email for internal office replies.
- The next email box is for all the other email you receive from outside of your organization. This one I found to be the most important. Fill in both of these boxes.
- Make sure the box next to “Send replies outside your organization” is checked or the reply email for the external email replies will not work.
After you have filled in this page, click on the SAVE button at the top of the page. DONE!

Now you’re all set up and ready to take the vacation that you deserve.
Here Is A Short Video Demonstrating The Process

To watch more How-To videos like this one, check out our Daves Computer Tips YouTube Channel. We’ll be adding more videos in the future.
—