Whether you use version 2003, 2007, 2010, or 2013, if you use Word as your e-mail editor, it is very easy to change signatures on your Outlook messages. And if you have more than one e-mail account, you can create a signature for each account and it will be changed each time you change the account, provided that you have a default signature for each account!
Follow the steps below to learn how:
- Click on Tools | Options | Mail Format.
- In the Signature area, click the Signature button to add a signature.
- Click the New button to key in the text you would like to use for your signature.
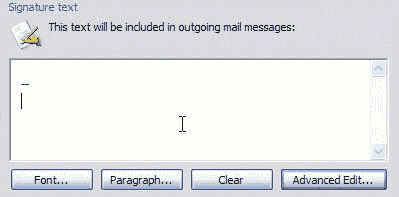
- If you do not want to use a signature with an account, simply create one called Blank. Enter two dashes and a space and then Enter to create a signature that is identifiable.
You could enter just a space or two but it makes it easier to locate your signature block when it is marked with the standard dashes and it also makes it easier when you right-click to switch signatures.
- Once you have finished creating your signatures, click OK to return to the Options dialog.
Set a signature for each of your accounts and and for both new message and replies/forwards, using the blank signature when you do not want a default signature.
When you create an e-mail or change accounts, the signature changes with the account selection or you can right-click on the signature area and select a new one.
If you use the Outlook editor, you cannot change your signatures as easily and they will not change for the account as they do when using Word as your editor.


Hi
Thanks for a great article. Just one thing – is it possible to create a signature
with a .jpeg containing a photo of one’s own written signature. Can this be
done with any of the email programs like Hotmail; live; gmail etc.
Thanks for your help.
Kind regards
Rev Gerald