

Let’s go a little more in depth about text-wrapping options, shall we?
Square
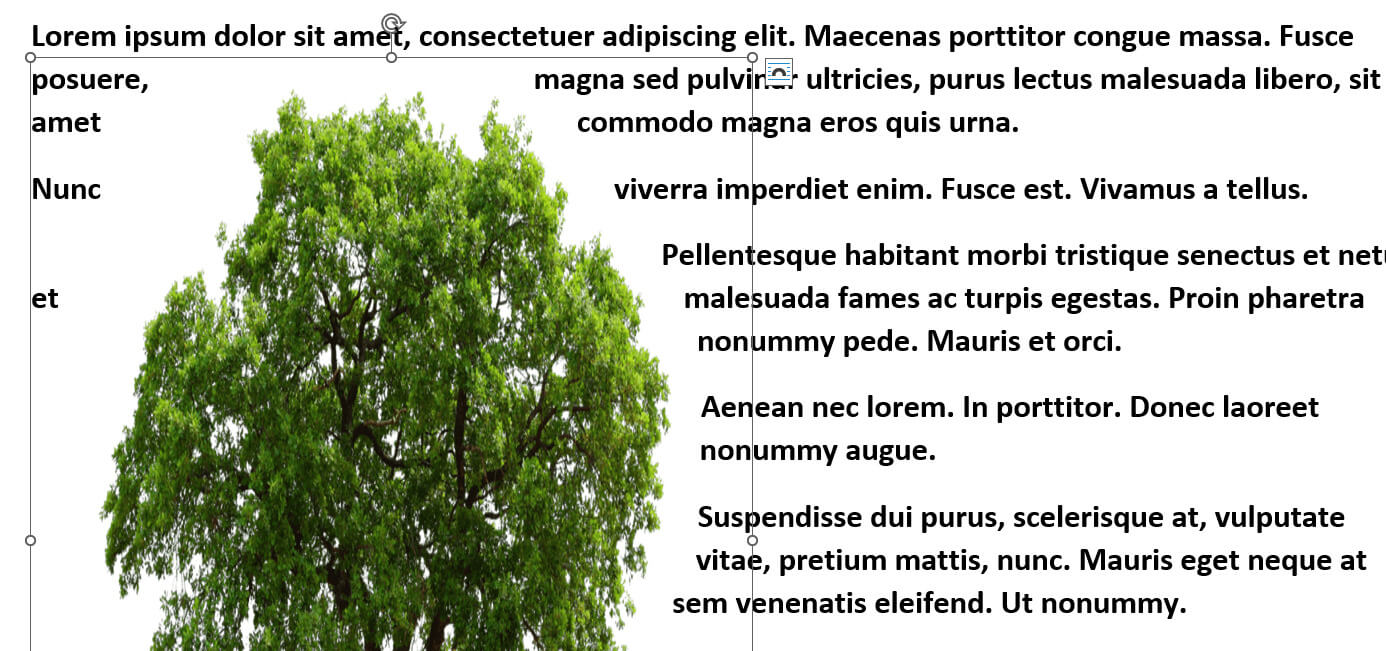
First will be Square. The square option will make your text flow around your image’s bounding box. This will create a square frame around your image and keep your text on the right edge of your image aligned in a straight vertical line.

Notice that the text on the left-hand edge of your image does not adjust to keep the text in a straight vertical line. Also, the text on the left of your image by default does not hyphenate either.
Tight
The next Wrap Text option is Tight. This option will bring your text as close as it can around your image. If your image has a transparent background, the effect can be a lot more dramatic.
You can still see the bounding box, but the picture in this example has a more extreme edge to illustrate how the text follows the edge of the branches and not the bounding box.
If you move the illustrations in these examples your text will continue to flow around it in the manner of the option you have selected. This gives you great flexibility for the placement of your illustration and you can do some great visual effects in your document.
If you add more text to your page, the illustration, by default, will move with your text. If you open the Wrap Text menu, you will see that the Move with Text option is checked by default.
The Fix Position on Page option, when selected, will keep your image in the same place even when you add additional text to your document.
Top And Bottom
The Top and Bottom option is next. With this option, your text does not flow around your image, but instead, your image is placed on its own line and your text appears above and below, as seen below:
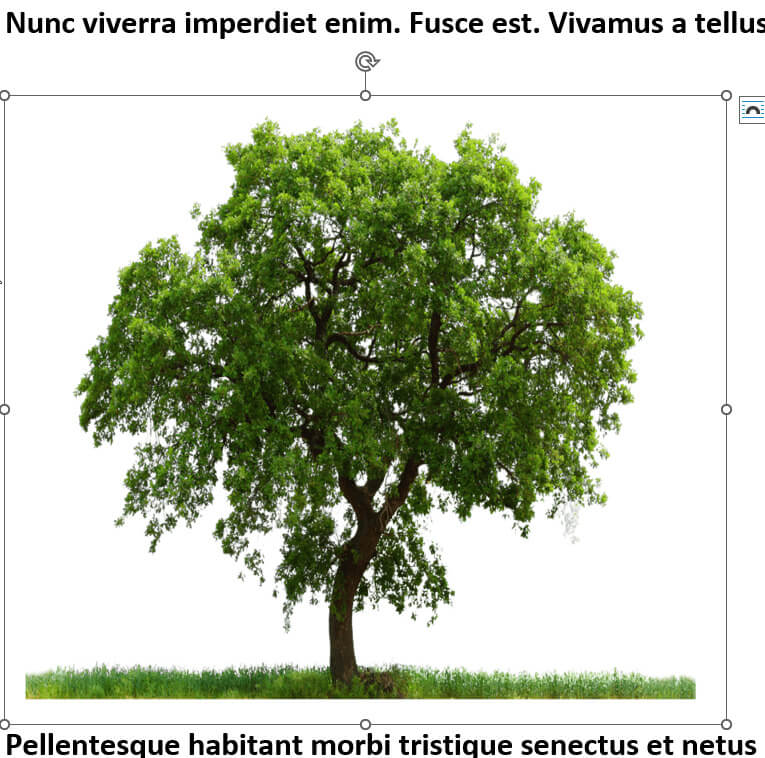
With the Top and Bottom option, you are able to move your picture anywhere and your text will remain alone on the line and will stay in the top and bottom positions.
Behind Text
The next Wrap Text option is Behind Text. As you saw with the Top and Bottom option, the text does not flow around your illustration, but behind it. It is on its own layer as the same suggests. Be aware, that depending upon your image, this may make it difficult to read your text.
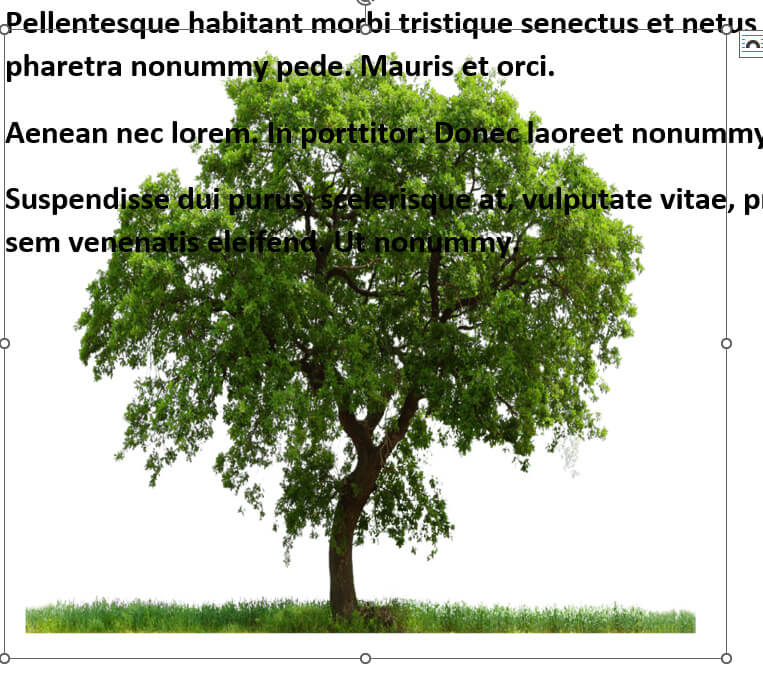
A good reason to use the Behind Text option would be a watermark or text image in your document.
In Front Of Text
The last Wrap Text option is In Front of Text. This option will place your illustration on top of your text and may, depending on your image, obscure your text. This is the default setting when inserting shapes and 3D models.
For both the Behind Text and In Front of Text options, moving your image will not affect your text at all because your illustration is placed on a separate layer from your text. If you add more text to your document, by default, your illustration will move with your text.
—

