
In your list of inboxes in the Mail app is this thing called ‘VIP’. You can identify who your VIPs are and any email from them will be put into the VIP inbox in addition to the appropriate inbox for the receiving email account. The nice thing about the VIP inbox is it makes it infinitely easier to keep track of emails that matter.
With eight email accounts, I get quite a bit of email. Honestly, I could do without probably 90% of it. It’s that 10% that come from friends, family and coworkers that I need to know about and, at times, respond promptly. You can identify individuals or businesses in your Contacts list as VIPs. Any time you receive email from one of them, it is put into your VIP inbox in addition to the intended inbox. Another nice feature is that you can set up specific notification settings for your VIP inbox.
So how do you identify someone as a VIP? It’s pretty easy to do.
Setting up a VIP
STEP 1 – Opening your VIP List
 After opening the Mail app, tap the VIP inbox in your list of inboxes.
STEP 2 – Adding a VIP
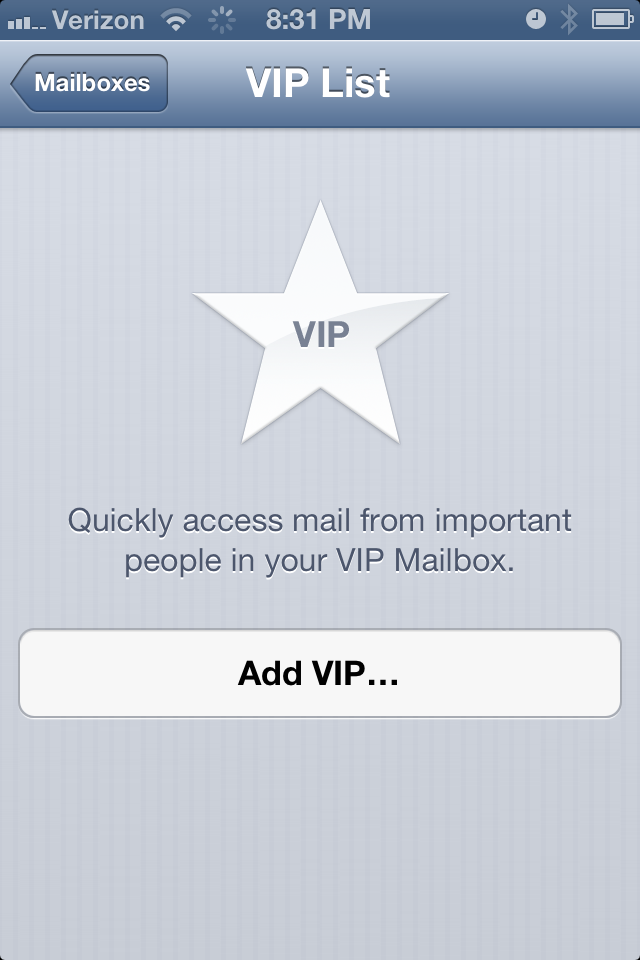 Tap ‘Add VIP…’.
 Find your VIP on your list of contacts. Only those contacts with an email address can be selected. Tap your VIP to add him or her to your VIP list.
Removing a VIP
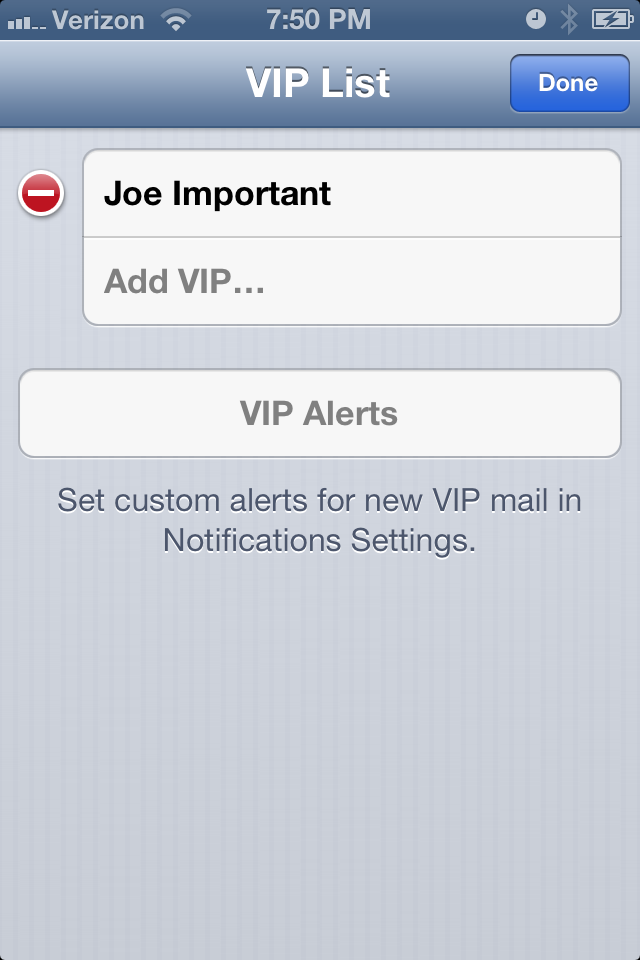 To remove a VIP, tap ‘Edit’ in your VIP List screen. Tap the red circle next to the contact then tap Delete.
For information on setting up notifications for your VIP inbox, please refer to: iOS6 – Setting Up Separate Notifications for Each Email Account. In terms of setting up notifications, your VIP list is no different from a standard email account.