
How To Tidy Up Your YouTube Channel
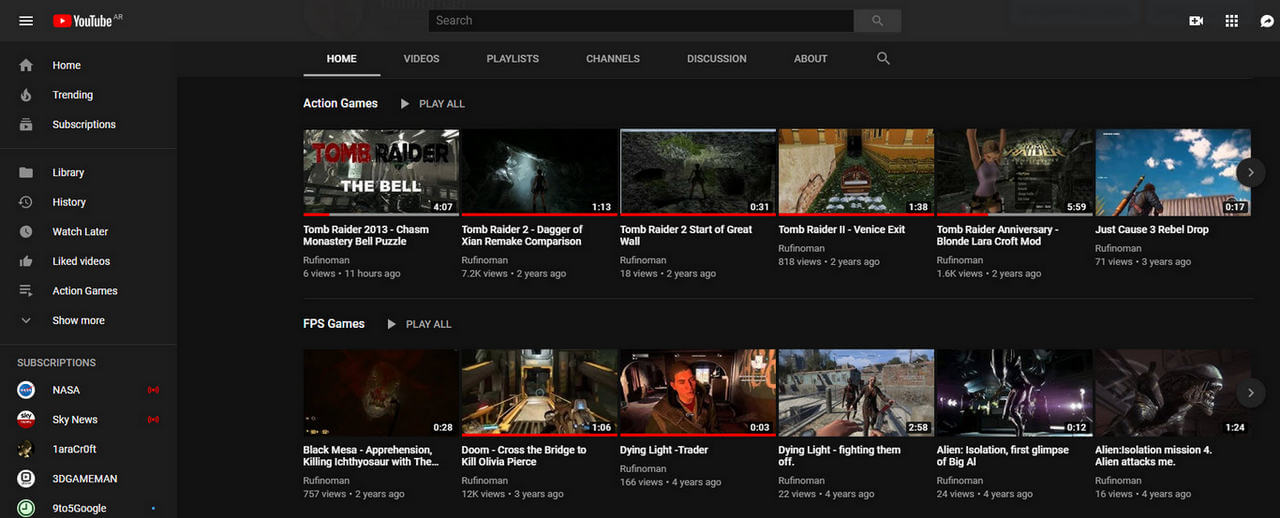
As I mentioned in How To Re-Order Videos In YouTube Playlists, I’ve had a YouTube channel since 2007 and to be honest, I haven’t paid enough attention to the important details of presentation as much as I should have done, so decided to remedy this immediately. First I began clearing out playlists that I’d created on a whim, then videos that served very little purpose or were not attracting enough views. To do this, you’ll need to go to Creator Studio, where you can prune away all the dross.

Once in Creator Studio, you can remove, edit playlists and delete videos, remembering that many of those actions are non-reversible.

It’s important to be quite ruthless with yourself, especially if you come across videos that aren’t relevant to your channel and/or receive negative feedback. I had uploaded an Alien Isolation game clip a couple of years ago showing me playing the game very badly and thus being mercilessly skewered by Big Al. The clip served no real purpose. I ditched it without a second thought because many clips should show how to surmount the difficult obstacles. I’ve learned the hard way that viewers like to watch a video that shows how to progress in a game.
How To Update Your Channel Art And Profile Picture
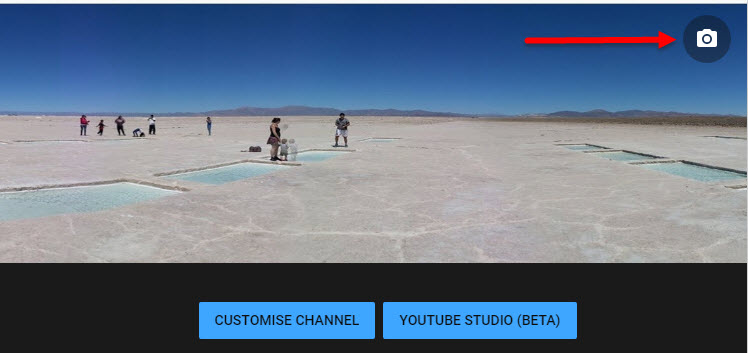
The Channel Art, or banner, is what you see at the top of a YouTube page and serves as a kind of storefront if you like. It’s not something I’ve ever given a great deal of attention to, mainly because I spend more time watching the actual videos. However, both the channel art and the profile picture say something about you so it’s worth working on them in order to make an impact. To update both, you’ll need to go to your channel by clicking on your profile picture at the top right.
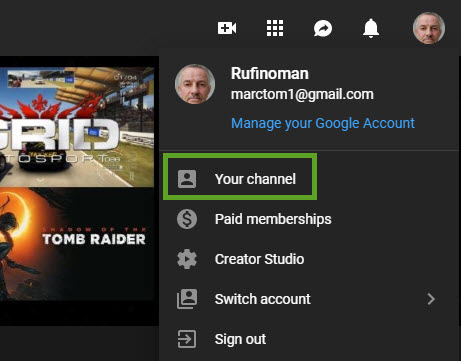
This then allows you to edit both your profile picture and the fancily named channel art (banner). The profile picture is fairly straightforward to edit and you can choose any picture you like but the recommended size is 800 x 800 pixels. If you want to upload a picture of your face, bear in mind that the process will only allow you to crop a portion of the picture depending on its size. On the other hand, channel art is a different matter that needs a little more work.
It gets interesting when you want to put a logo or smaller pictures in the centre of your channel art because there’s a safe area where it needs to appear, otherwise it gets cropped out for different devices.

The image you upload also needs to be at least 2560 x 1440 pixels and you can choose from your Google Photos or from your PC if you wish.
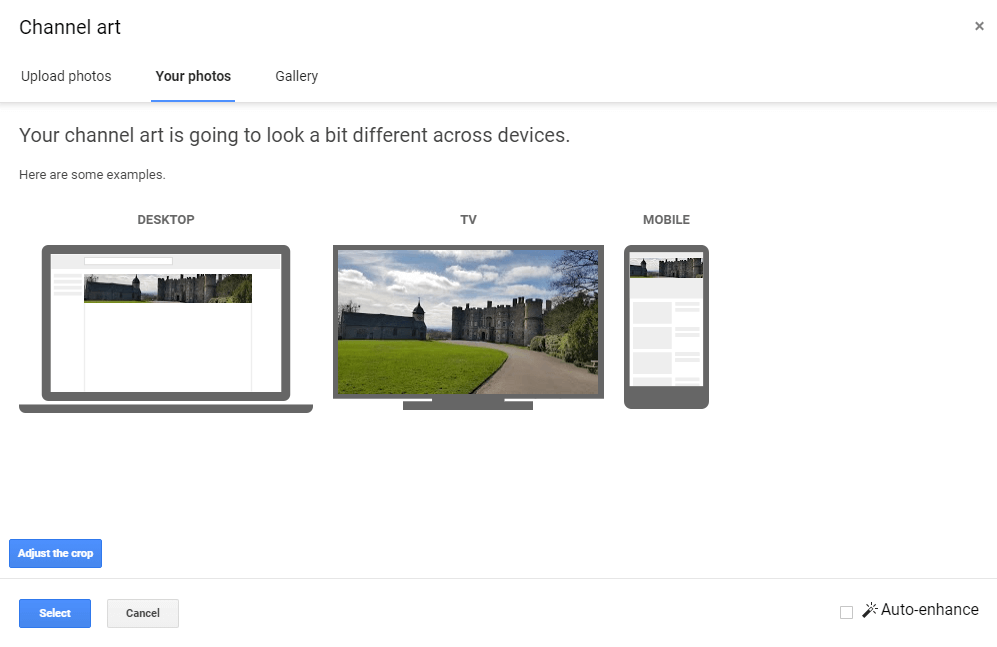
Here, I’m using an image to illustrate how it can be done and in the following image, you’ll see the shaded areas of where it’s safe to place logos, text and smaller images. That’s the safe area.

Fortunately, Google provides a useful guide here, Create or edit channel art, containing a template which lets you get the image positioning just right.
![]()
I downloaded the template and headed over to Google Drive, selected a new Google Slide and a blank presentation.

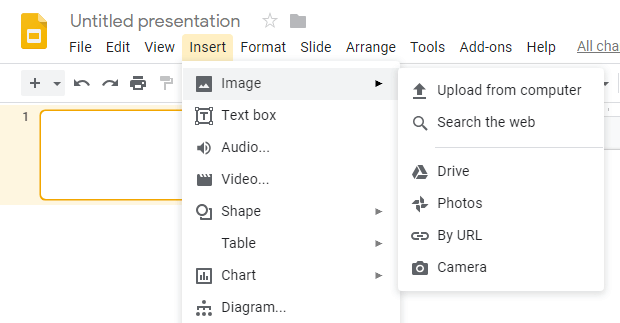
The next screen then presents you with a blank Google Slide and the first thing you need to do is set the page size to 2560 x 1440 pixels and remove the example text.

It works very much like any other image editing program, so click file, page set up for the page size, then click the guides and hit delete to remove the example text. After you’ve done that, click insert at the top left and import the template you downloaded previously from the YouTube guide.
You then have the template in position so that you can insert text and images in the safe area.
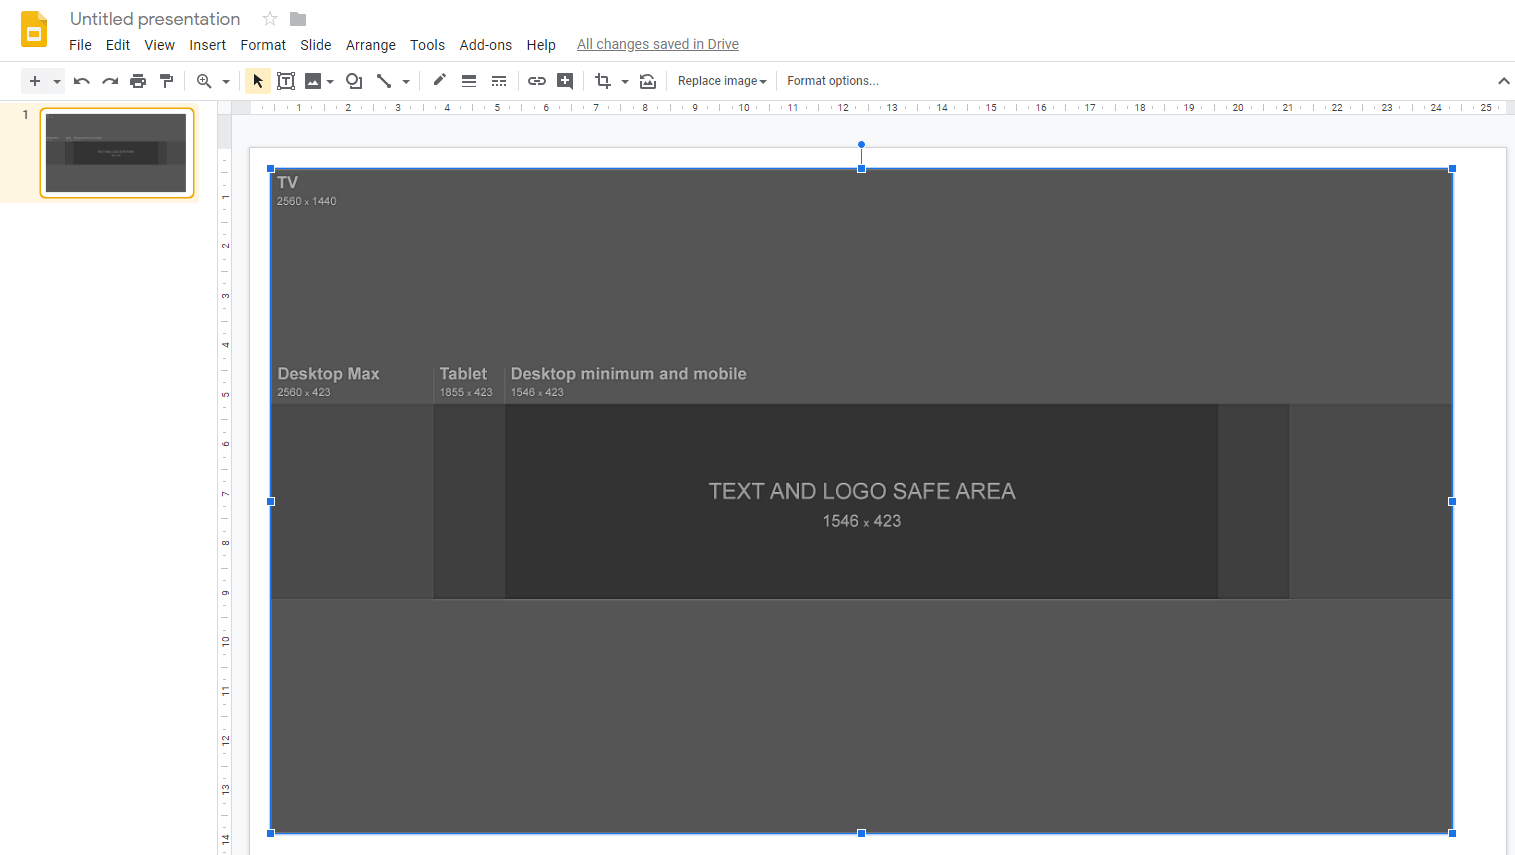
At this point, you can set a background image, place text or smaller images such as a logo in the centre portion safe area and change the transparency of the foreground template so you can see the pretty image behind. Here’s an example to get you going.

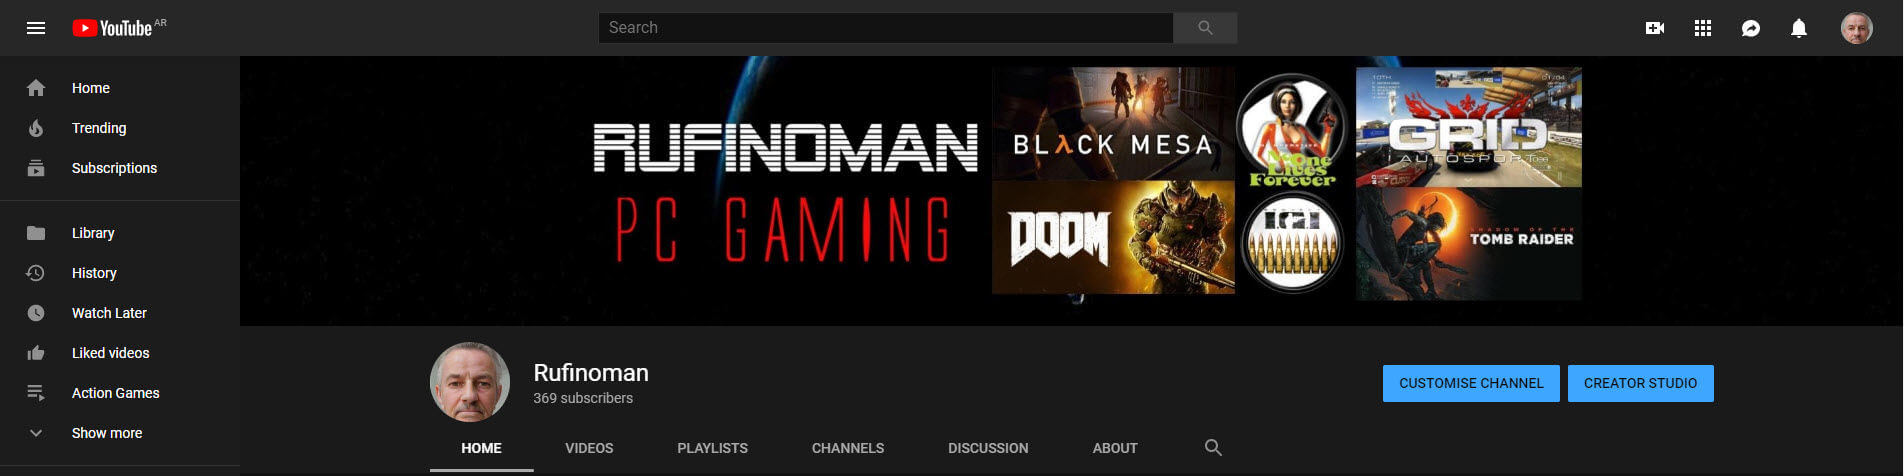
I used Google Slides with a template for my new Rufinoman channel art. It saved me a lot of headaches trying to stay within the safe area for all devices and I simply downloaded the finished image as a .jpg and then uploaded it in the My Channel section as described earlier.

Across all devices, the channel art adjusts itself with some magic tricks and this is what my banner looks like on a desktop PC.
Here’s the mobile view…

And the TV view.

The reason the TV version looks so blurred is that I had to snap a photo of the TV since you can’t save LG TV Web OS screenshots to external devices– a ludicrous oversight by the designers considering men were placed on the Moon 50 years ago, but that’s by-the-by.
I hope this how-to has helped with your channel and time will tell whether I’ll benefit because ultimately the key to success on YouTube is content.
Content is king.
—