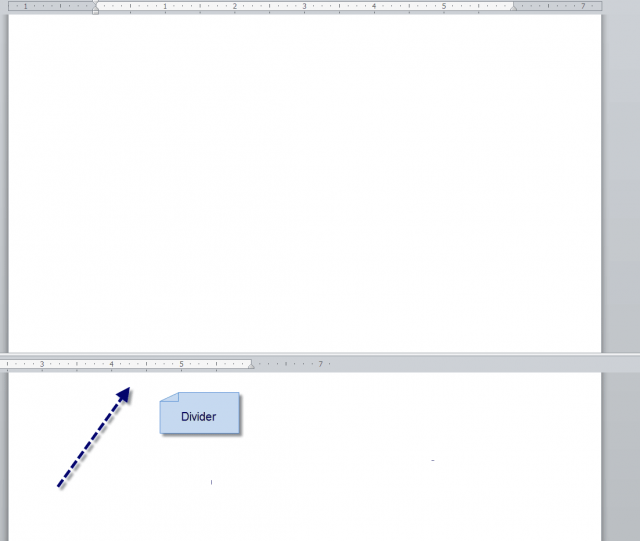
Not sure what key combination I accidentally hit the other day in my office while working on a document (time sensitive of course) but lo and behold I suddenly had a split screen in front of me! Half of my document was in the top screen and the other half was in the bottom.
Now, I know that many of you have told me I am a Microsoft Word guru, but rest assured that I am but a mere mortal like everyone else and nobody knows everything about Word! It struck me hard when this happened… hmmmm…. this is not something I know instinctively how to undo, especially since I don’t know how I did it. So after a bit of research, I found how to undo it. Voila! That little light bulb went off over my head and I thought to myself, well if I didn’t know how I achieved this or how to undo it, I guess there are a lot of other folks out there who also do not know! And thus, this article was born.
There could be any number of reasons why one would want to split their Word document – accidentally is not one of them!
There are two ways to split your document. Follow the steps below to learn how:
The first method involves using your Ribbon.
Place your cursor where you would like to split your document and click View | Window | Split.
The second, and I think easier method is:
- At the top of your vertical scroll bar, there should be a divider – a small line that looks like a dash.
- Click on it and drag it to where you would like your document to be split.
You can now scroll and/or edit each part of your document independent of the other.
And now the part that brought me to this article!
When you are finished working with your document and want the split screen to disappear:
Again, there are two methods:
- First, on your Ribbon, you can click the Remove Split button.
- Secondly, the more efficient way (in my humble opinion) is to simply double-click on the divider in your document!
Another Word mystery solved!
—


